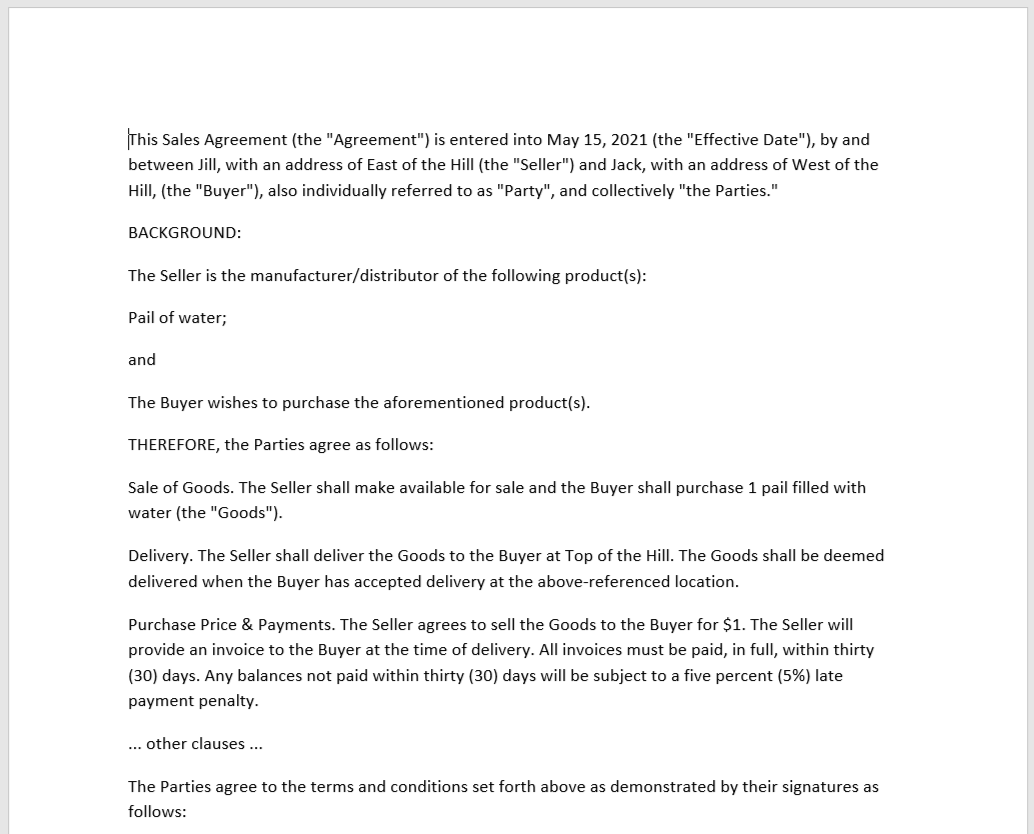
The intent of this guide is not to create a real contract, but instead to show the steps required to do so. The end result is just a sample document.
There are many free contract templates. This one is from docsketch. Most of the clauses have been deleted.
You can paste from clipboard, or use the Create report from *.docx document... menu item under the plus menu under the file tree.
As you decide which clauses to keep, make notes about what data fields you want, both for inserting values and driving conditional logic.
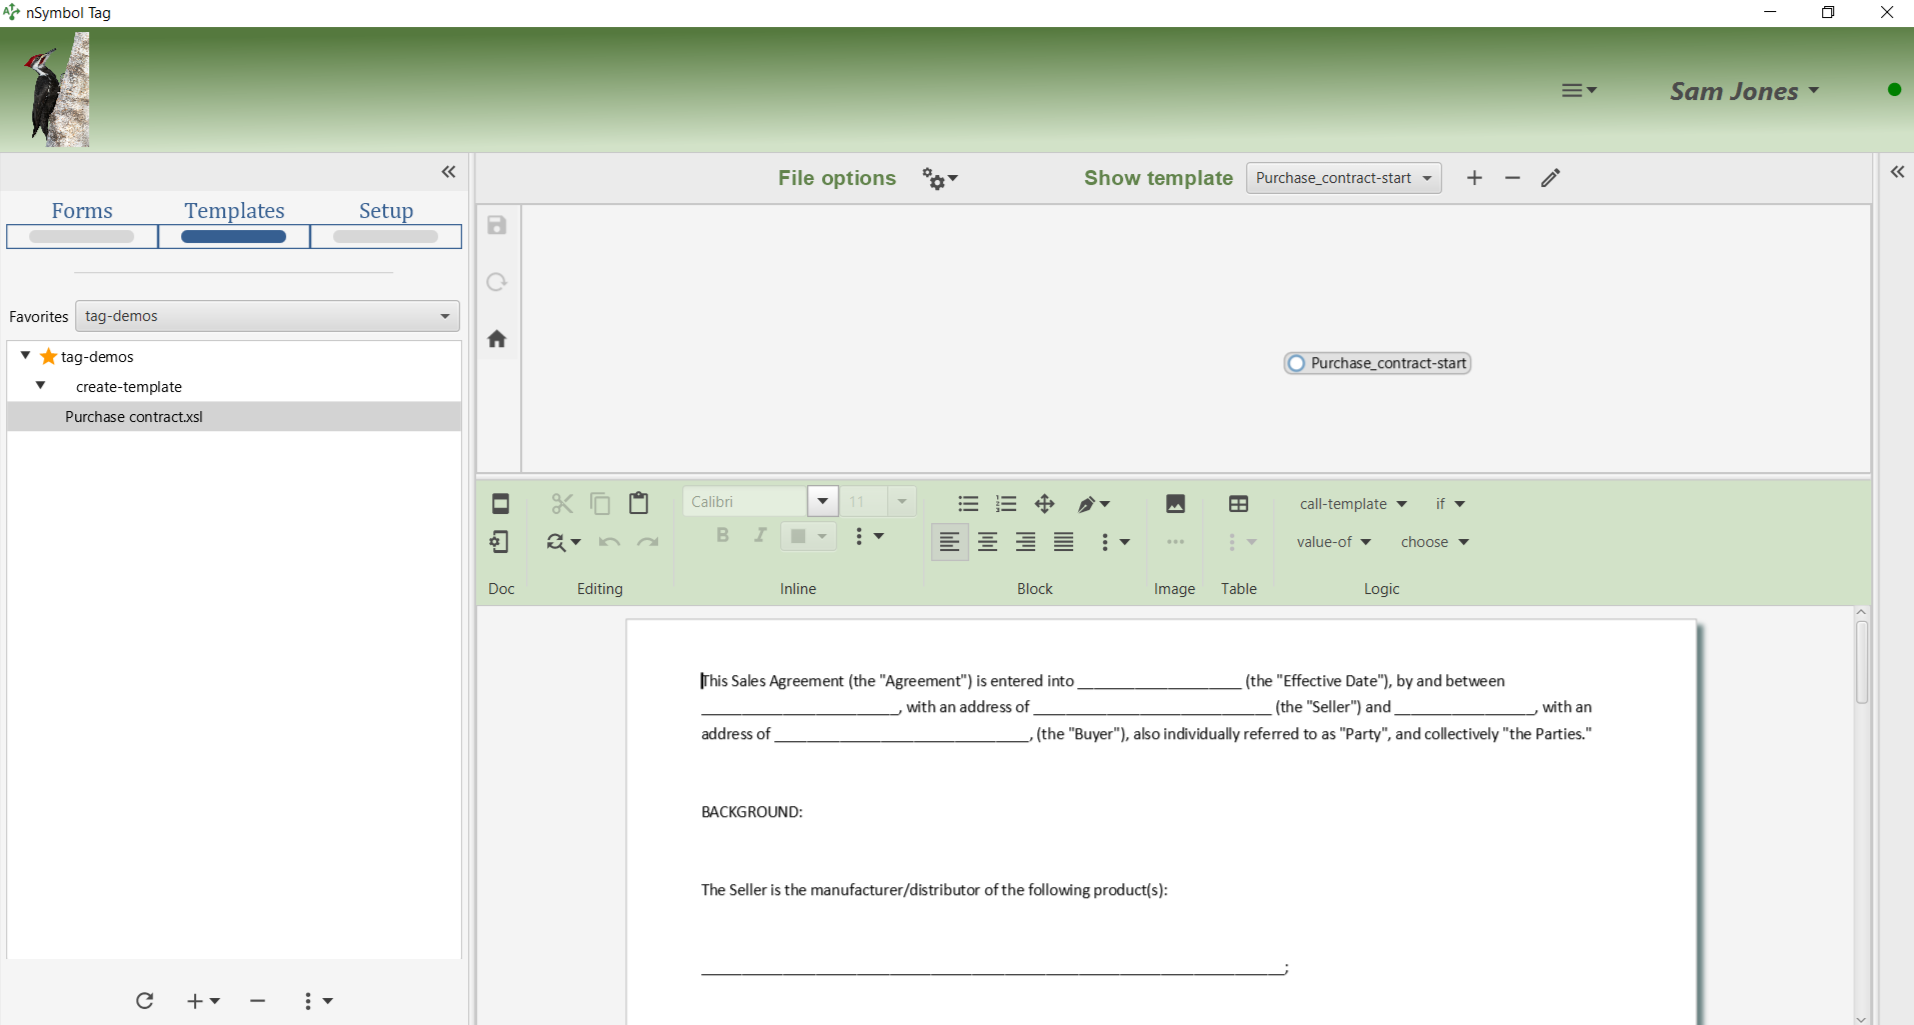
In the Setup screen, create contract.rng and add fields identified in the previous step. Add Labels and select the appropriate Form control for each field.
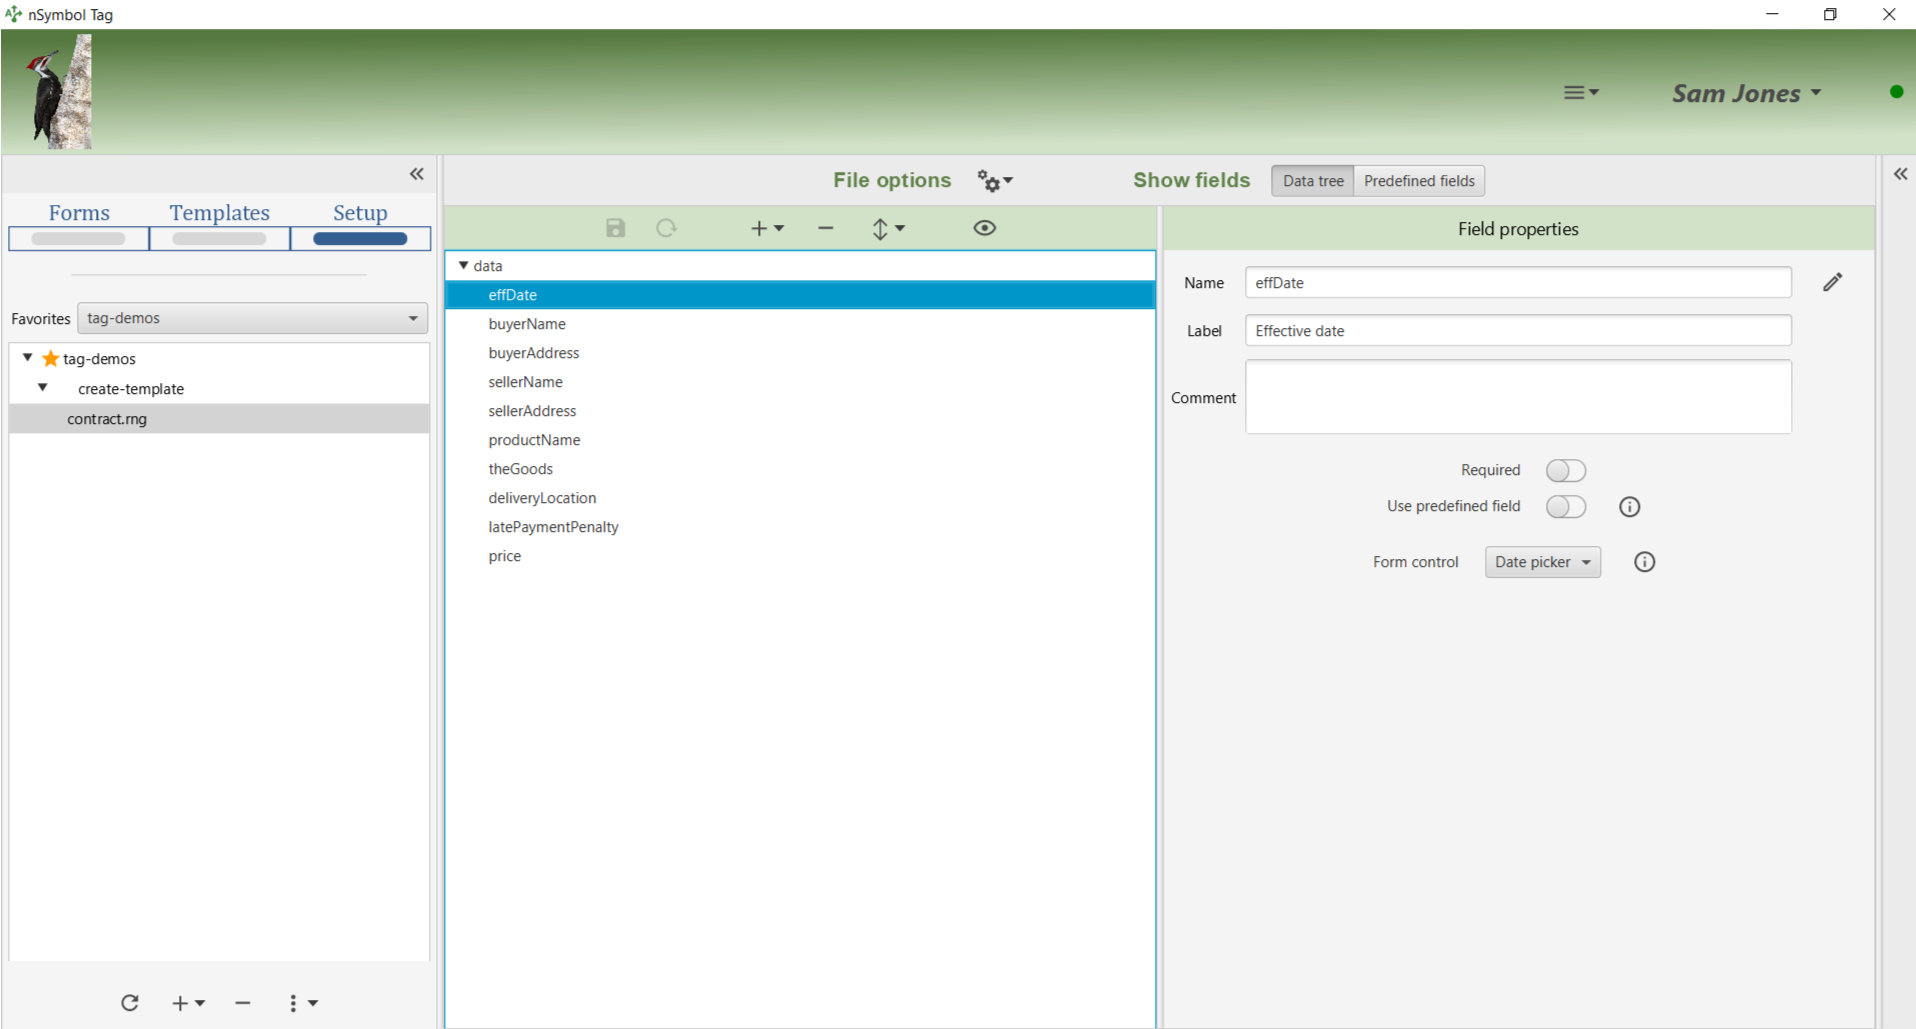
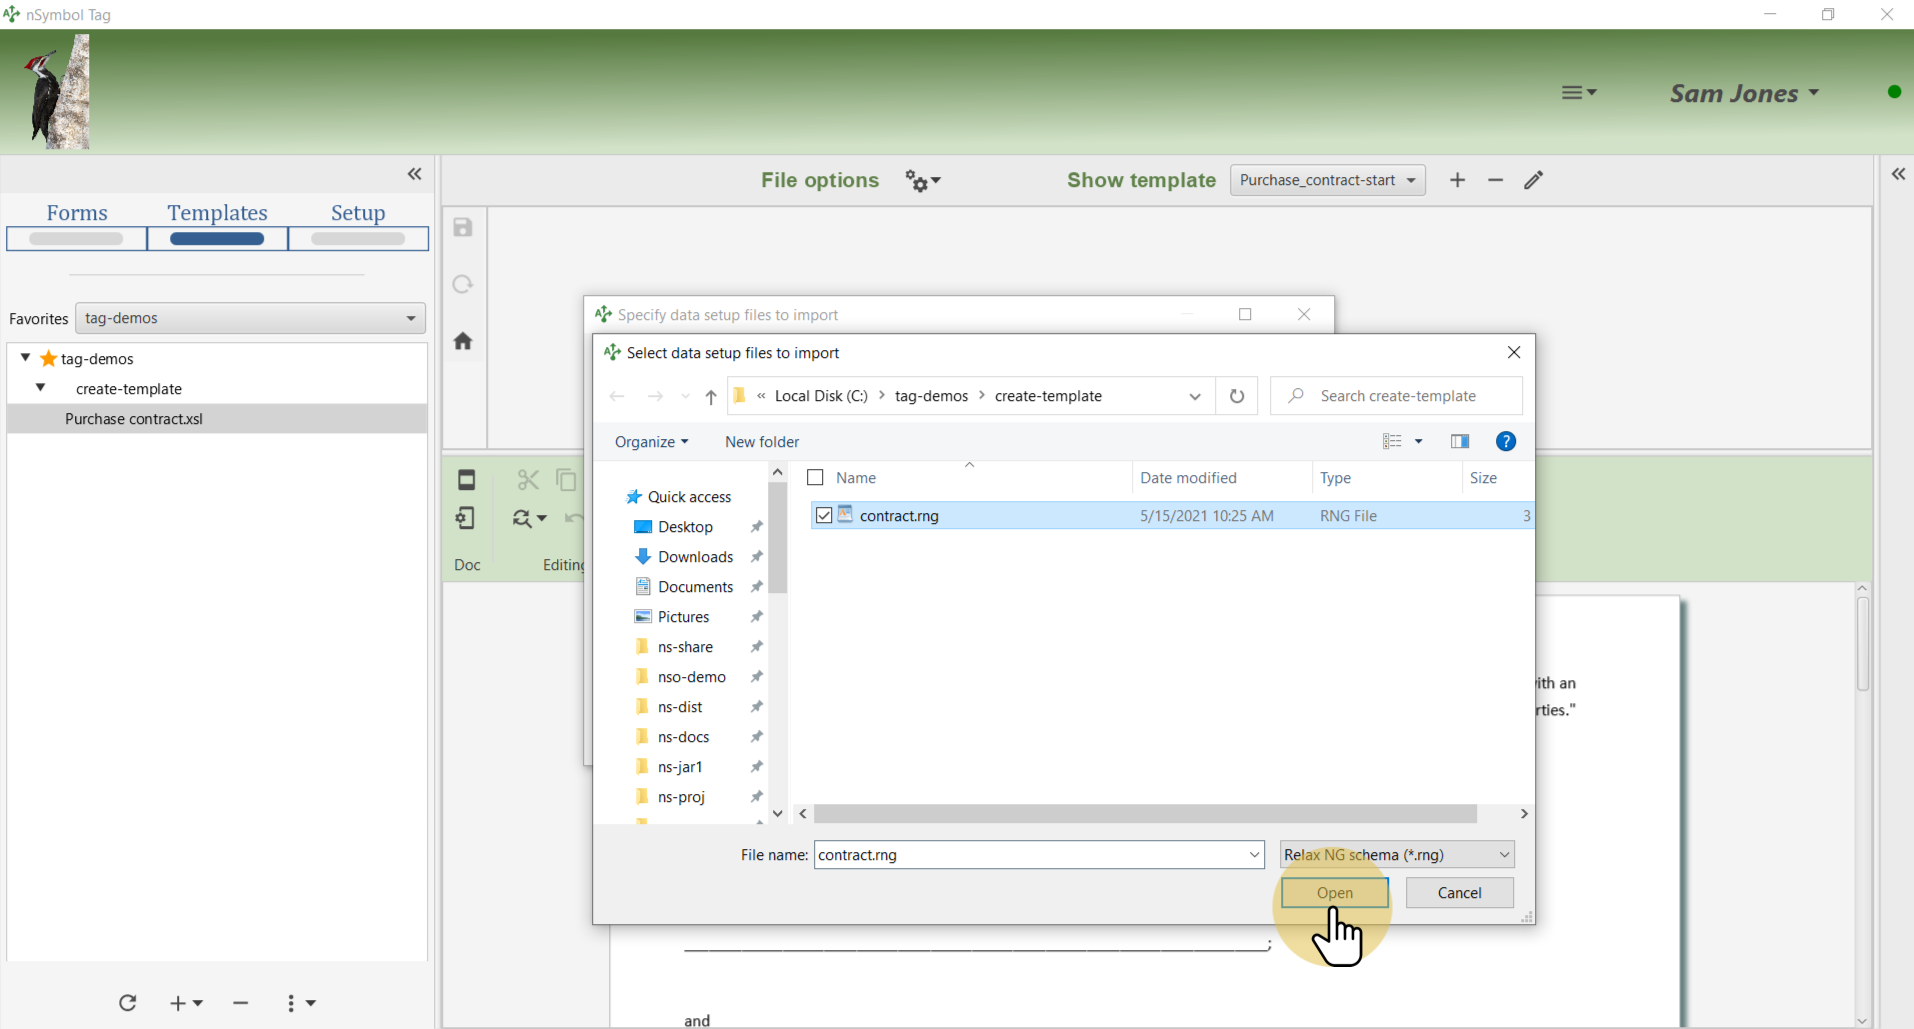
Return to the Templates screen and use the Import data setup... menu item to open an import dialog.
Select the data setup file created earlier and click Open.
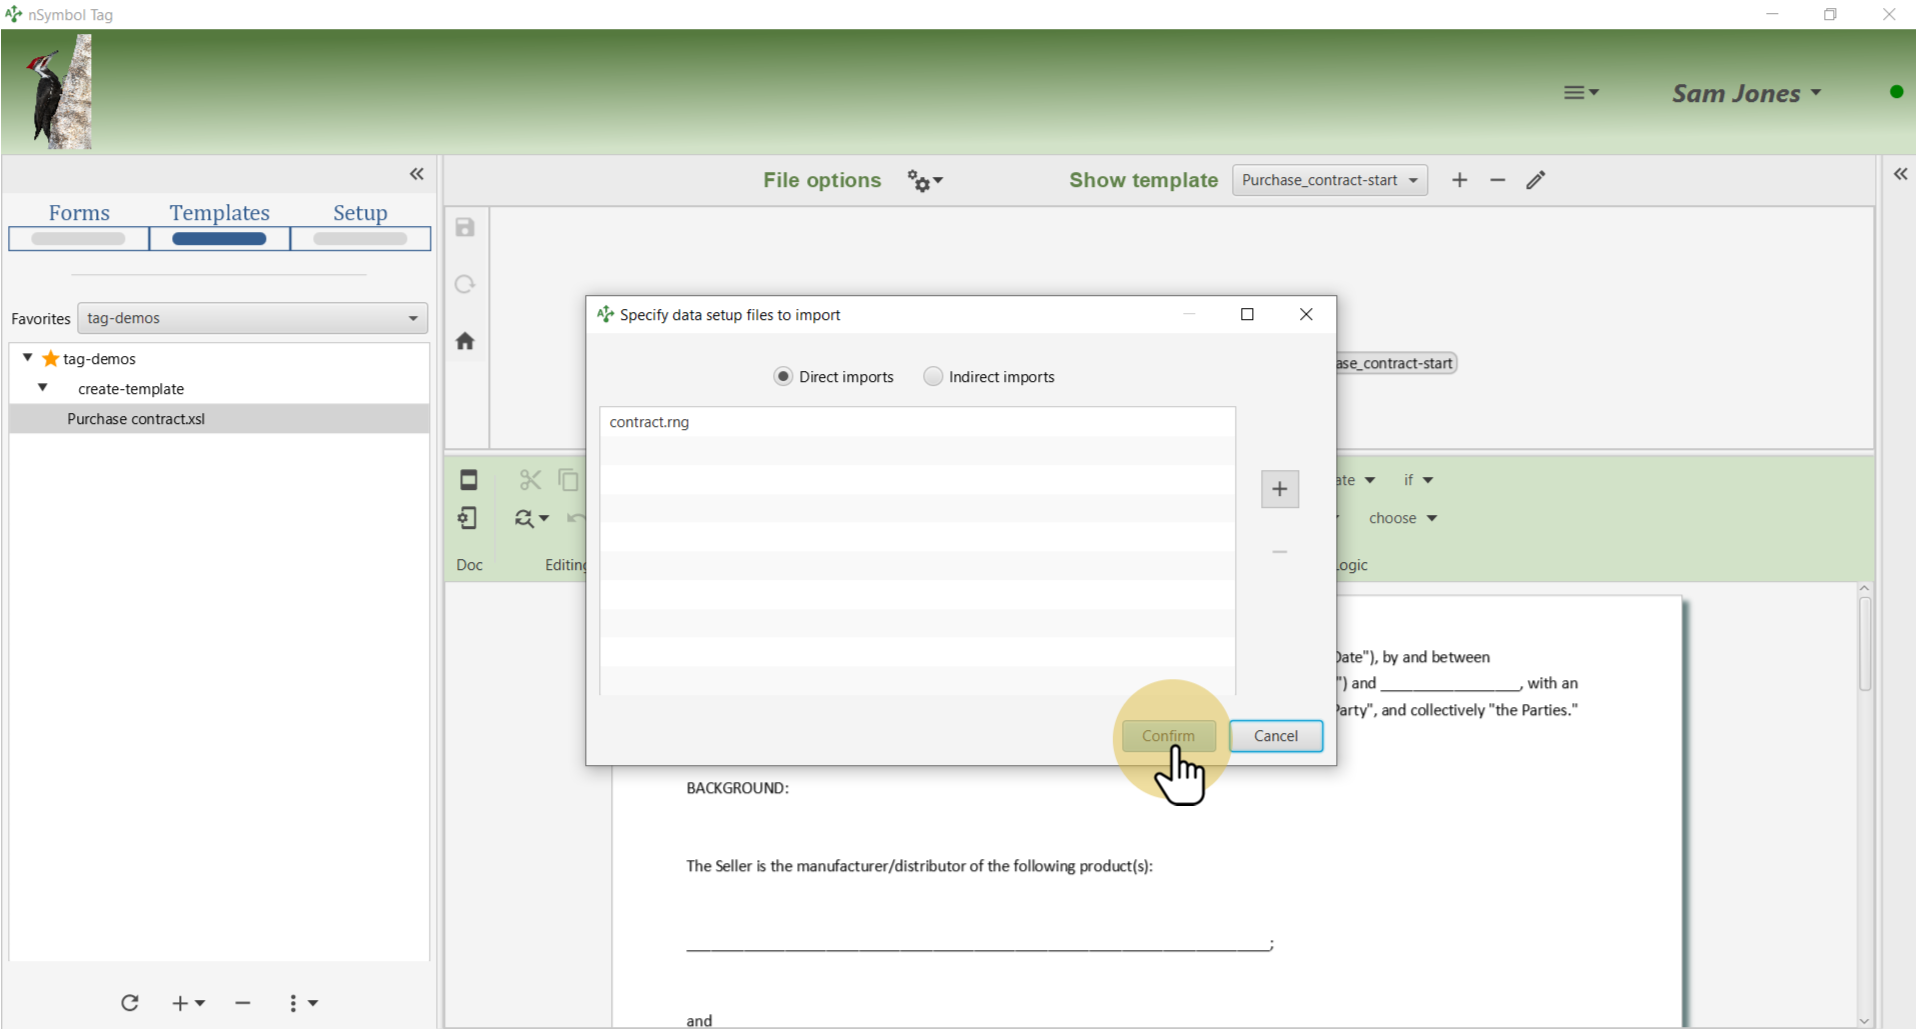
Click the Confirm button to add the file as a direct data setup import.
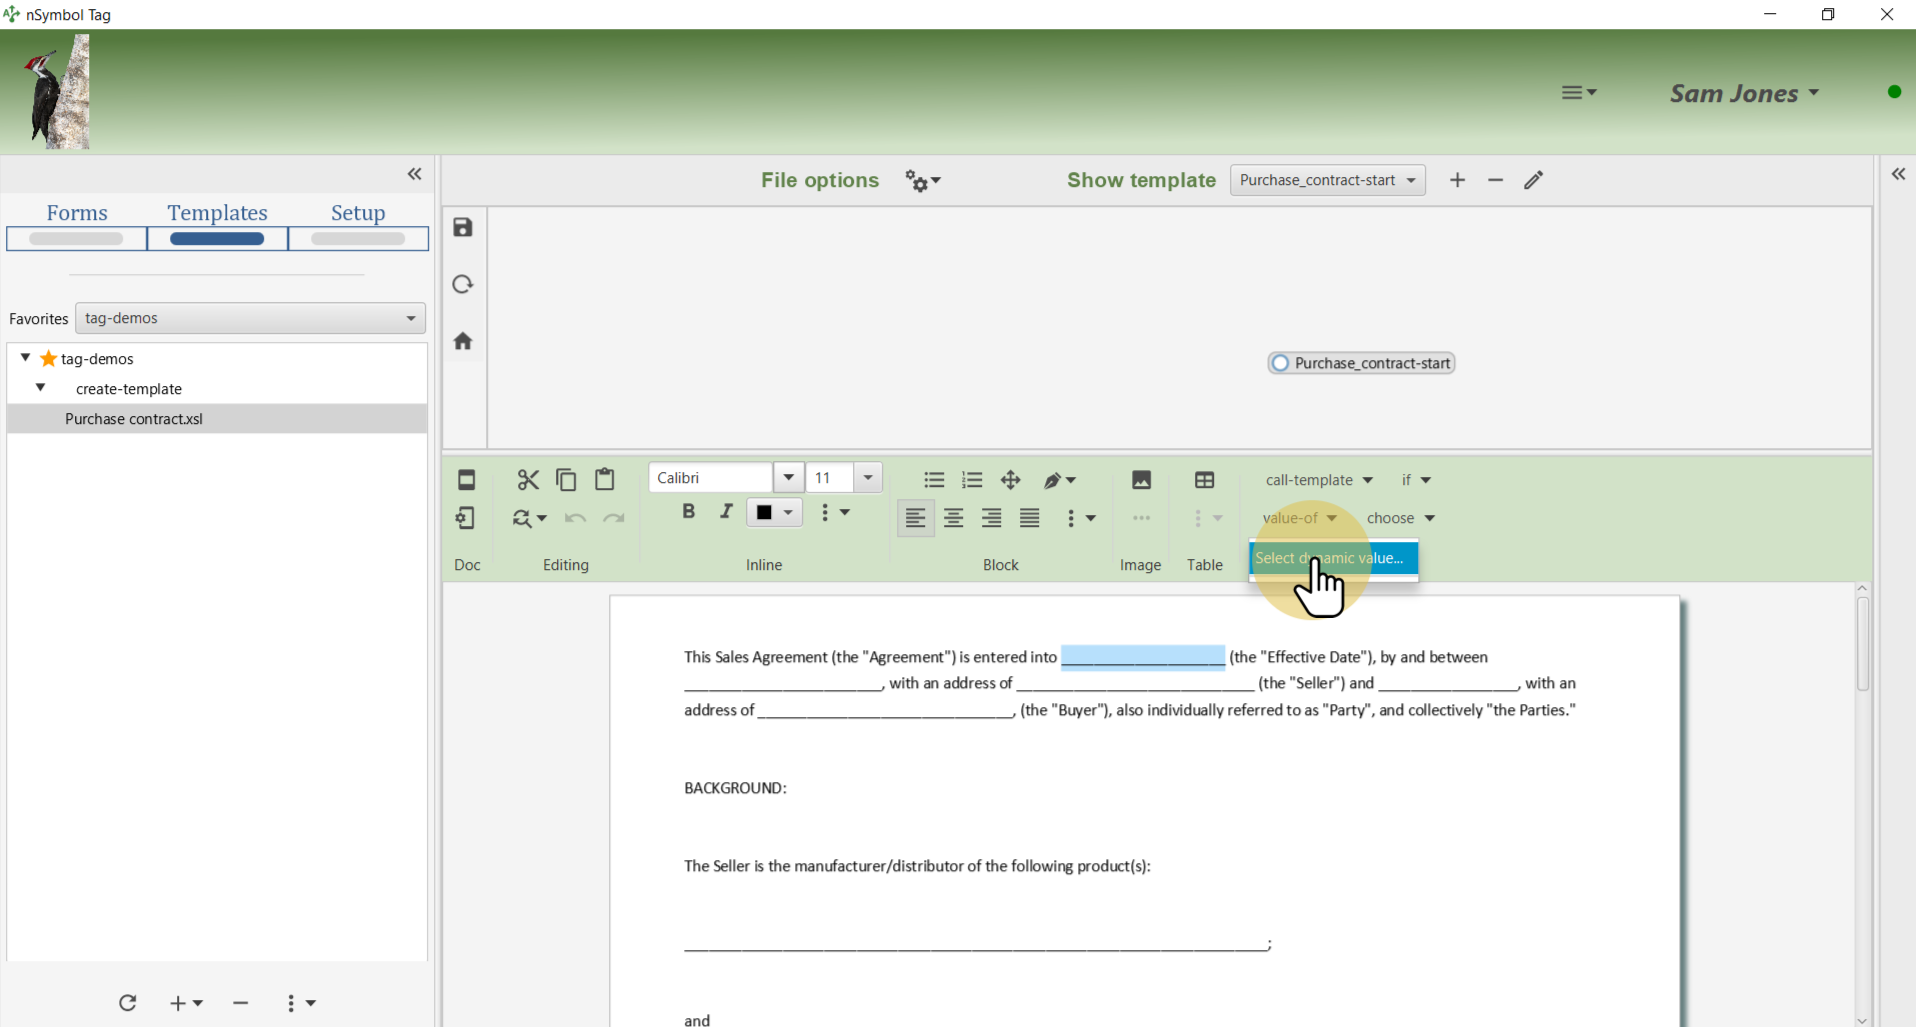
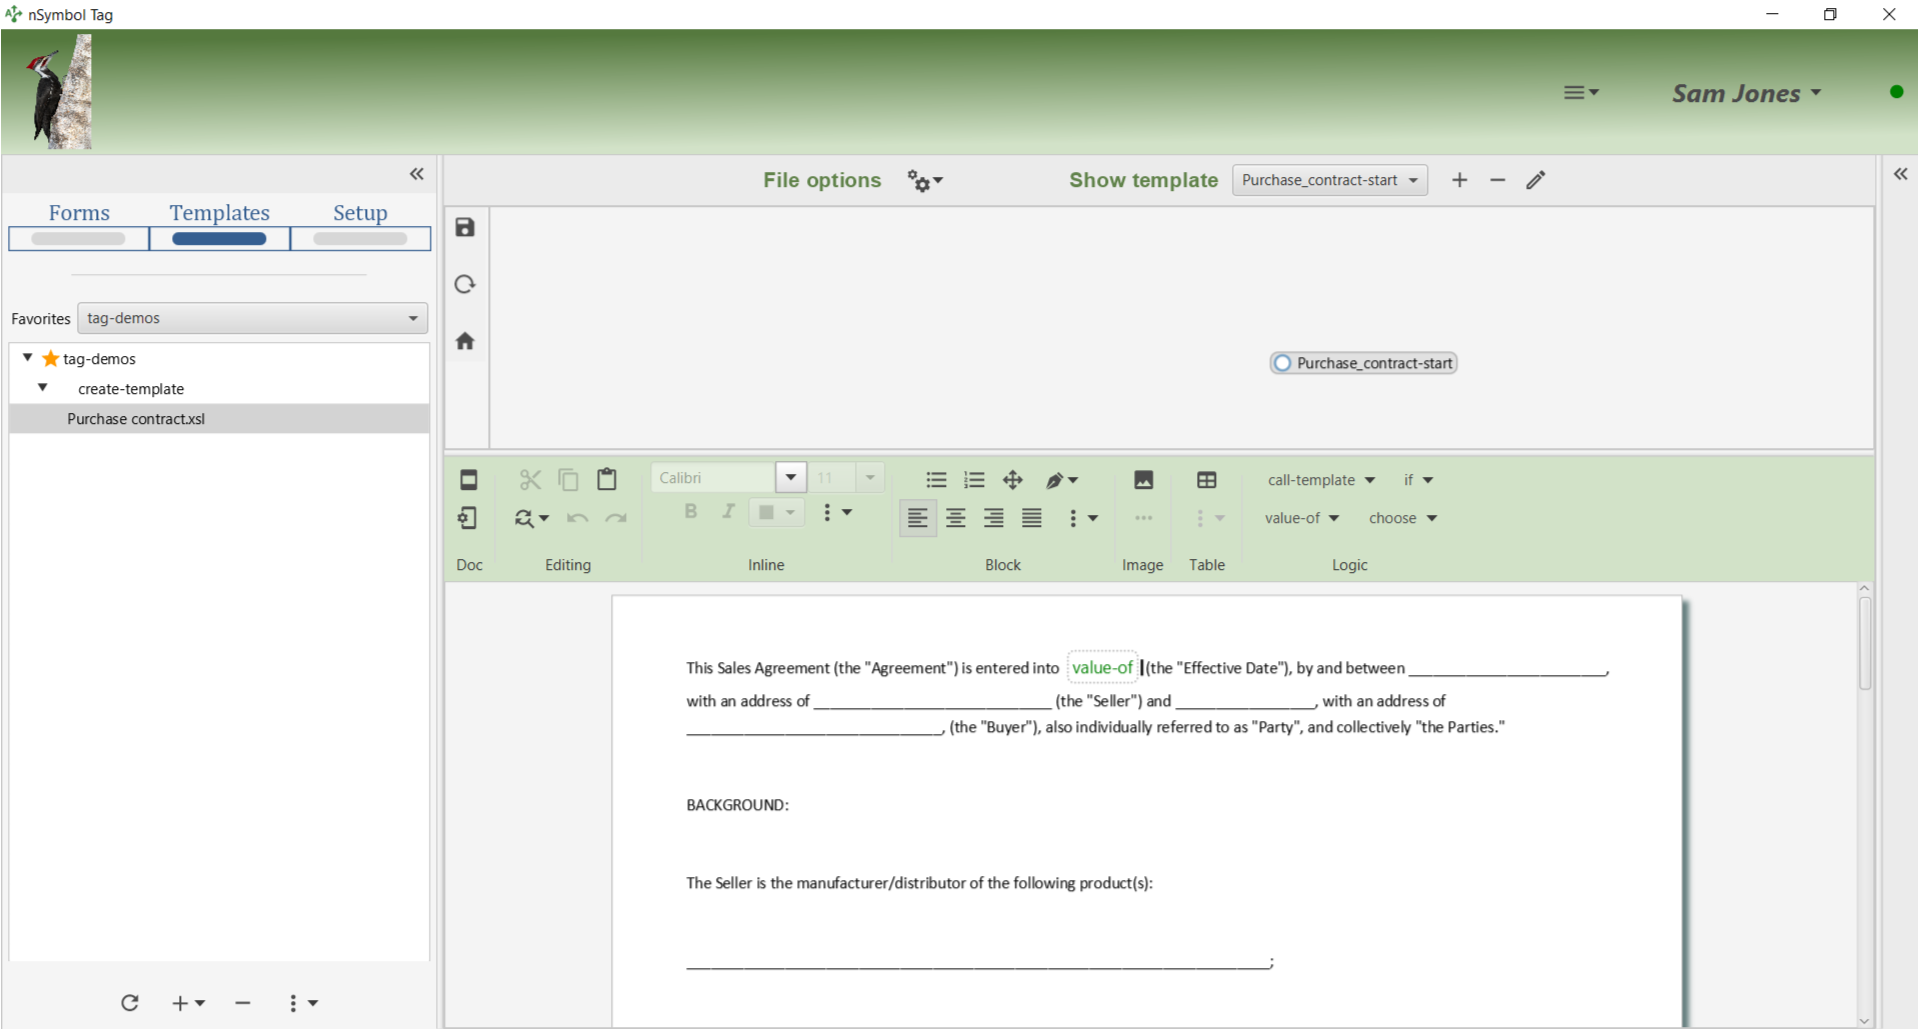
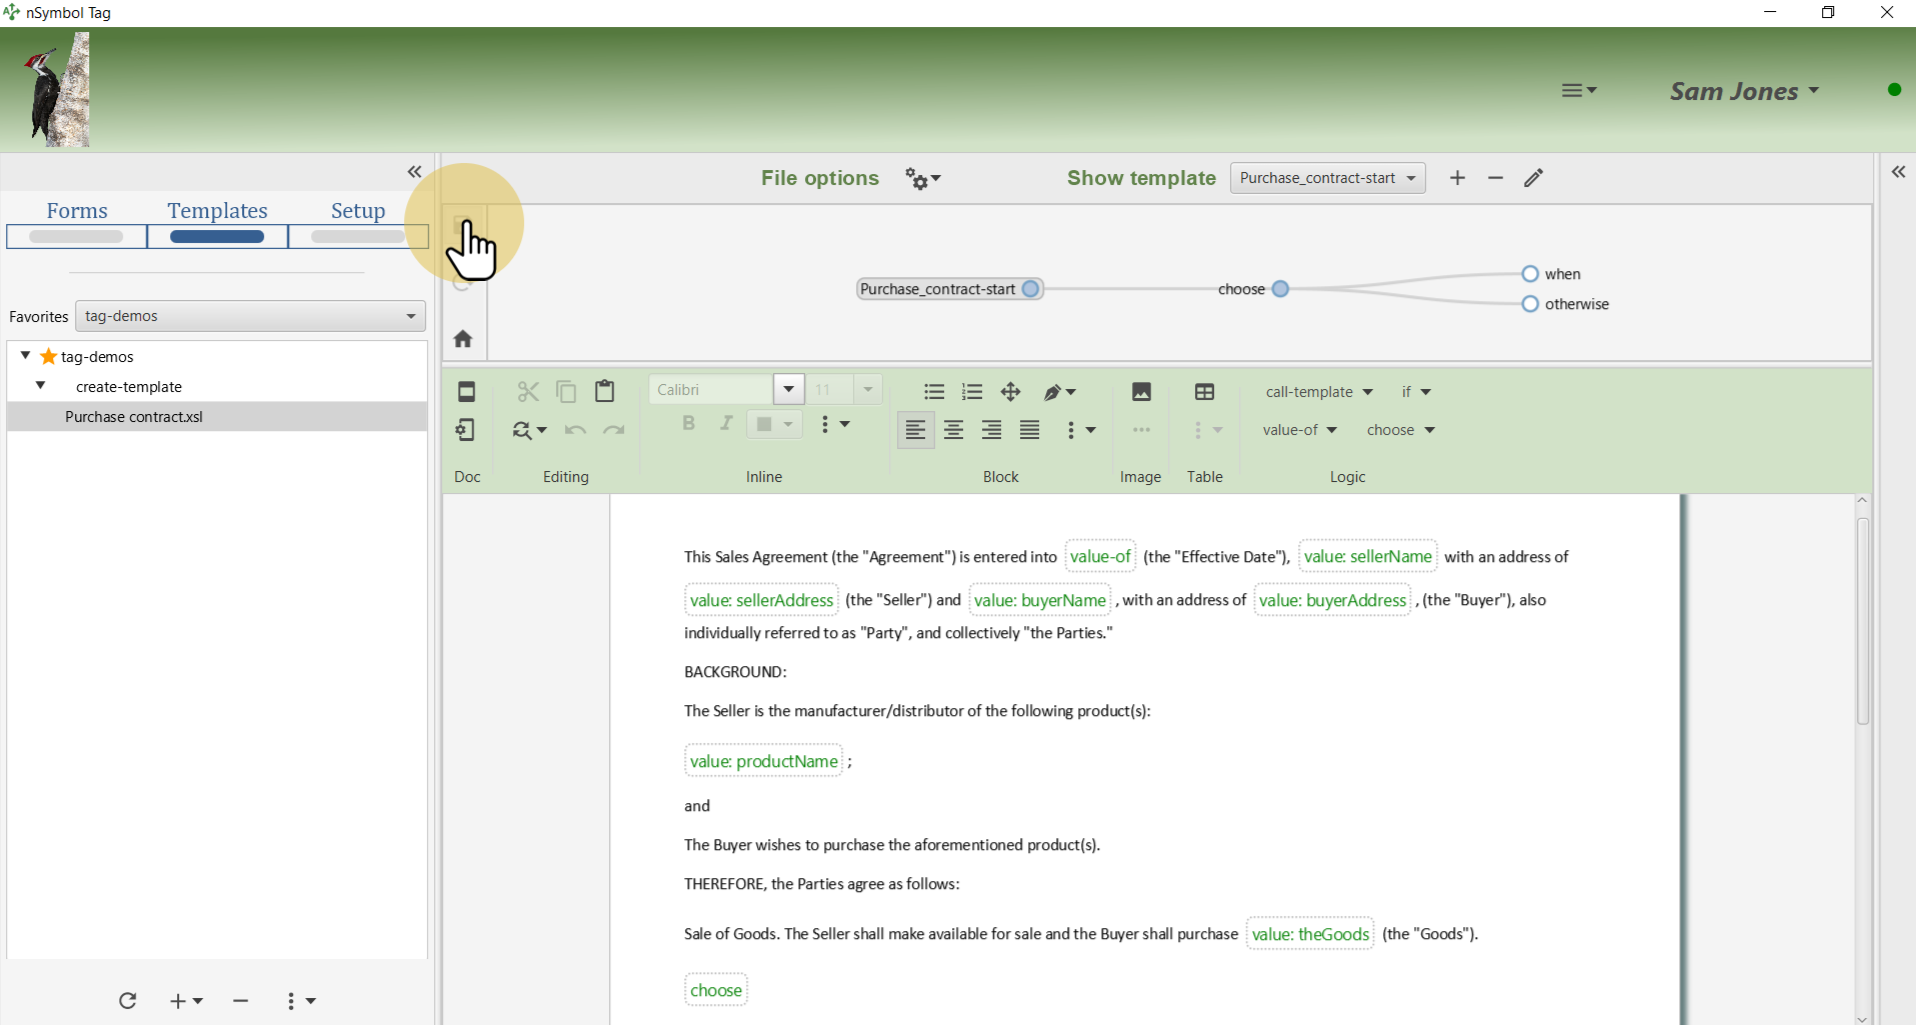
Select the underline area representing effective date and open the value-of menu on the Logic toolbar. Use the Select dynamic value... menu item to open the expression dialog.
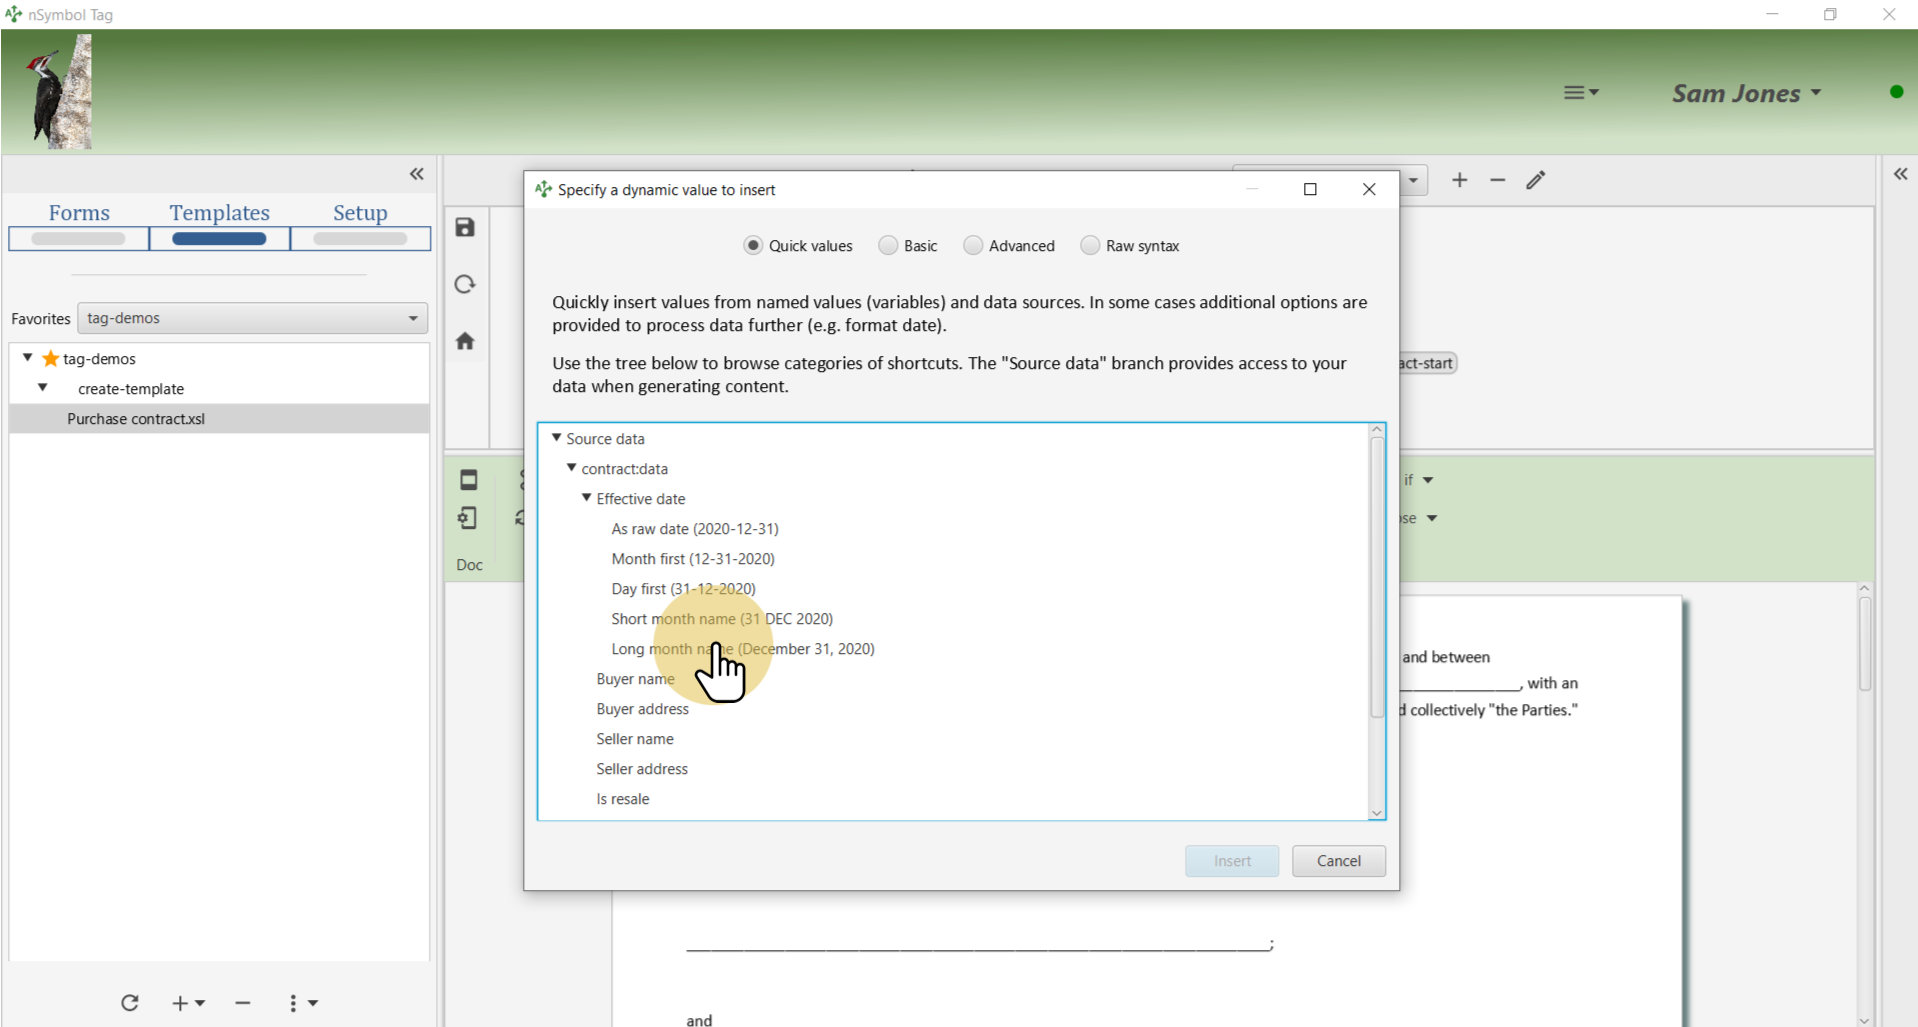
Click on the Quick values radio button and expand the Source data tree.
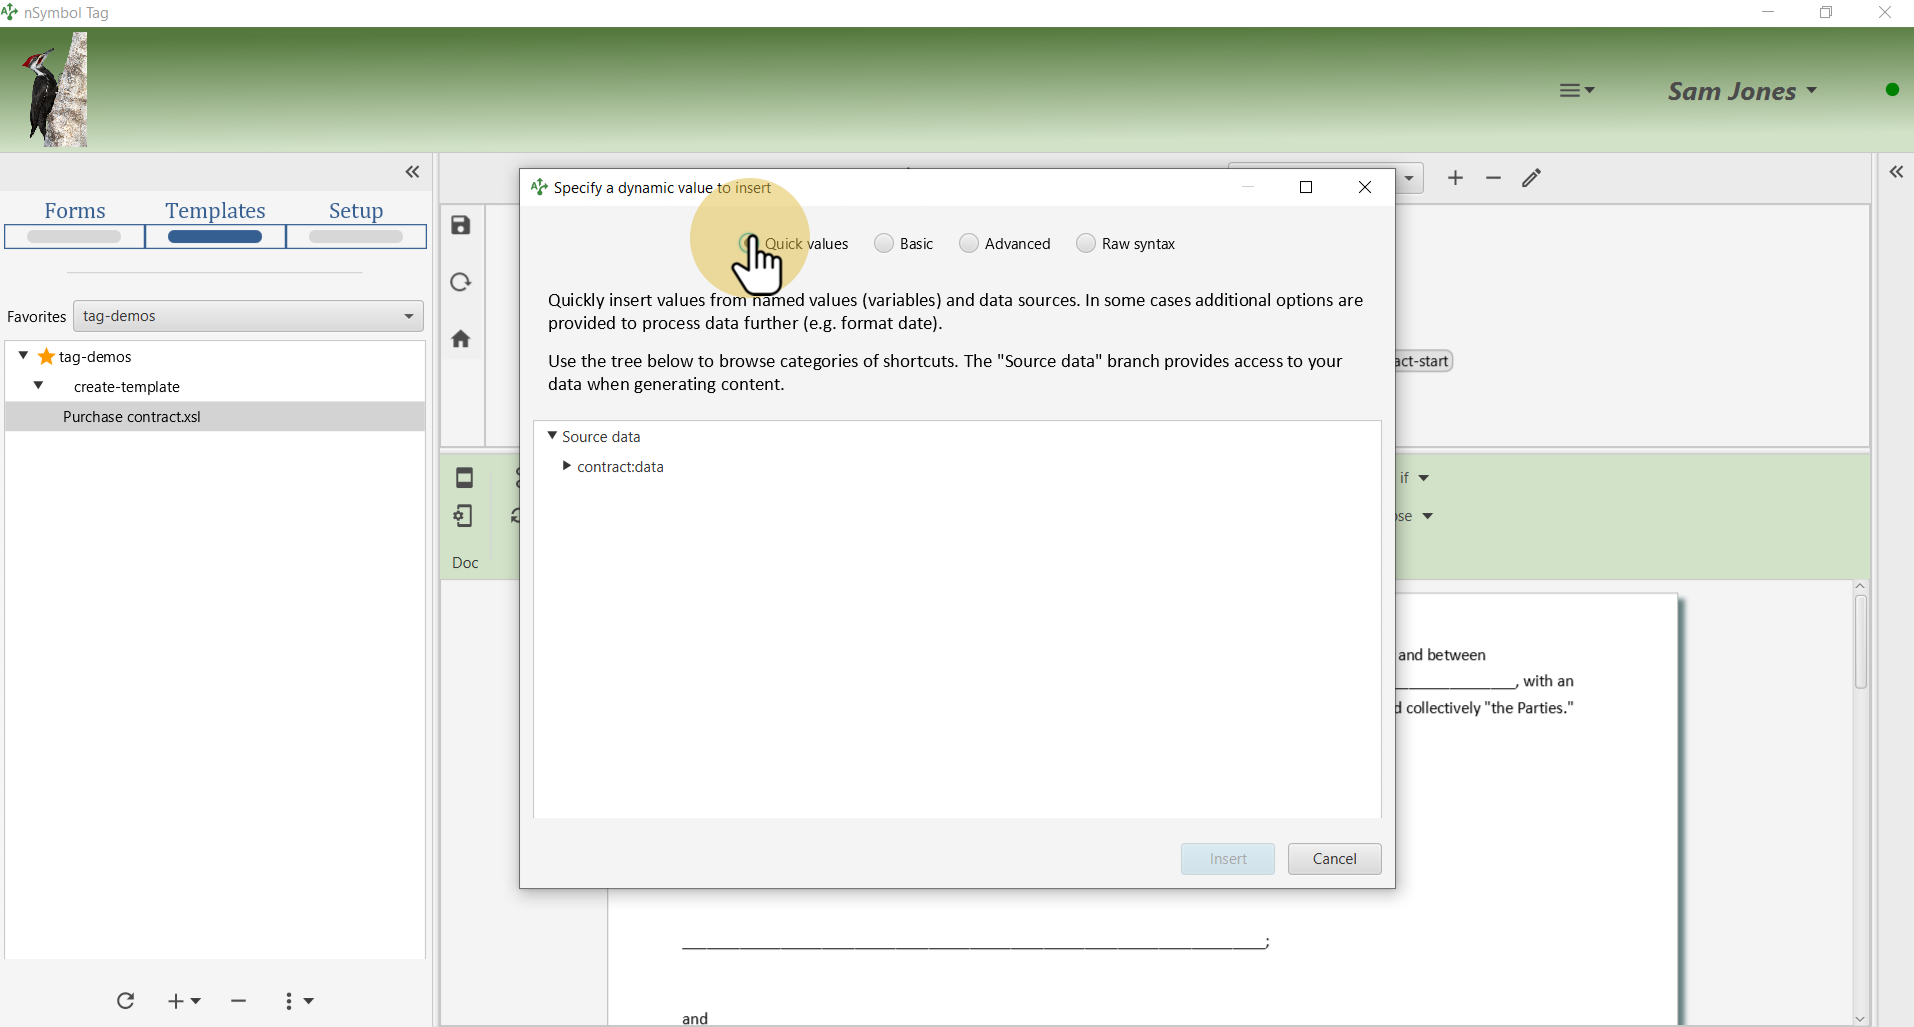
Expand the Effective date branch and select the desired date format. Click Insert when done.
Repeat the prior step for all underline areas.
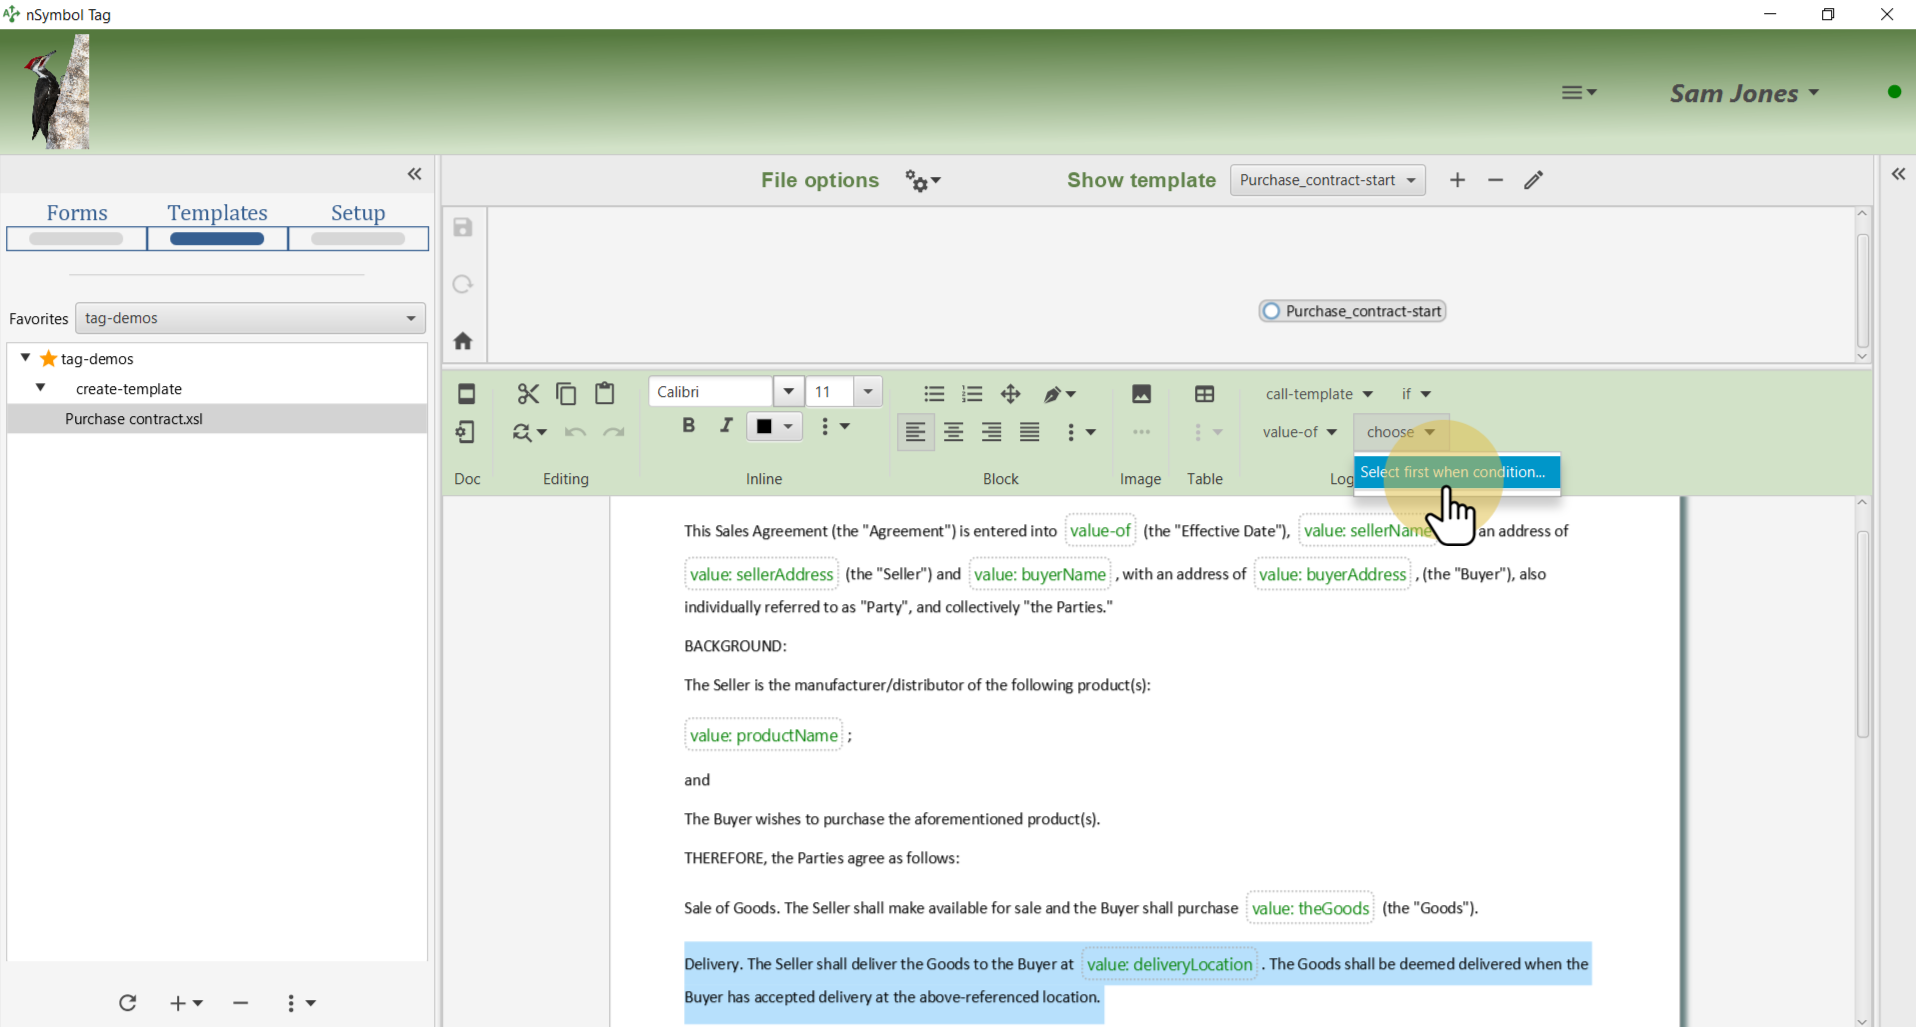
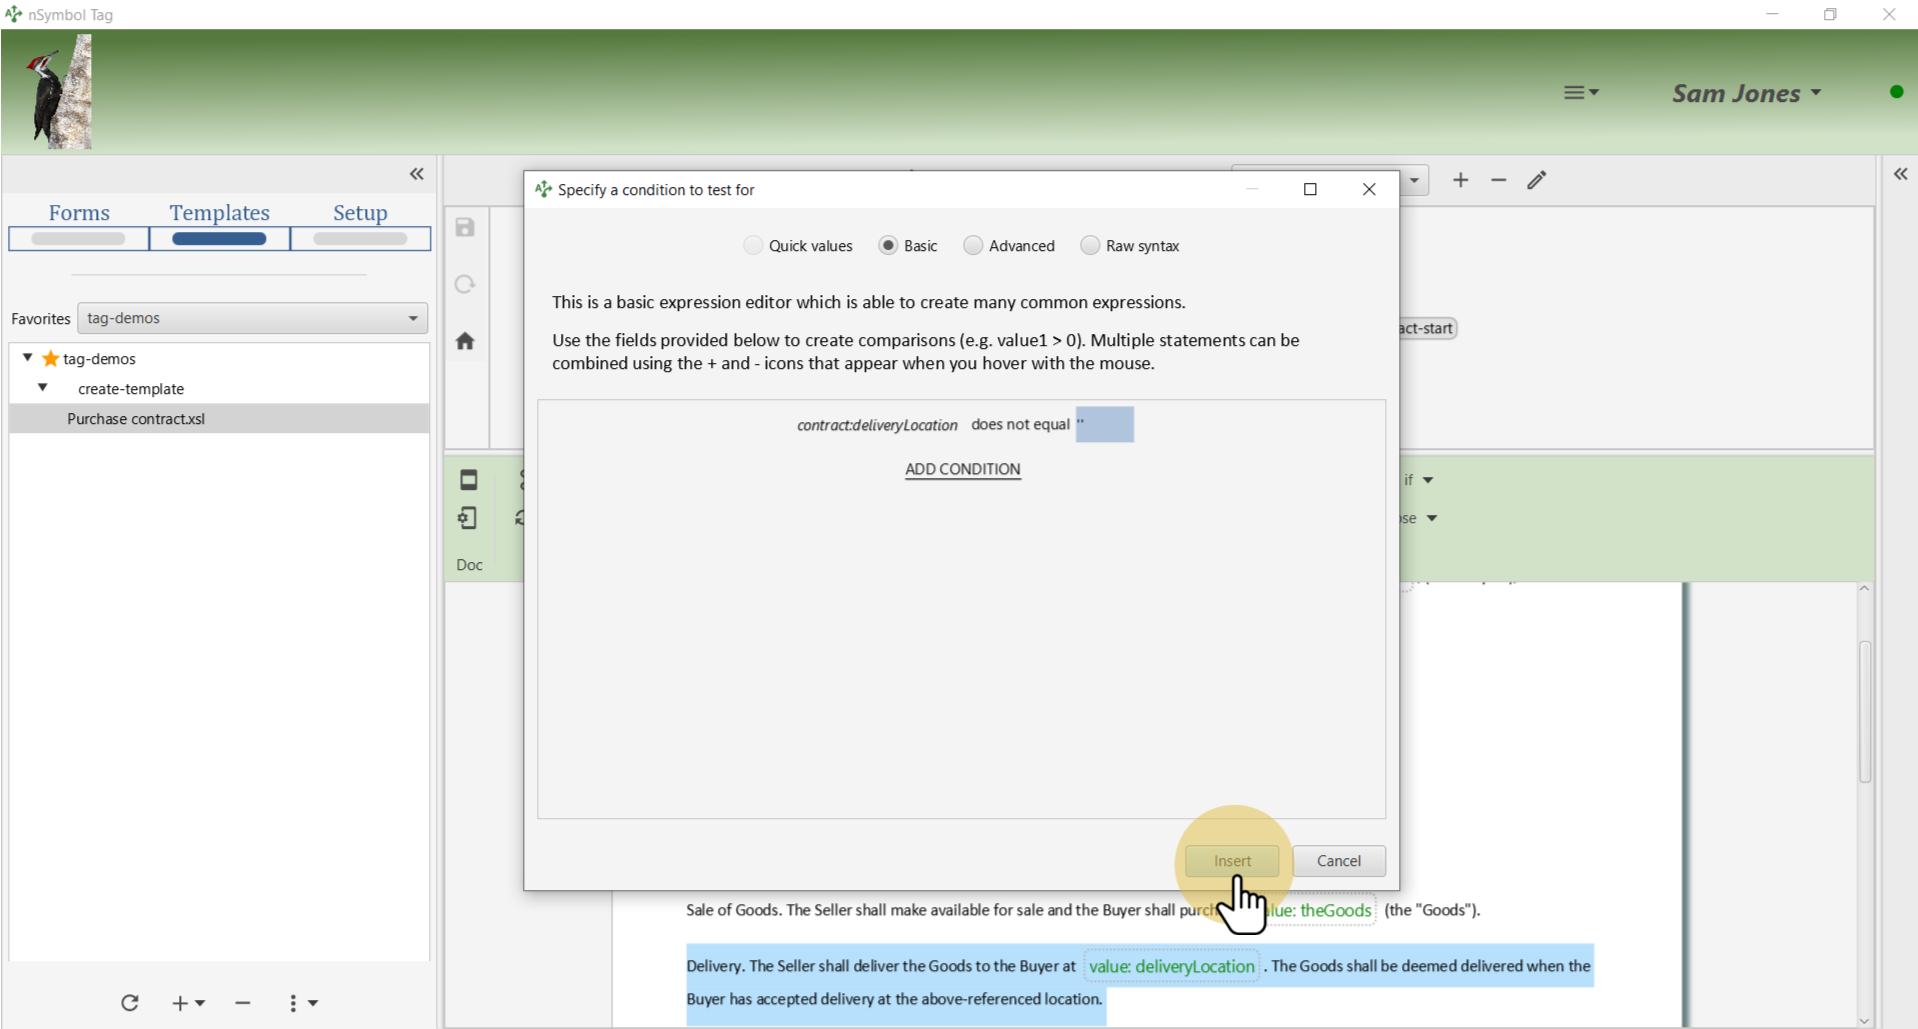
Select the delivery clause in text and use the Select first when condition... menu item under the choose menu on the Logic toolbar. This will open the expression editor.
Select the Basic panel which builds one or more 3-part condition statements. Click on the left part and select Delivery location in the Source data menu.
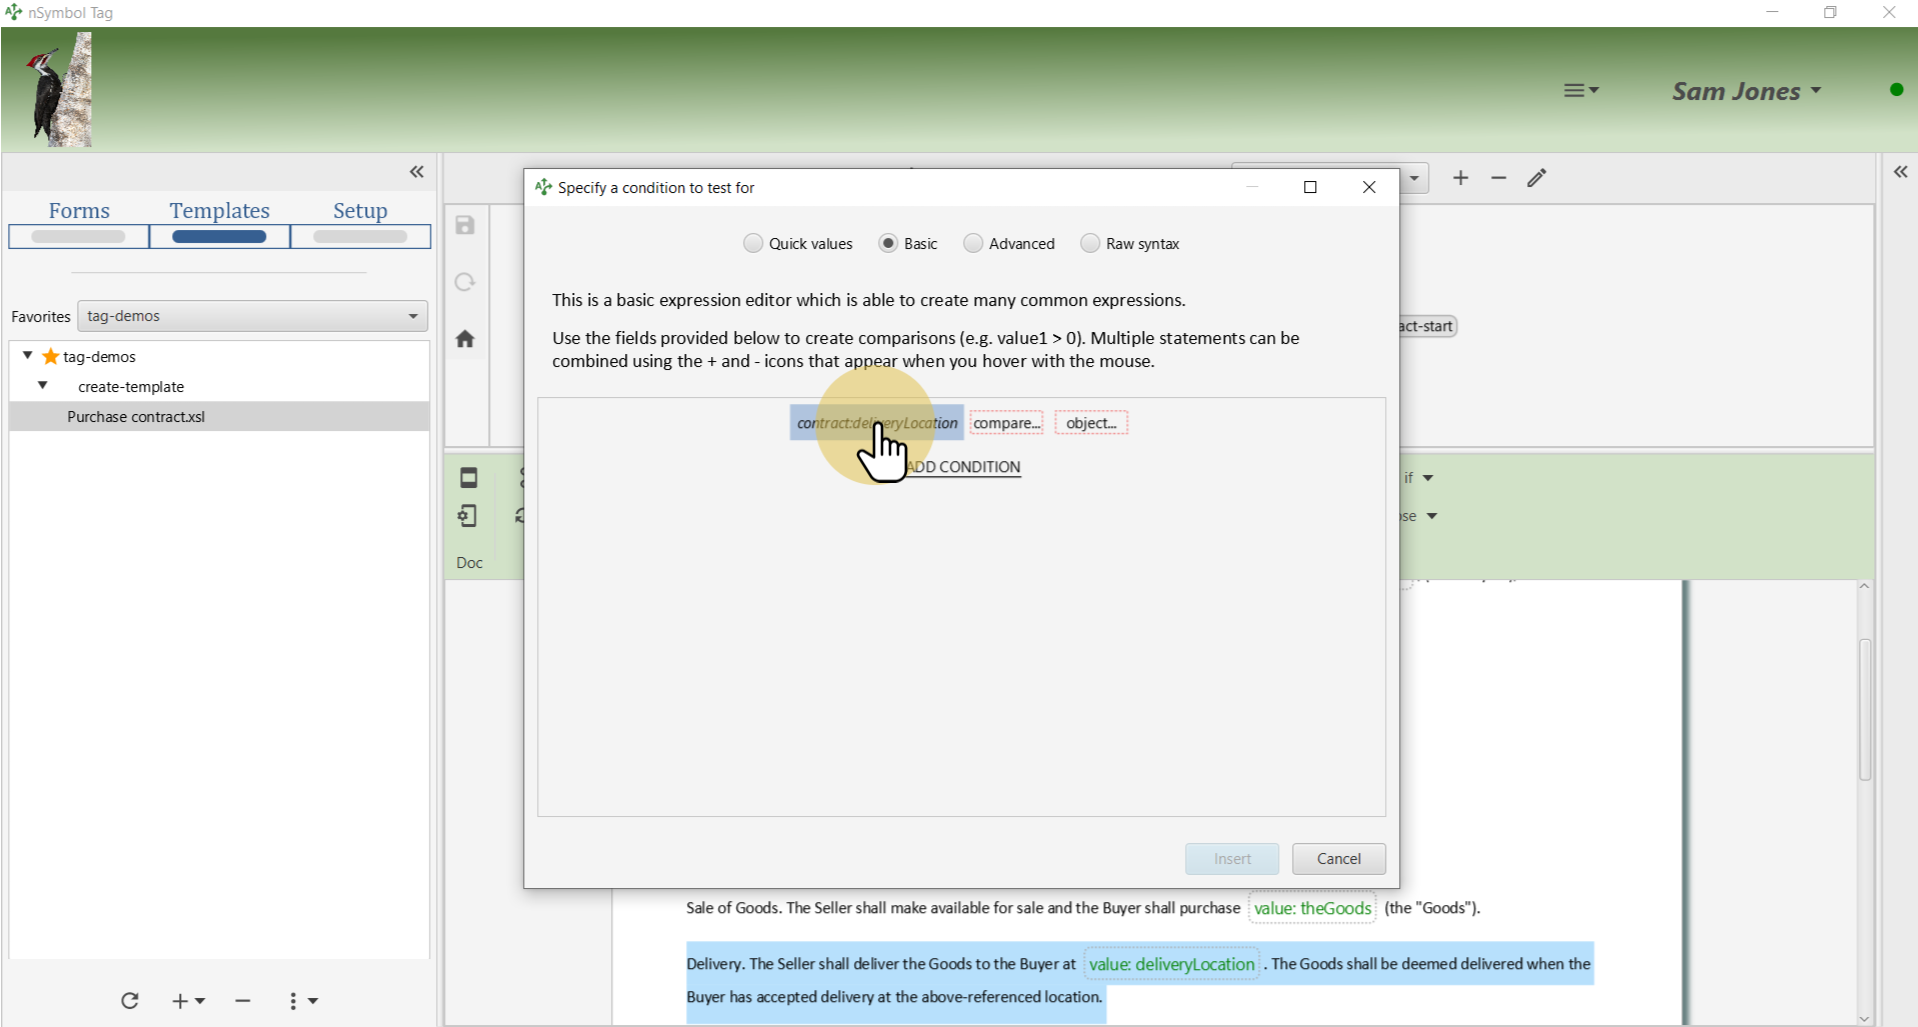
Finish this expression by selecting "does not equal" in the center part, and a Literal string value of '' in the right part. Click Insert when done.
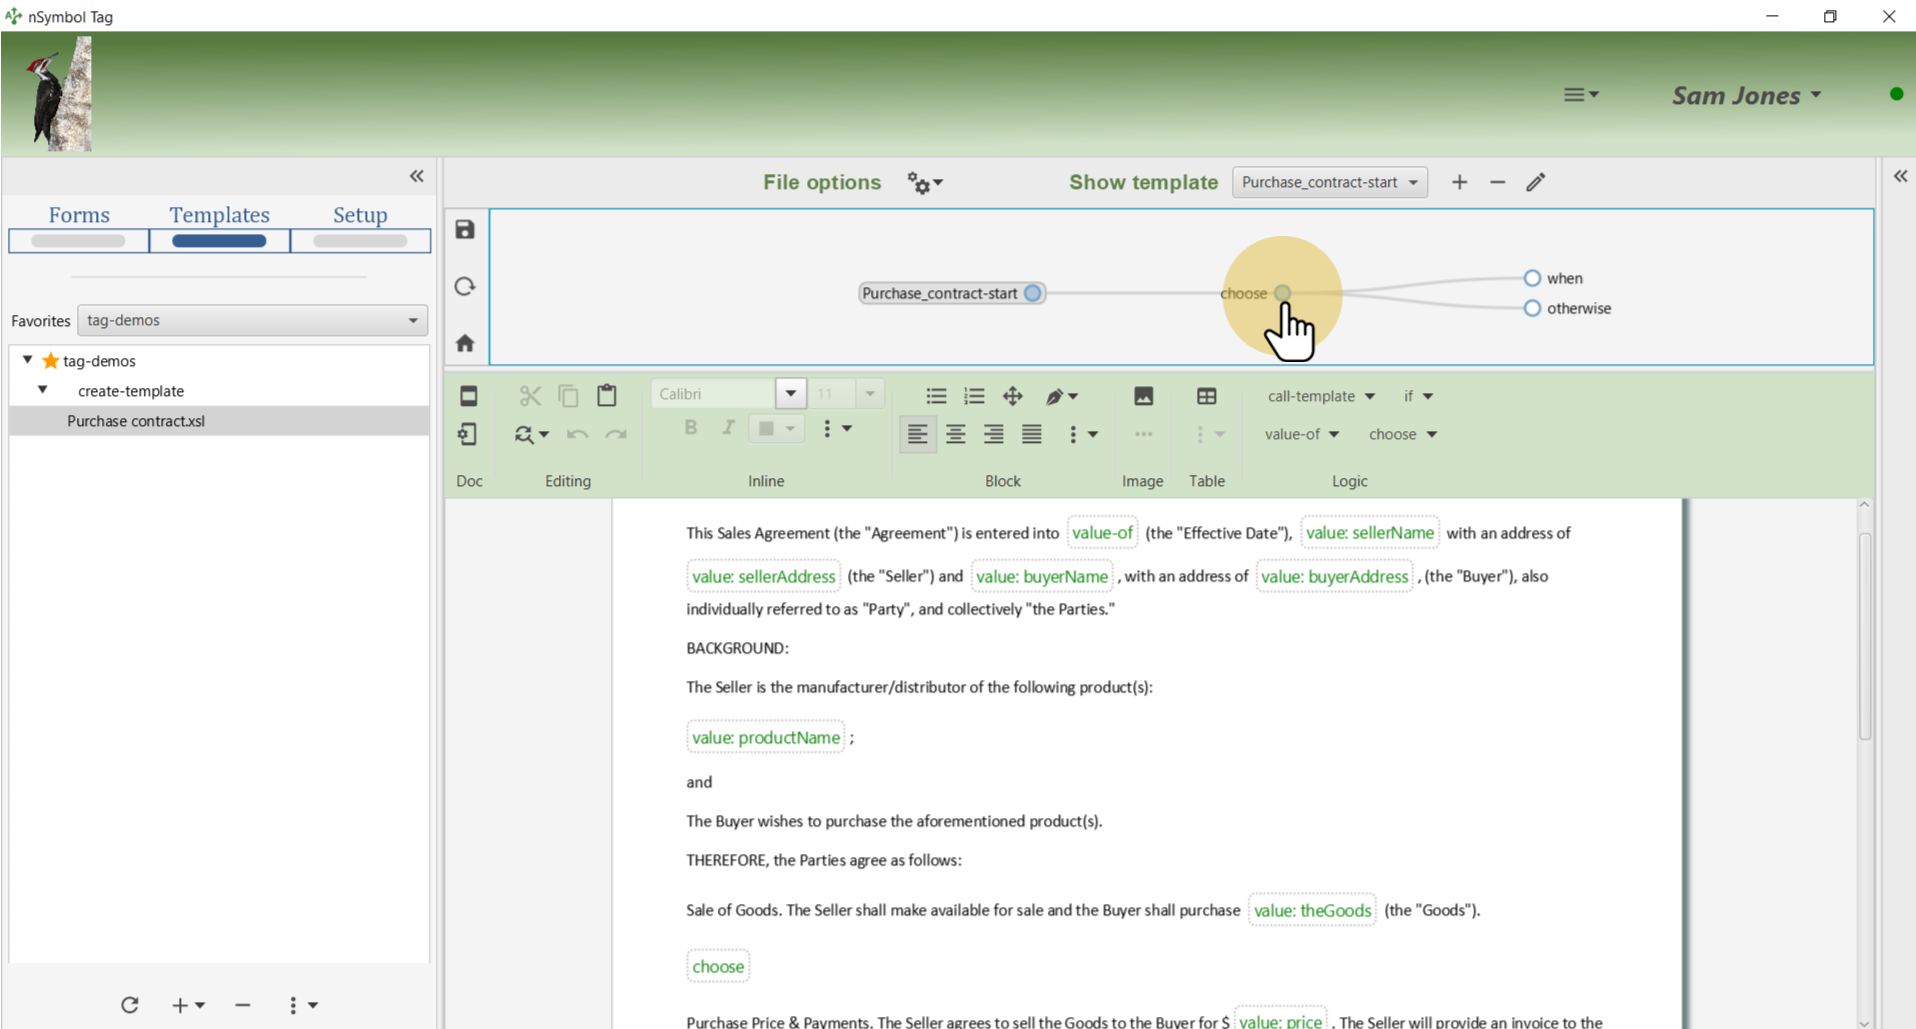
Expand the decision tree graph to view the logical flow of this clause. A choose/when instruction will insert the first when fragment that has an expression which returns true, or the otherwise fragment if there is one.
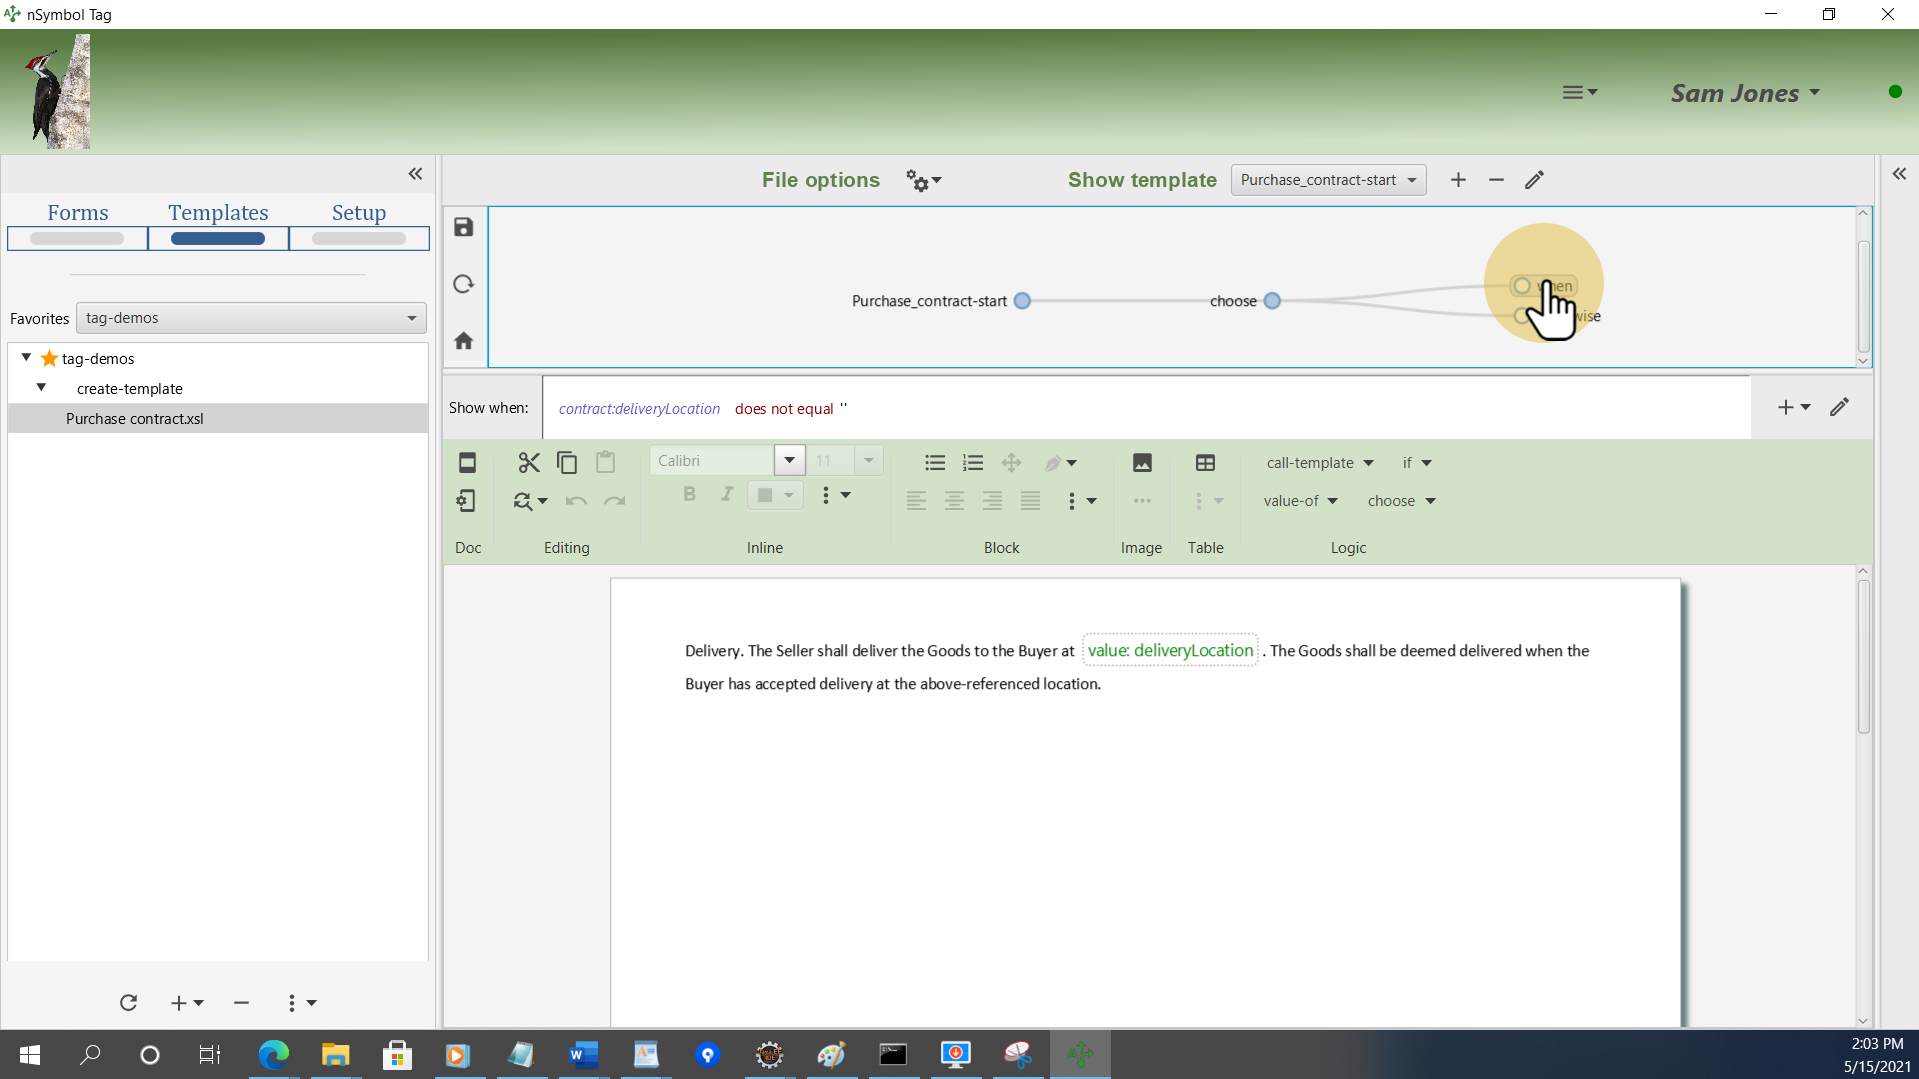
Nothing needs to be done here. This when fragment will be inserted if the deliveryLocation field has a non-empty value. Review that the wording is still what you want.
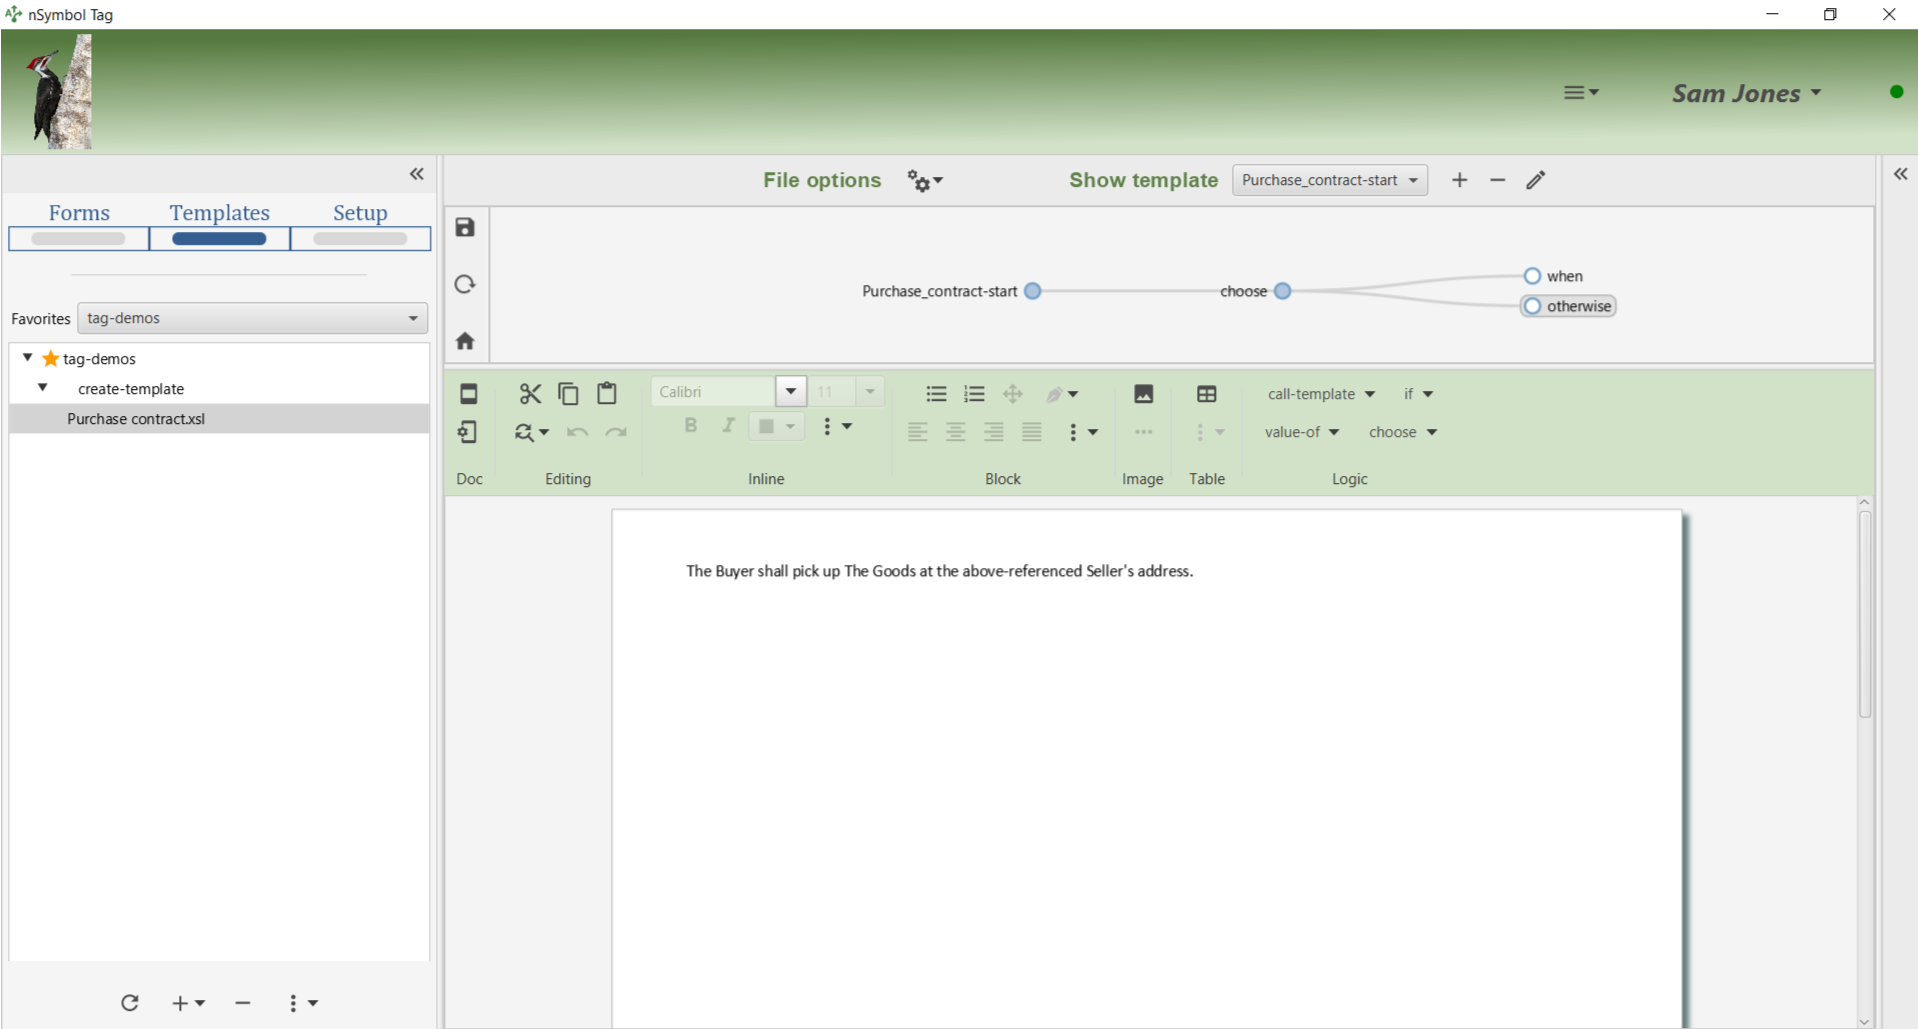
Click on the otherwise branch in the decision tree and type some content.
Click the save tool and go to the Forms screen to test the new dynamic contract. Note that an if instruction was also added to hide the late payment penalty clause if the late payment checkbox in the form is false.
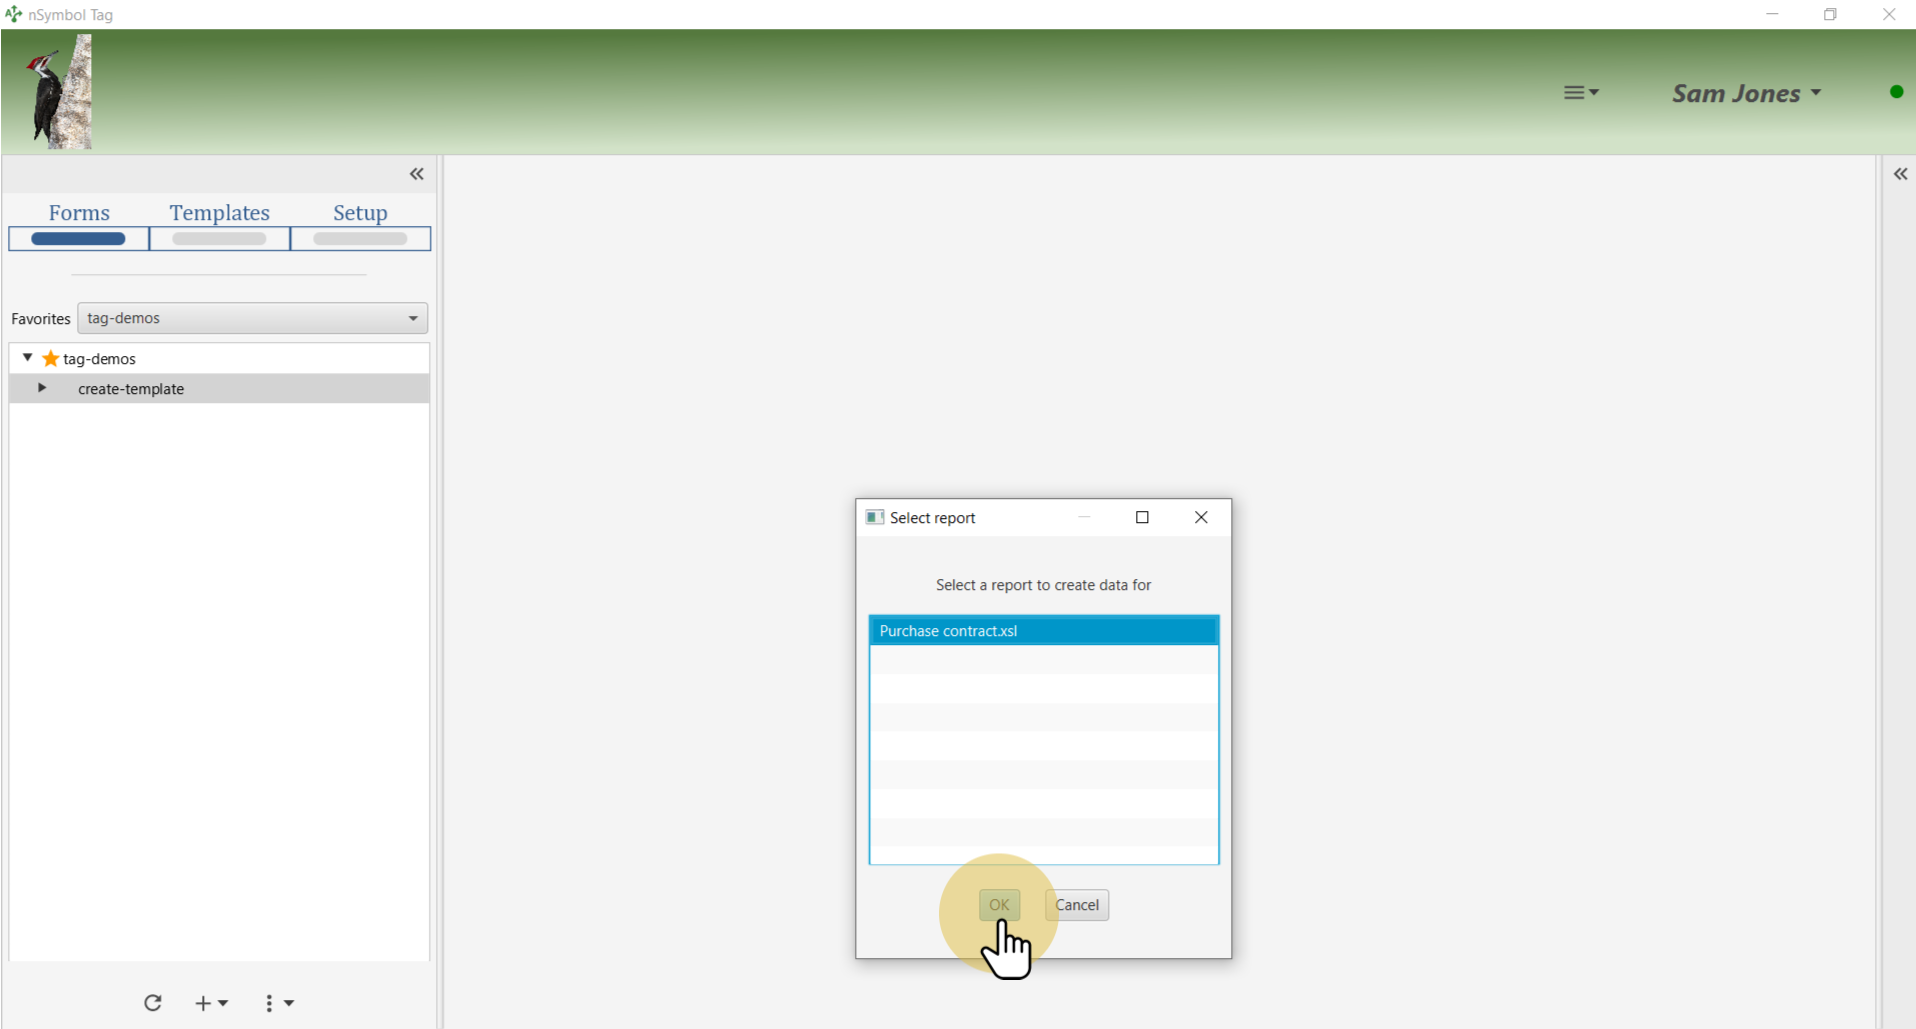
Using the plus menu beneath the file tree, use the Add data file for / Report in this folder... menu item to open a dialog.

Select the report created earlier and click OK.
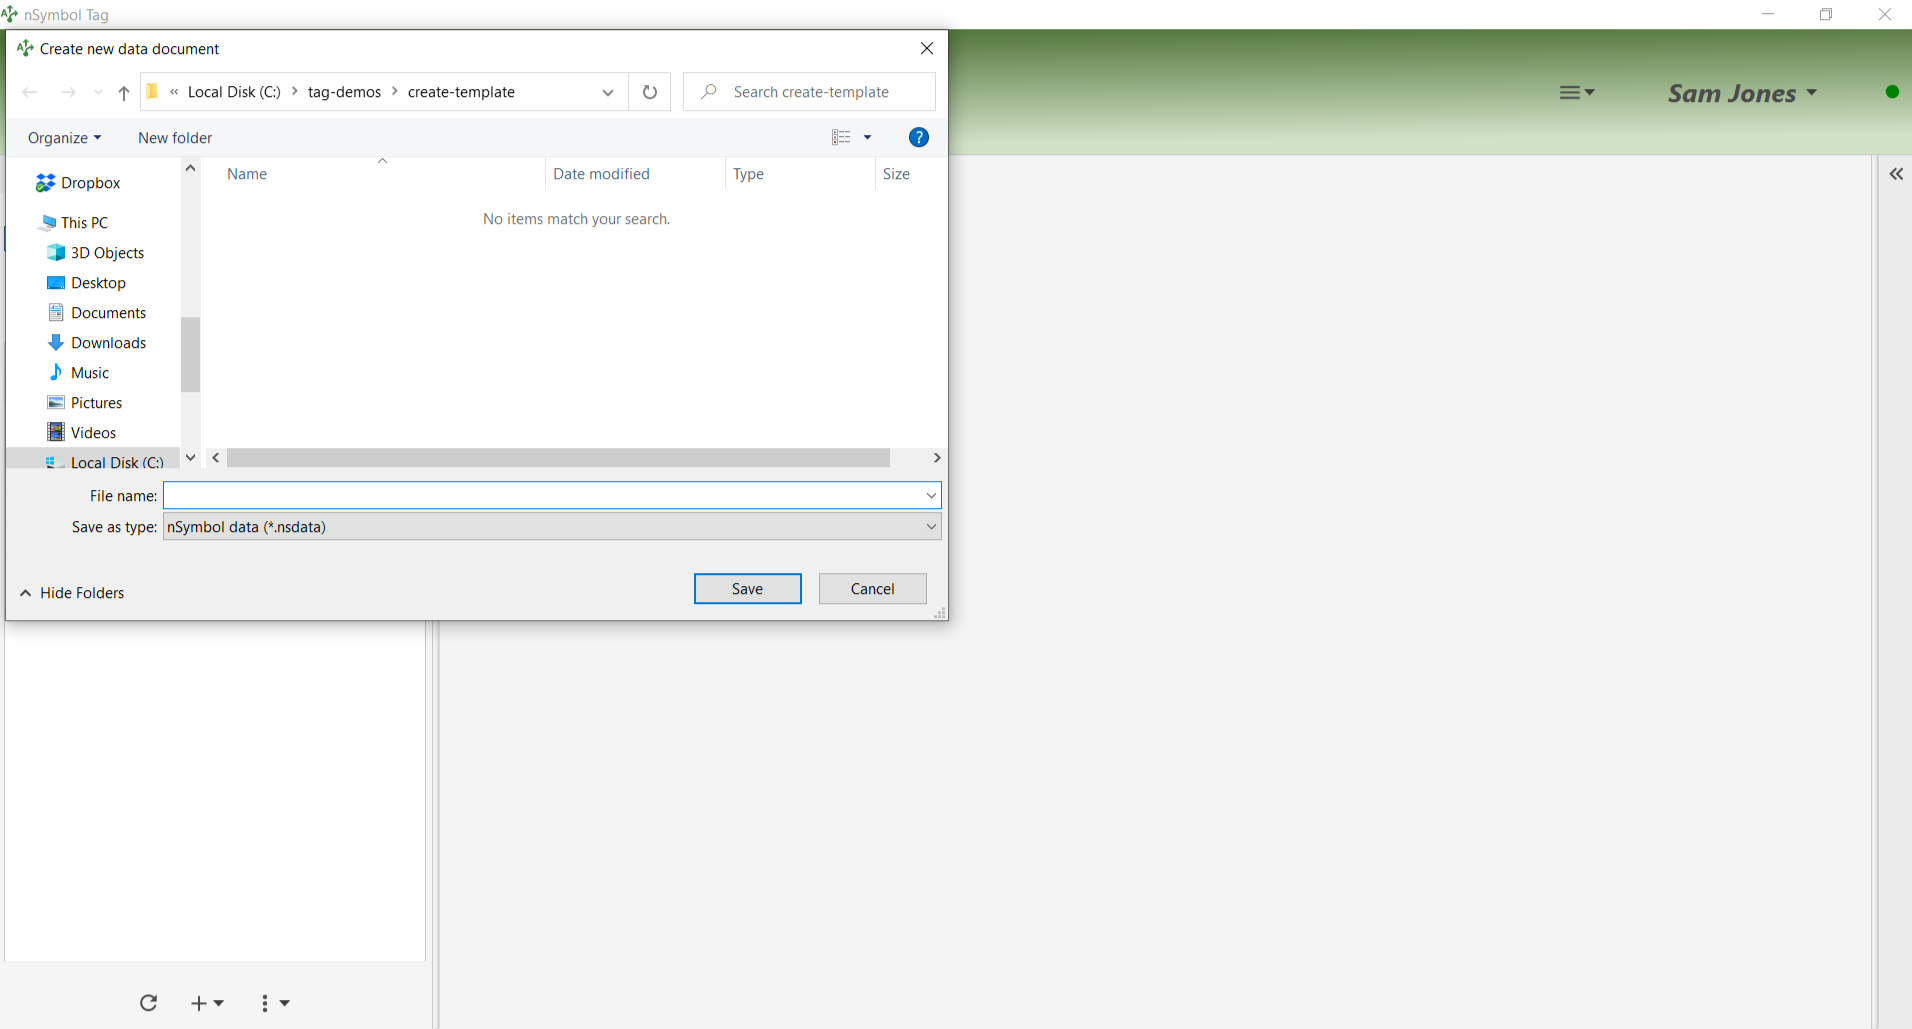
Enter a file name using using the standard Windows or Mac file selection dialog.
Go to the contract form tab, enter some test data and click the Save button.
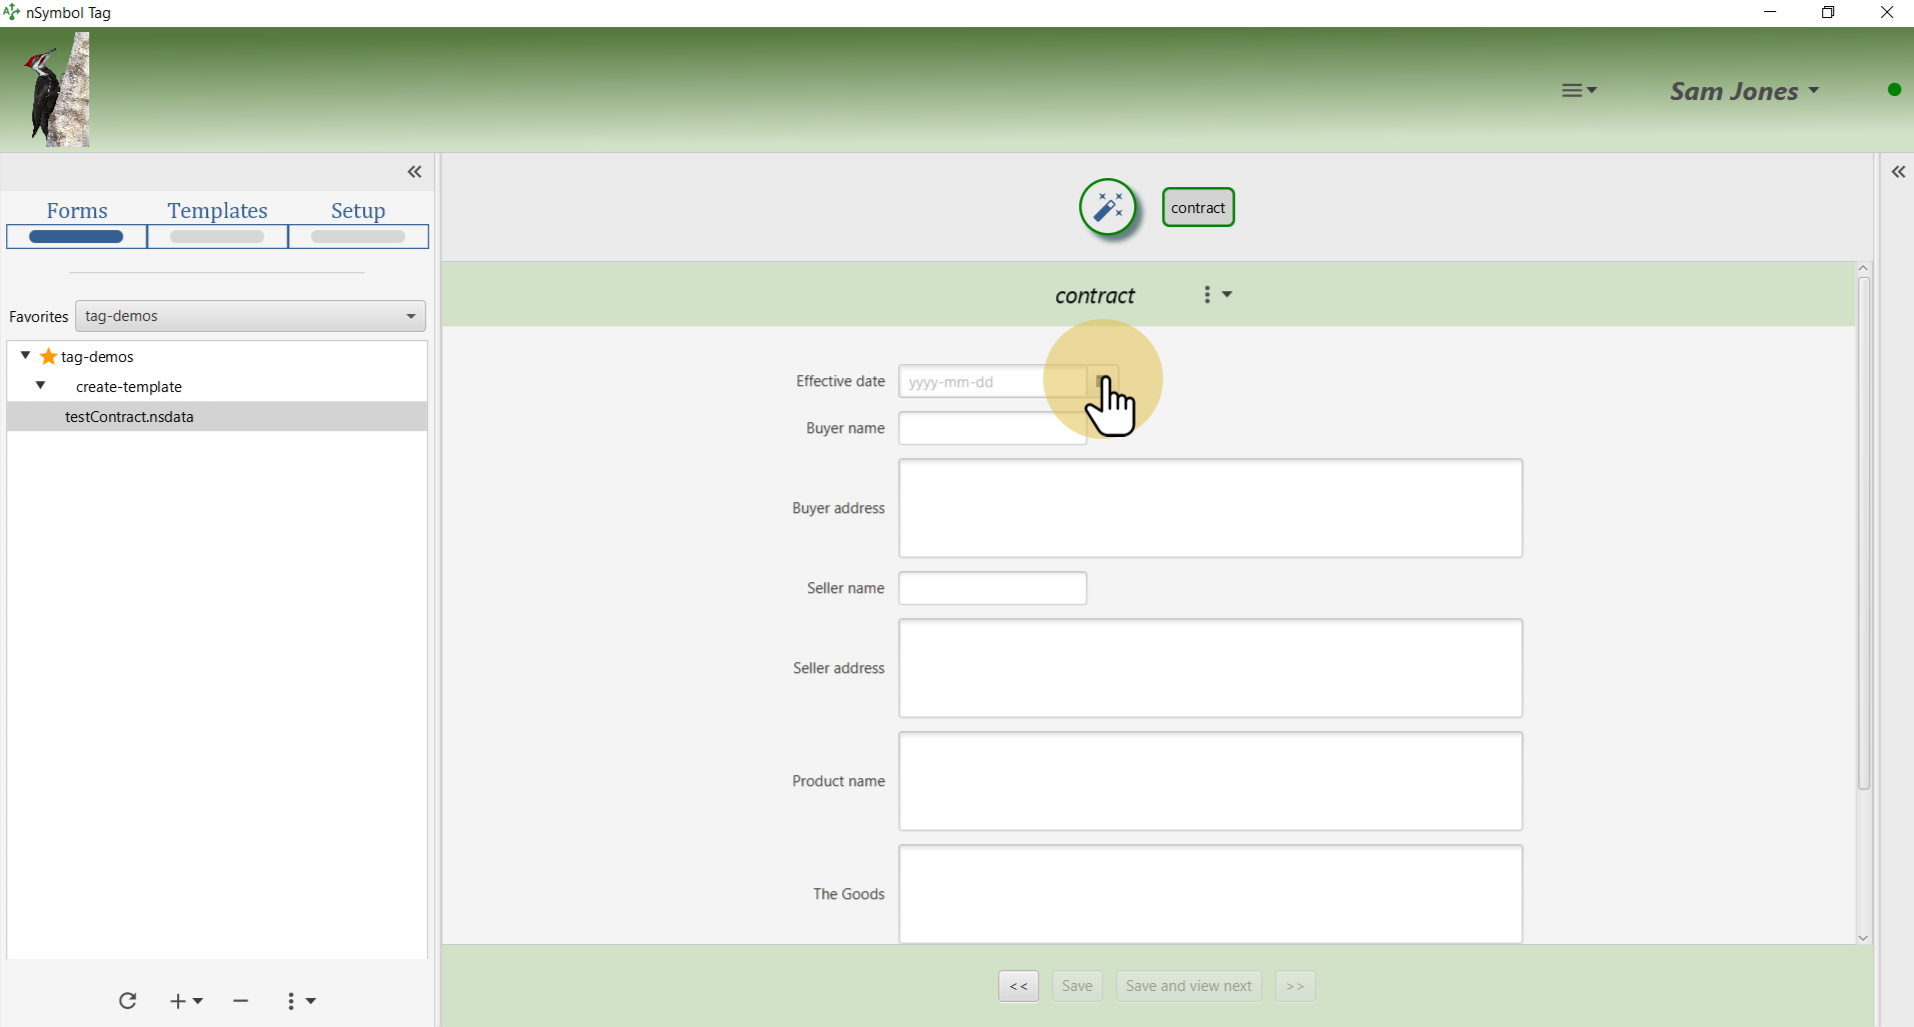
Click the magic wand tab to return to the generate page. Click on the big magic wand tool to generate a *.docx copy of the contract.
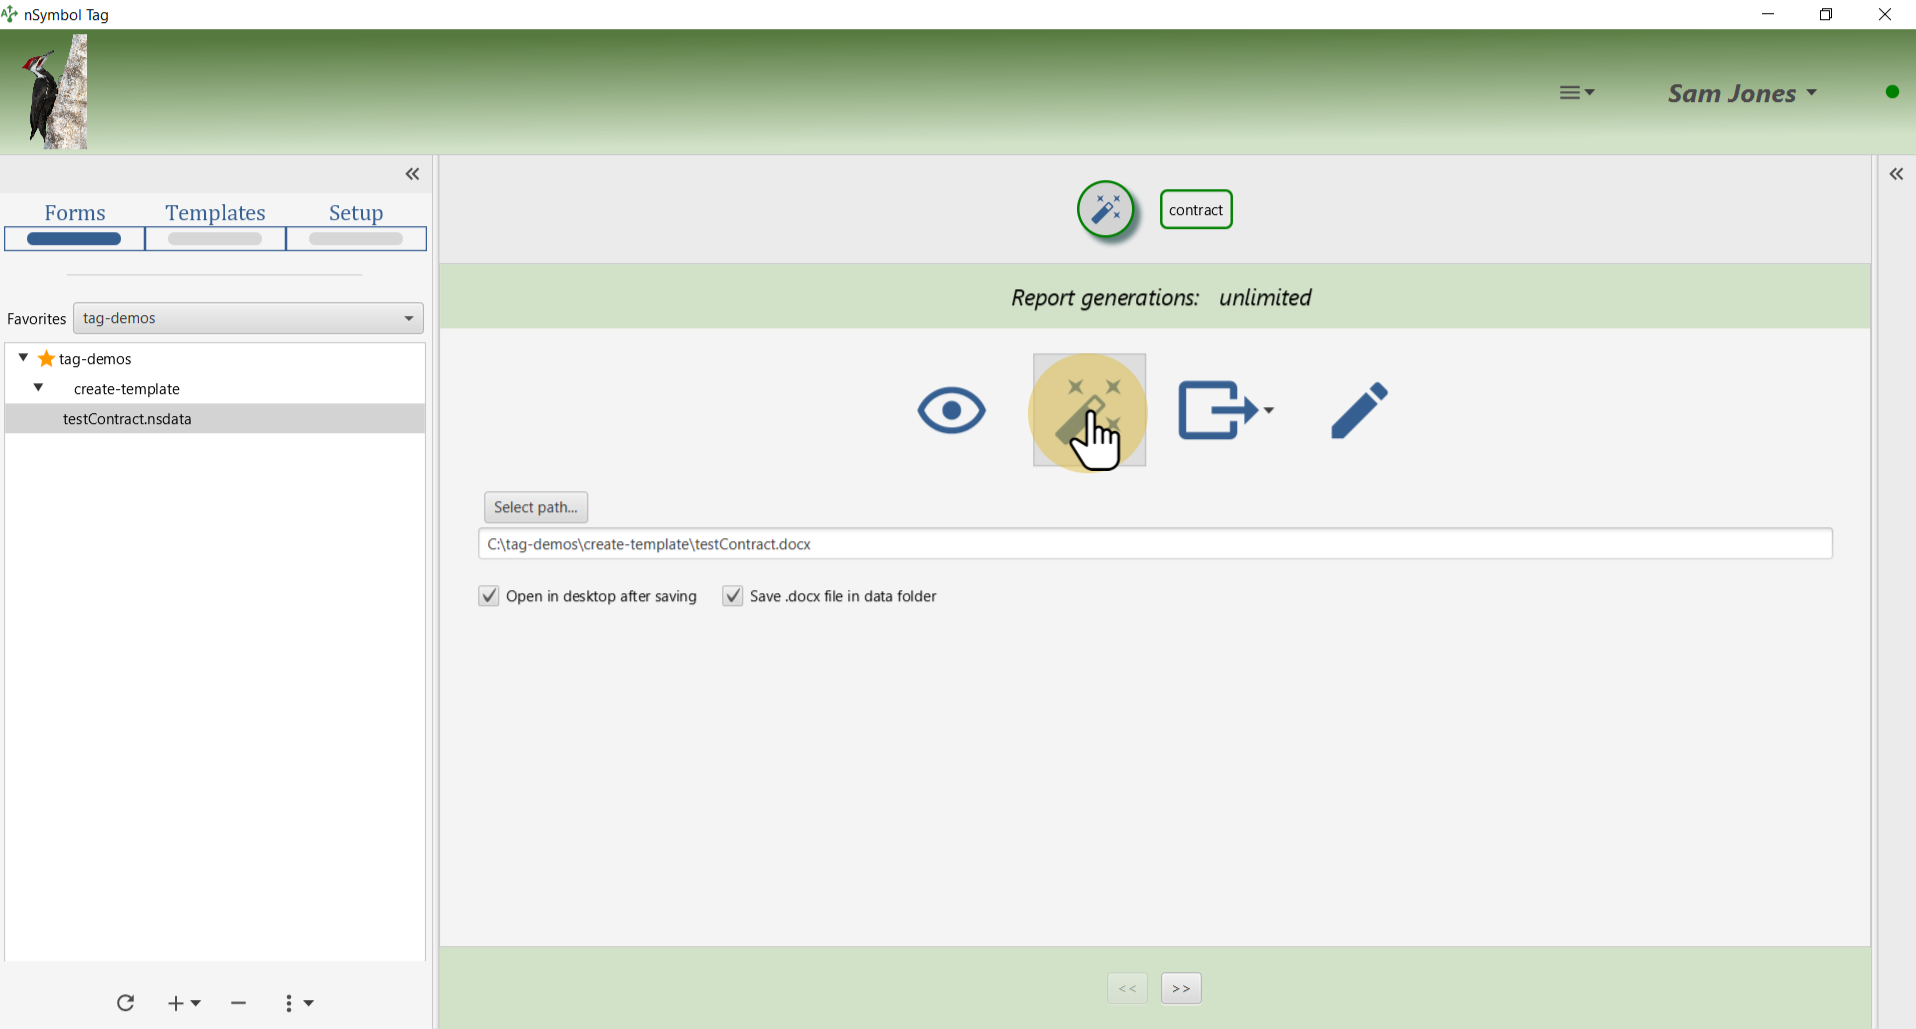
After generation, the new contract will open in your default word processor ready for final editing.
It is considered best practice to rename this file before editing manually, to avoid losing manual edits in the event of accidental re-generation.
That's it for this guide. Try changing the deliveryLocation and latePaymentPenalty flag to see how the content changes. You can repeat these steps using other contract templates and/or other document types.
All files described in this guide can be downloaded from the "Legal contract (product)" sample in the Samples app.