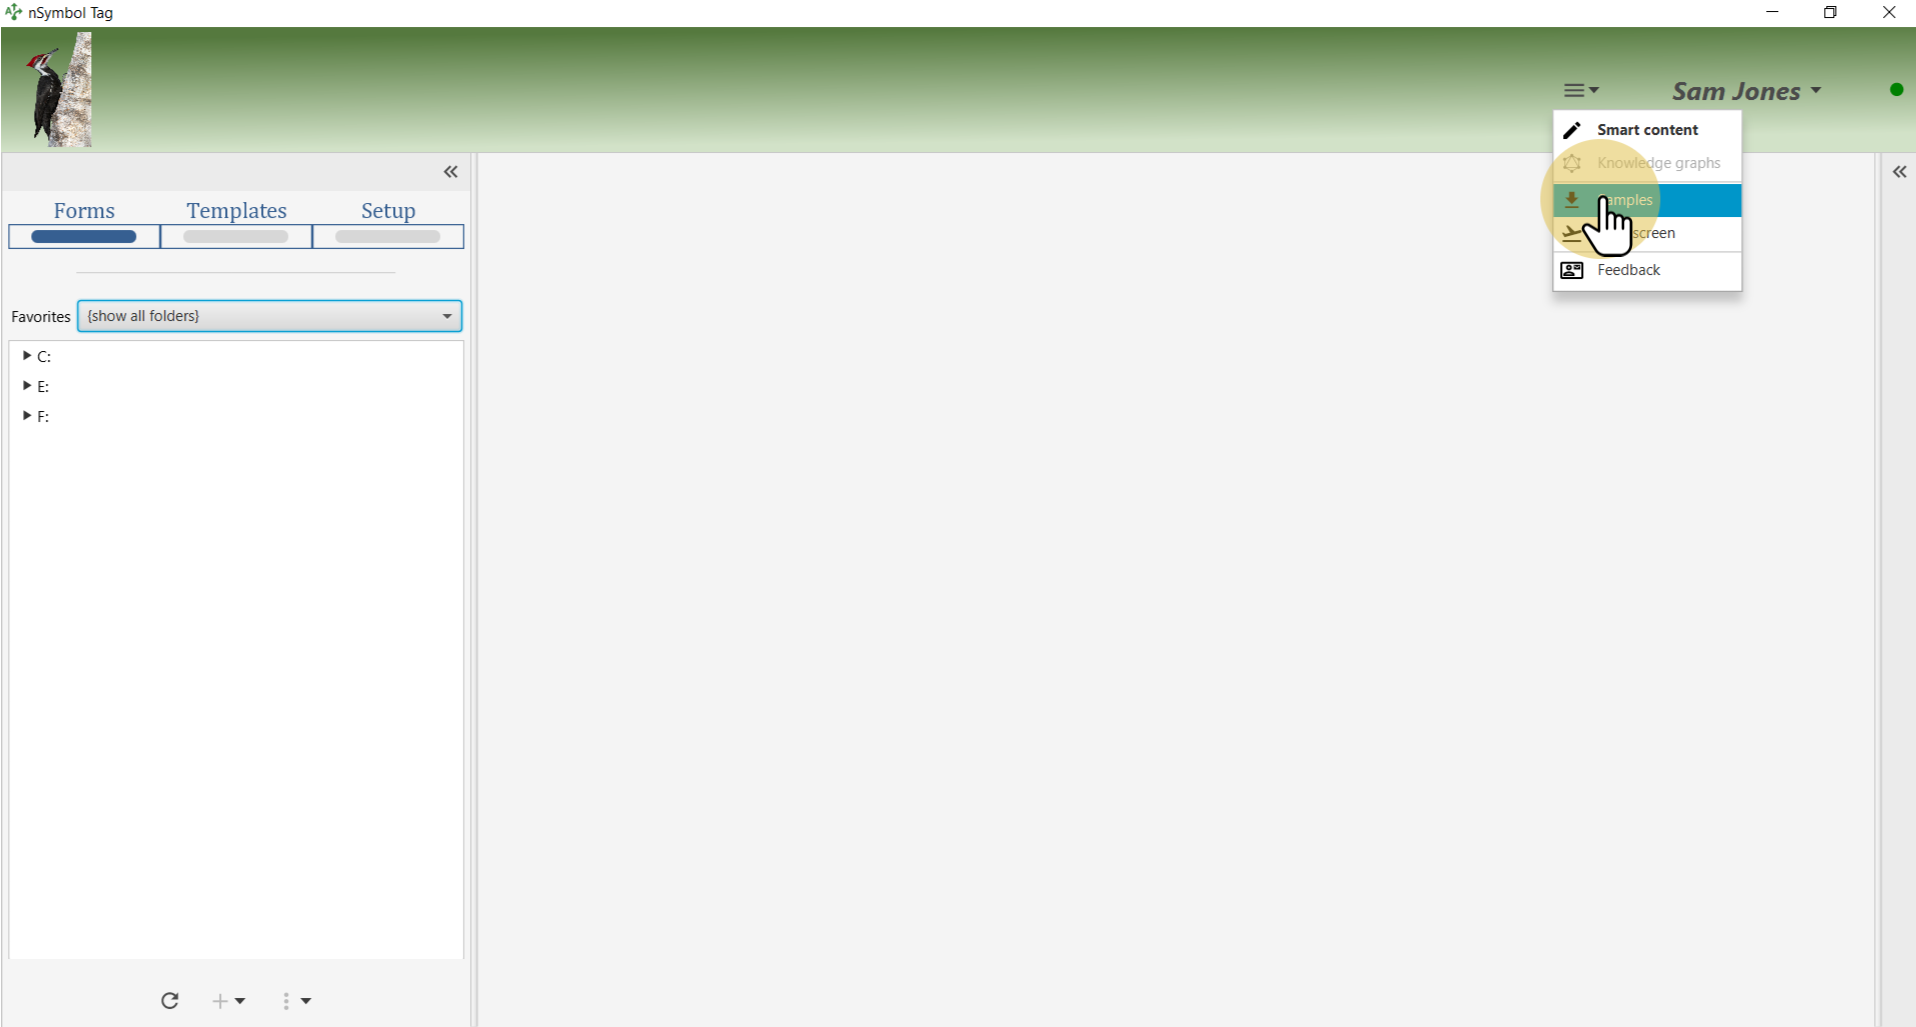
Go to the Samples app using the Apps menu.
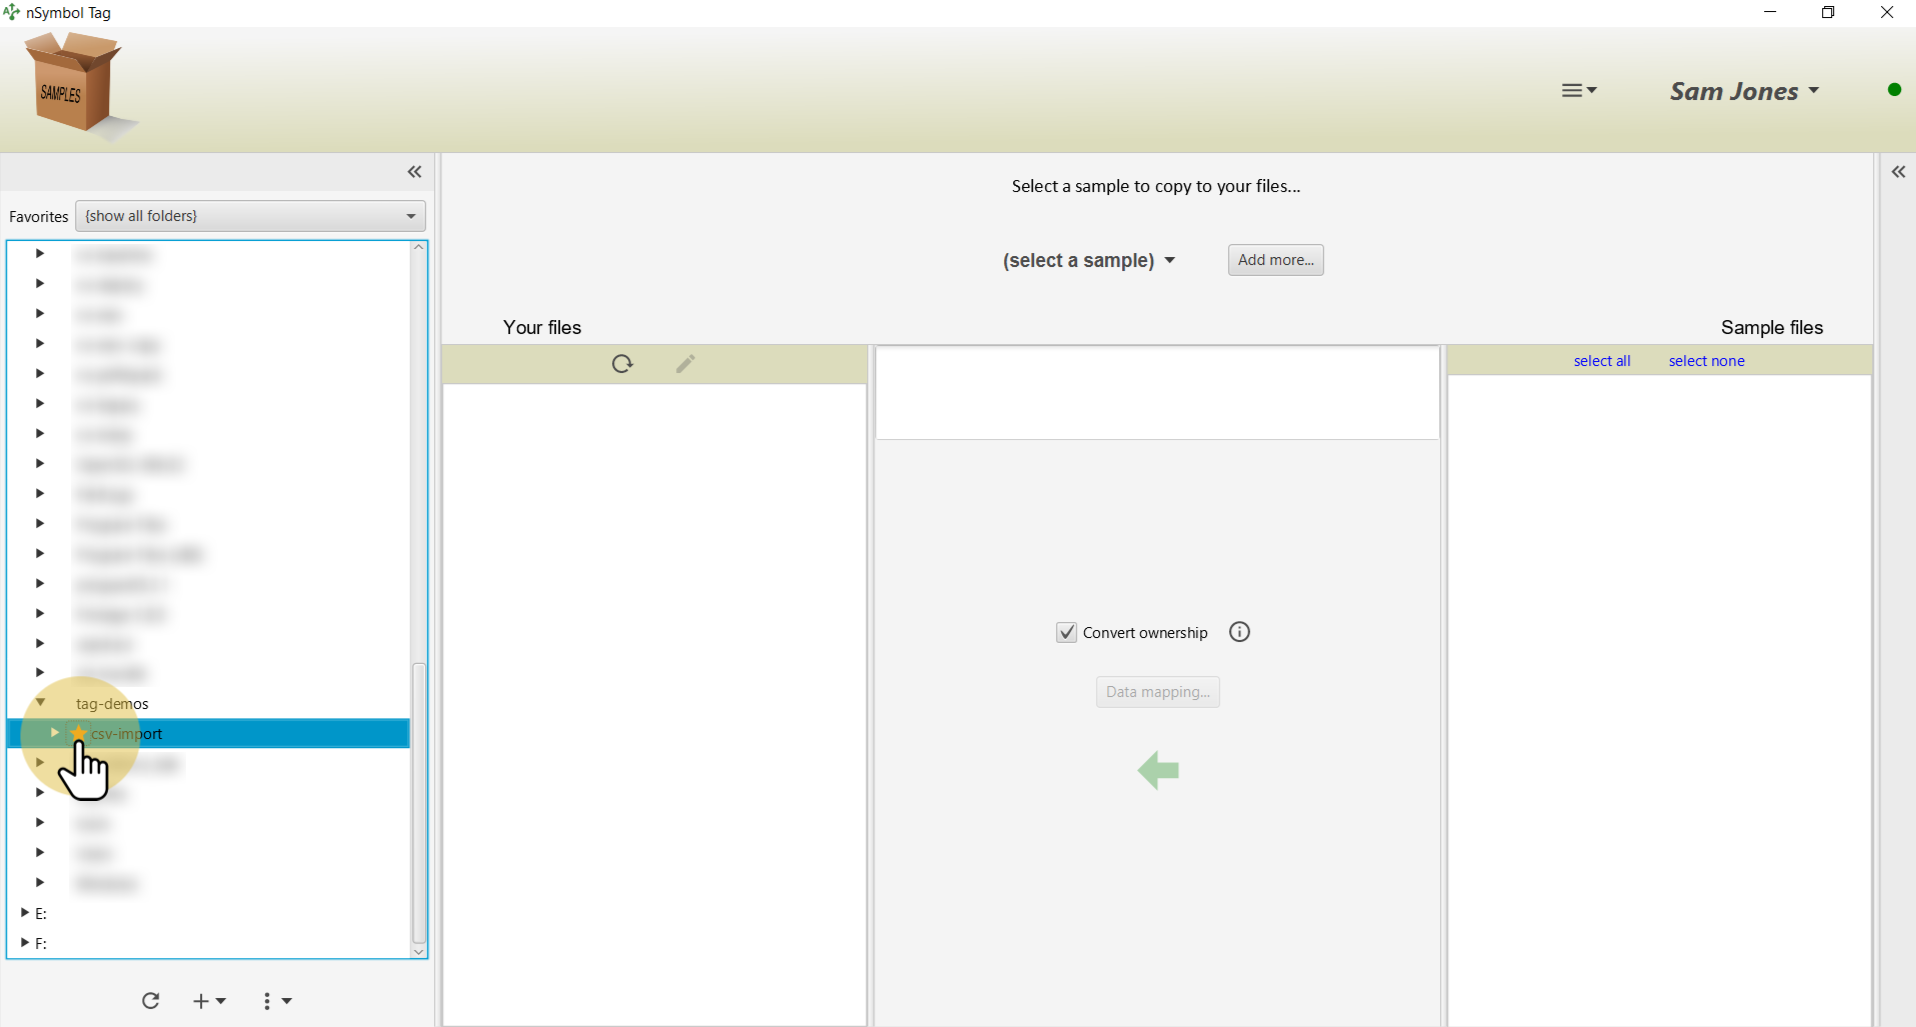
Find or create a folder to hold sample files. Click on the star icon next to the file name to make this a favorite folder.
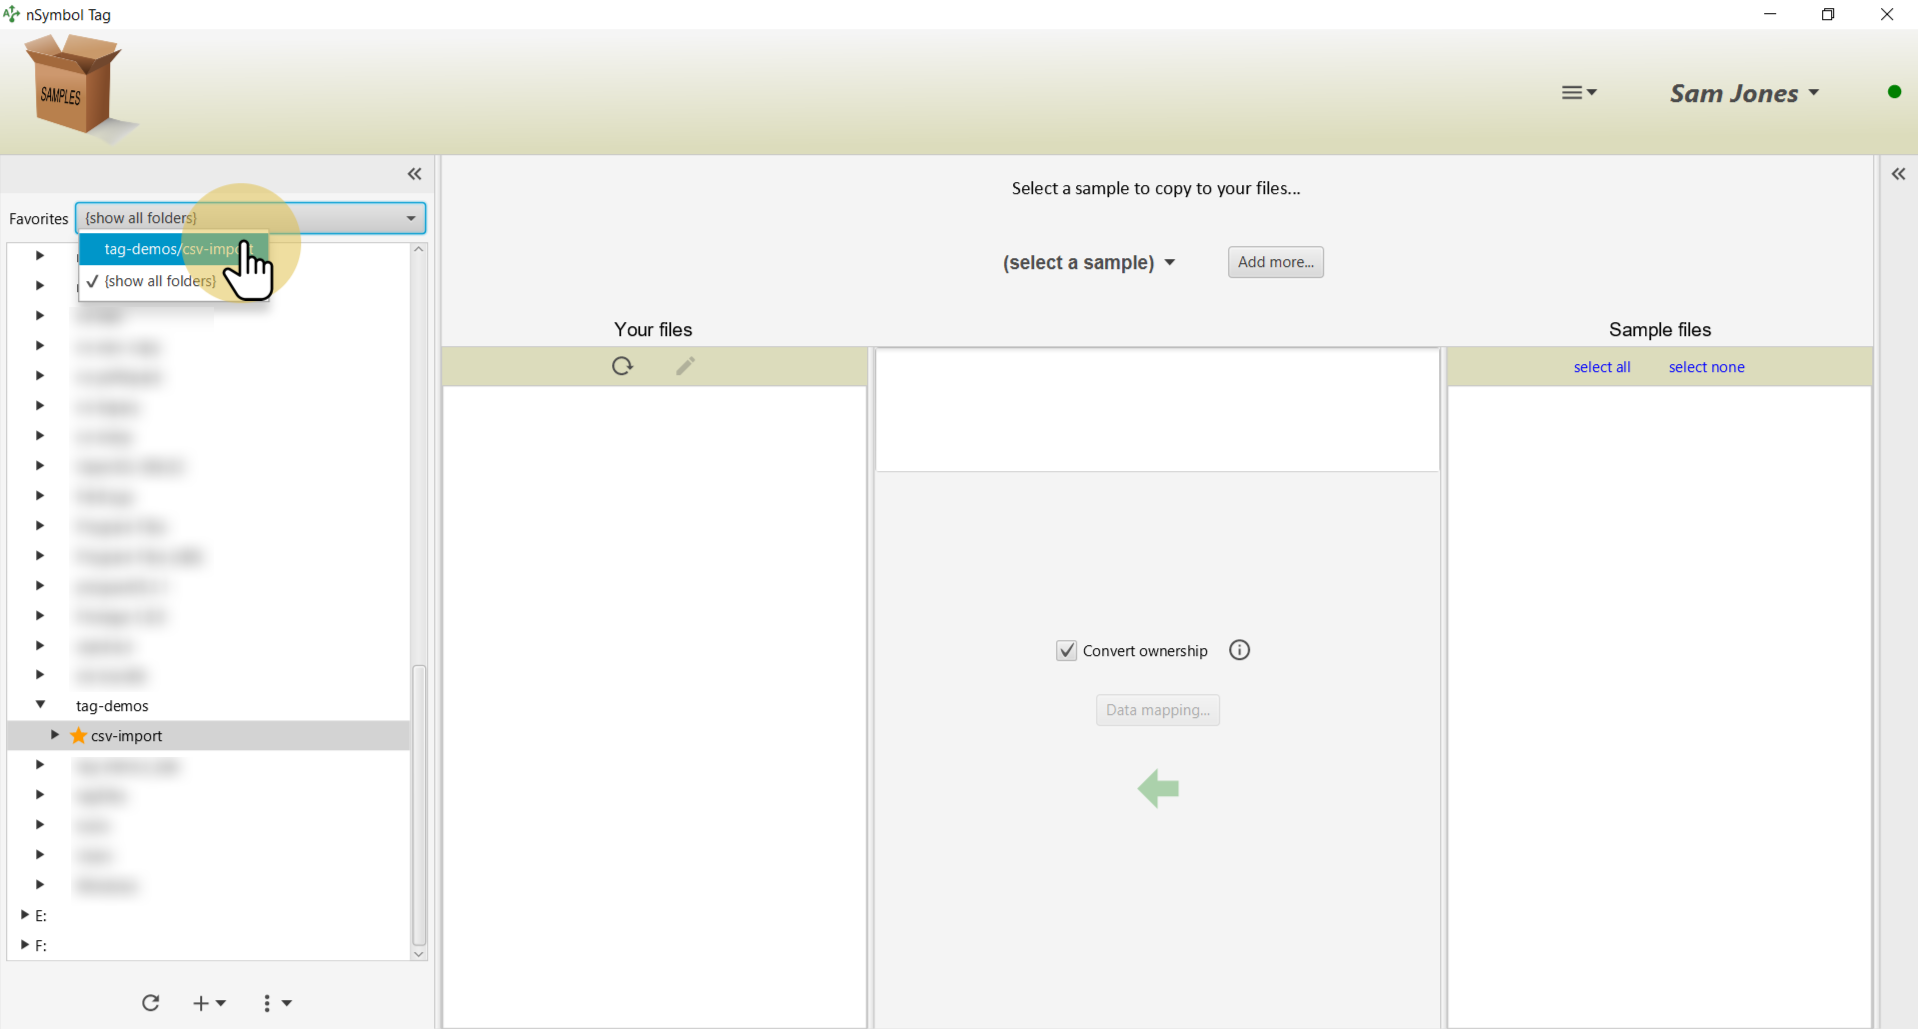
Select the folder in the Favorites dropdown list to reduce screen clutter.
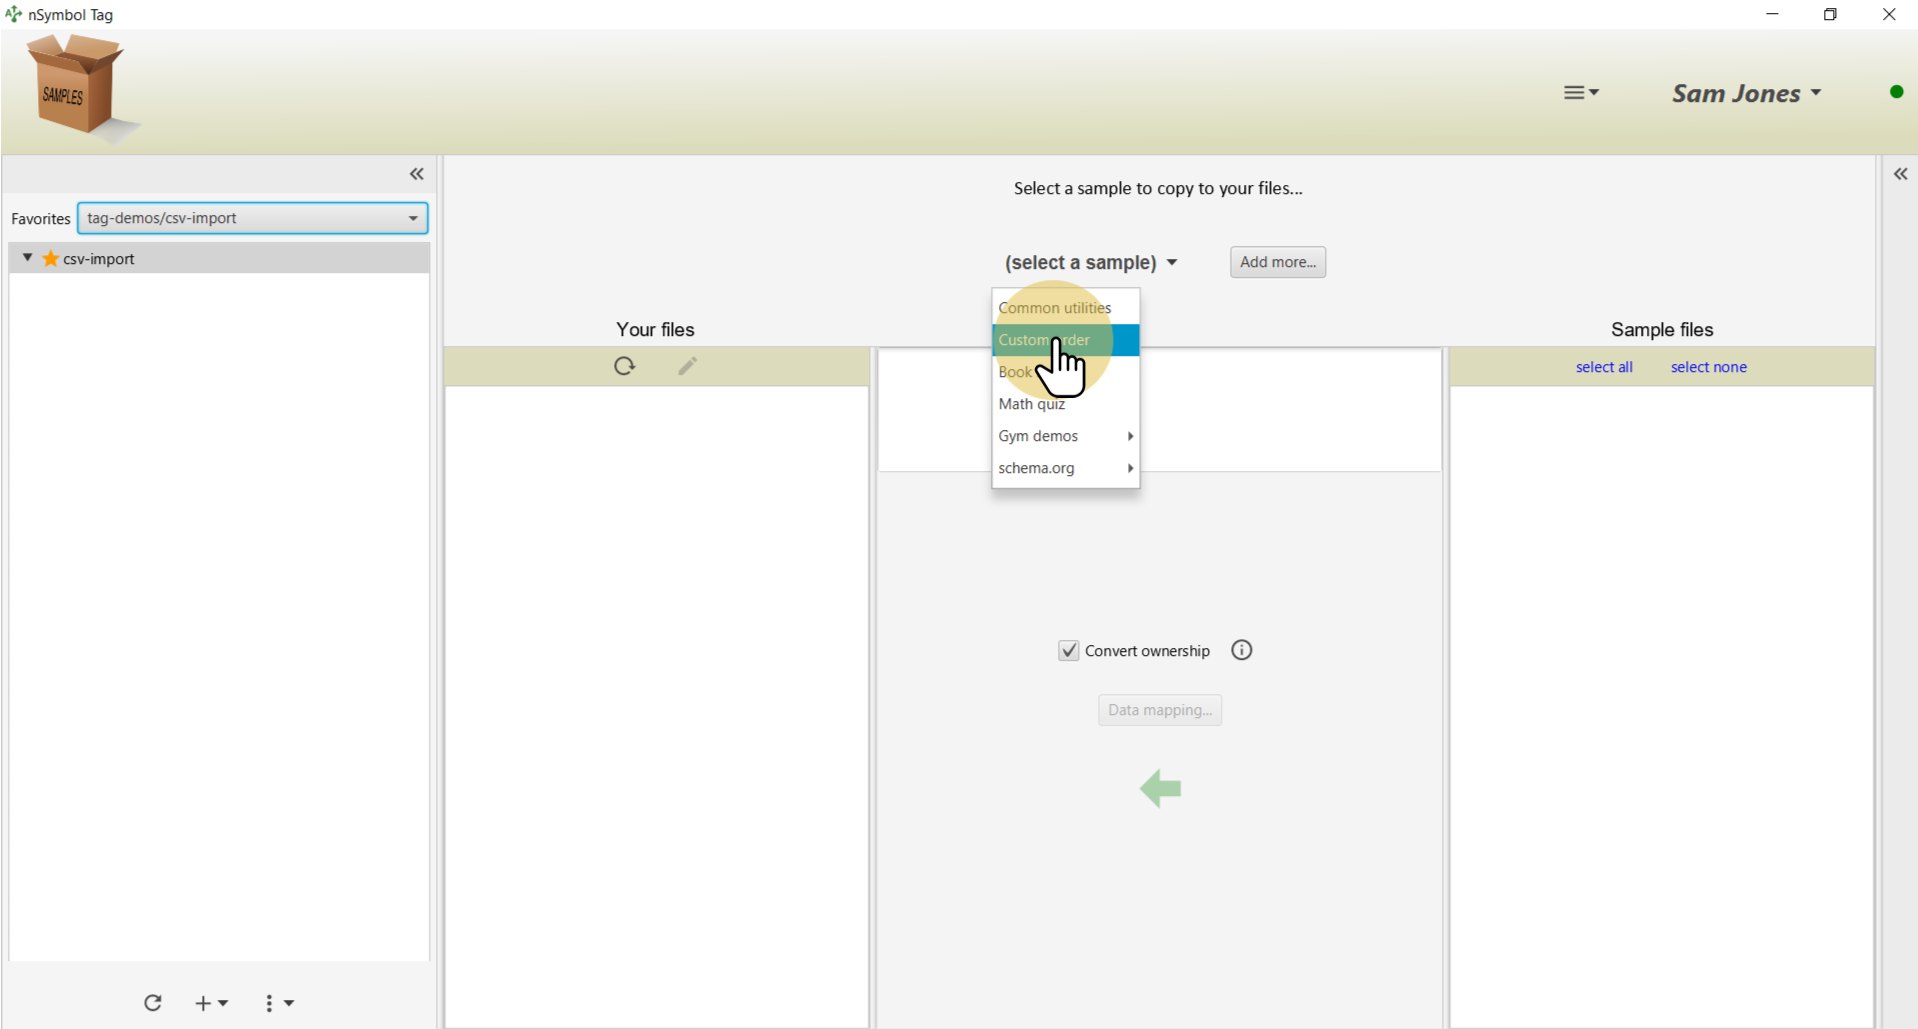
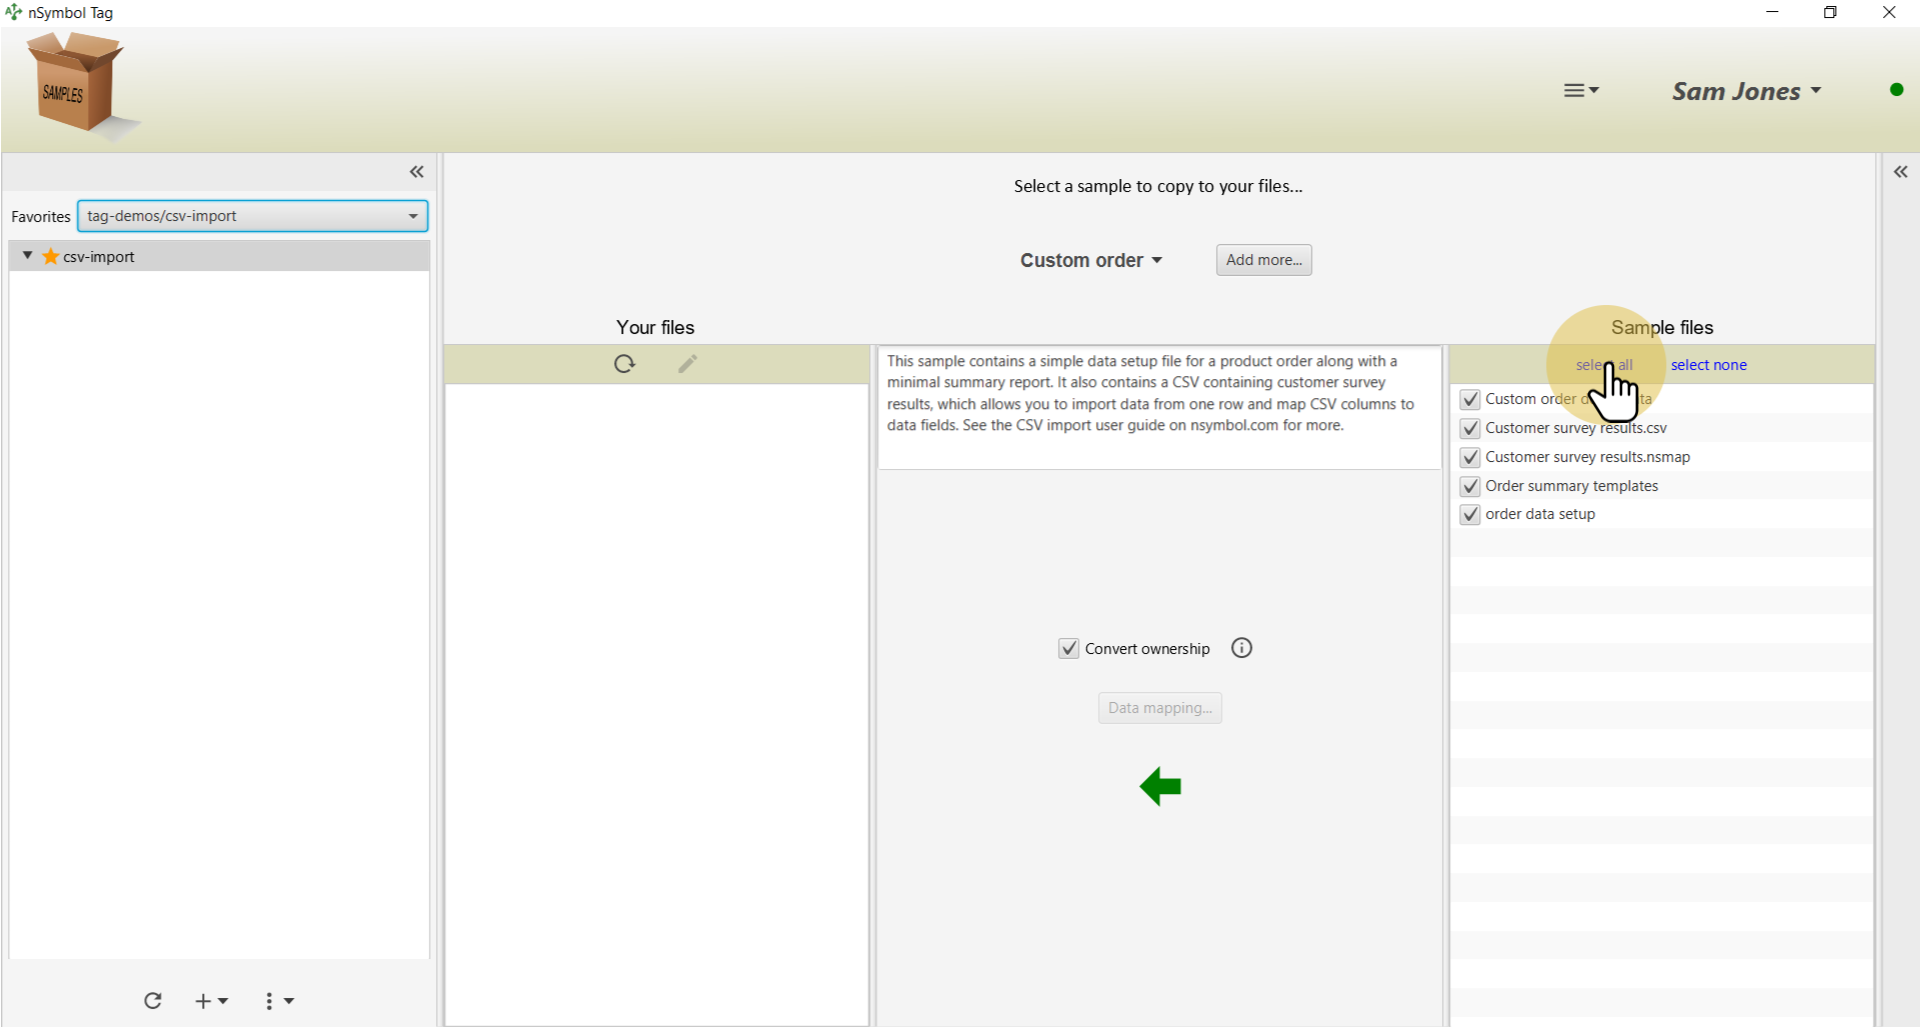
Select the Custom order sample using the samples menu.
Use the select all tool to select all files to copy.
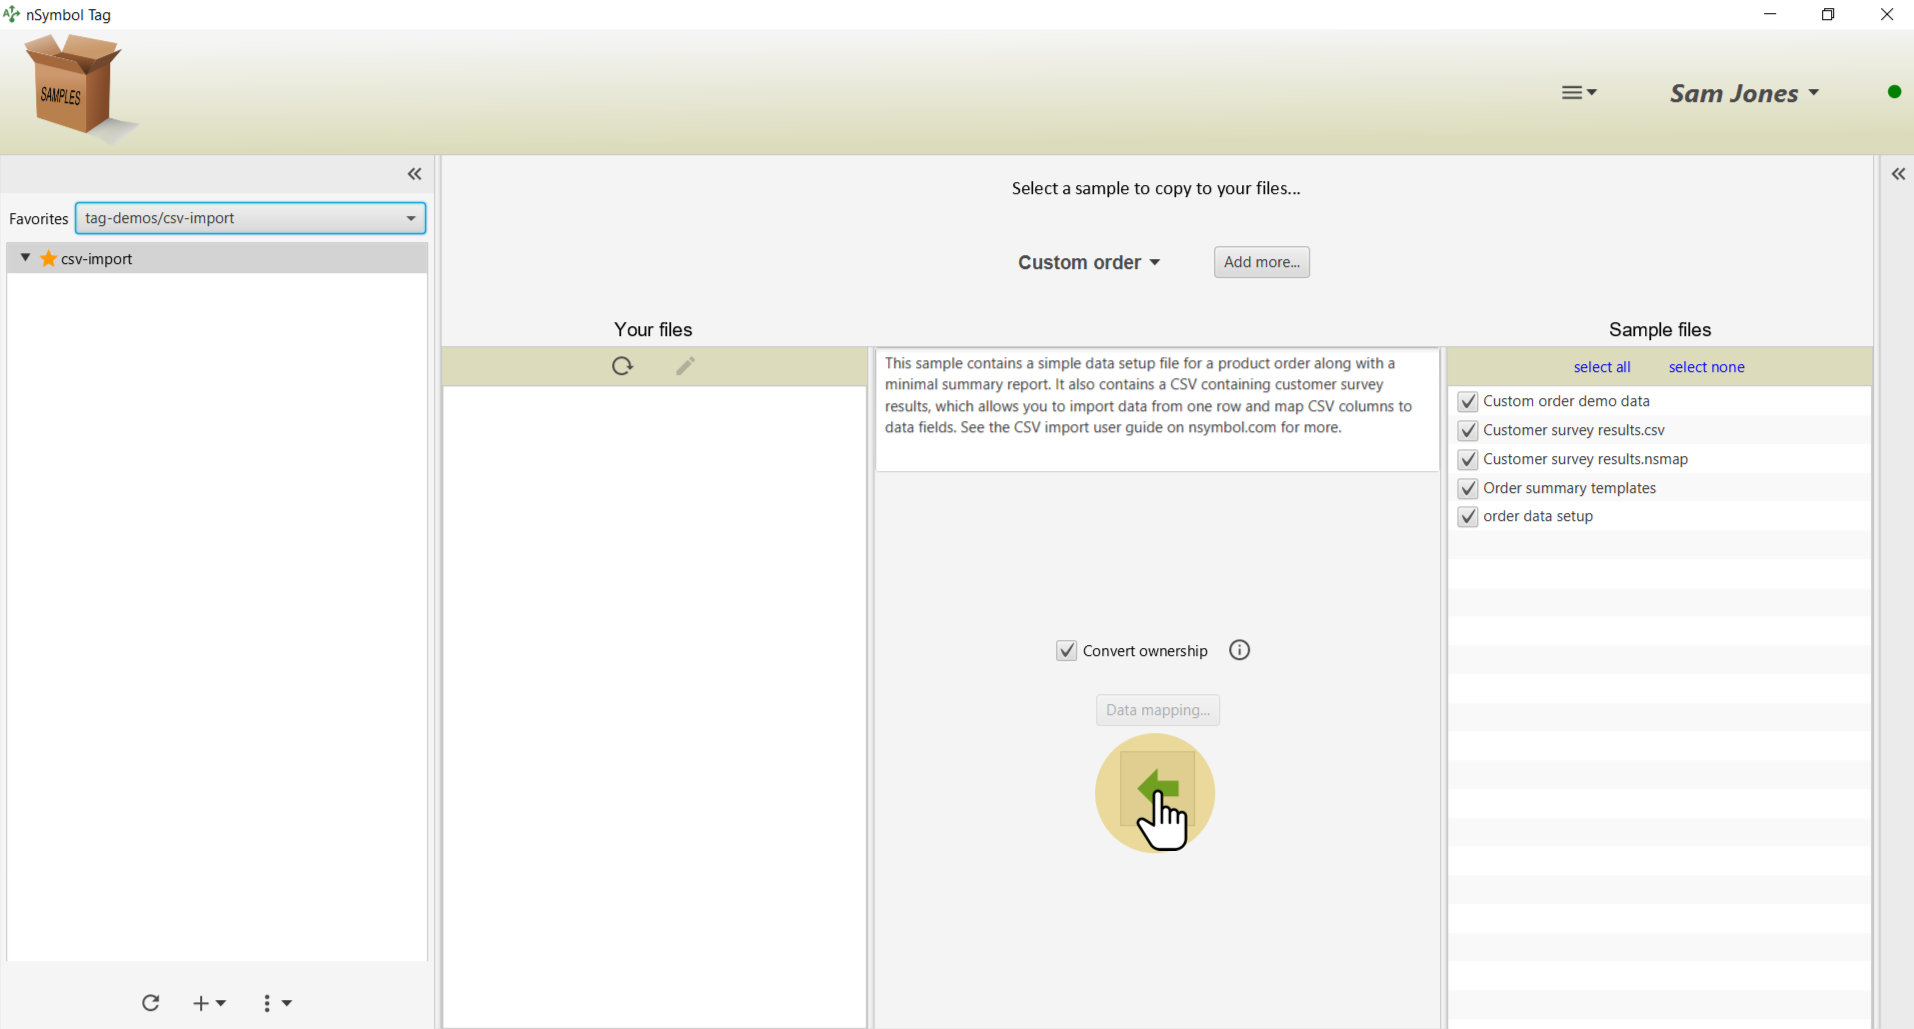
Click the big arrow tool to copy all files to your local folder. The namespace used in the data setup file will be customized to your account if the Convert ownership checkbox is selected (recommended).
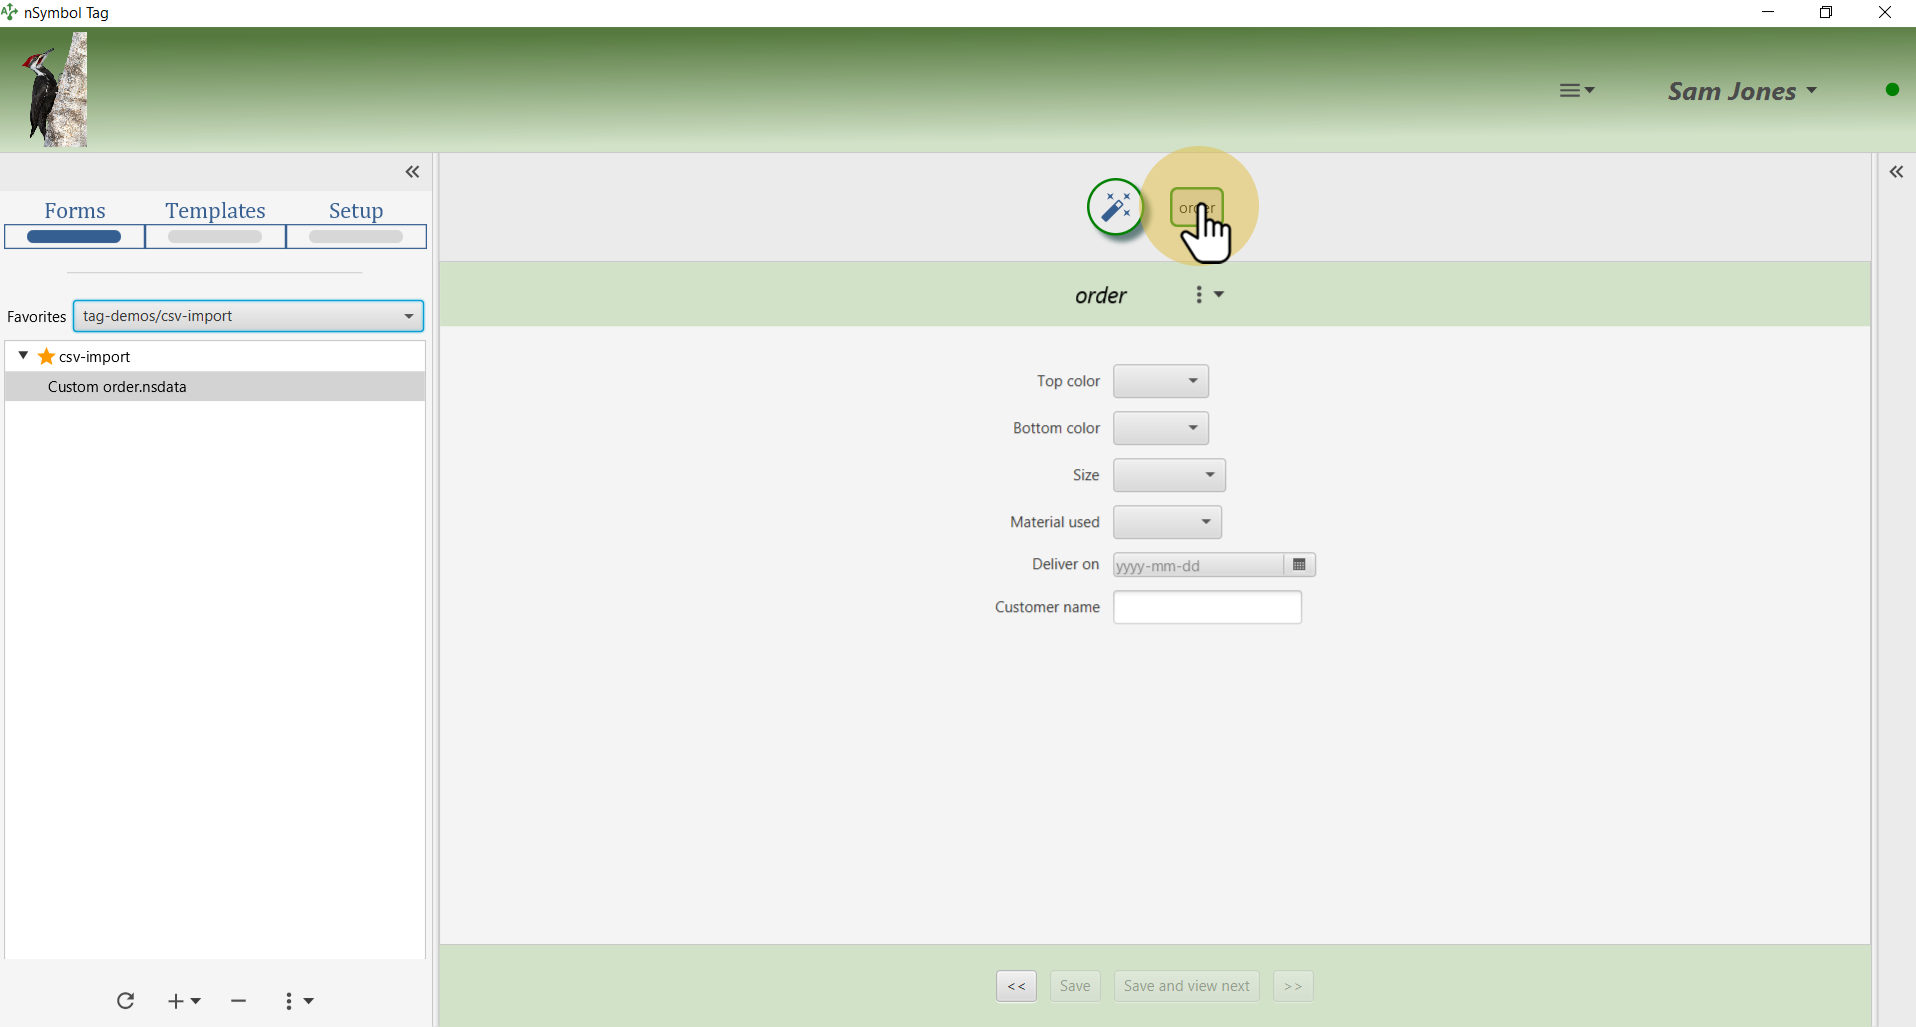
Select the "Custom order.nsdata" file and click the pencil tool. This will take you to the Forms screen in the Smart content app.

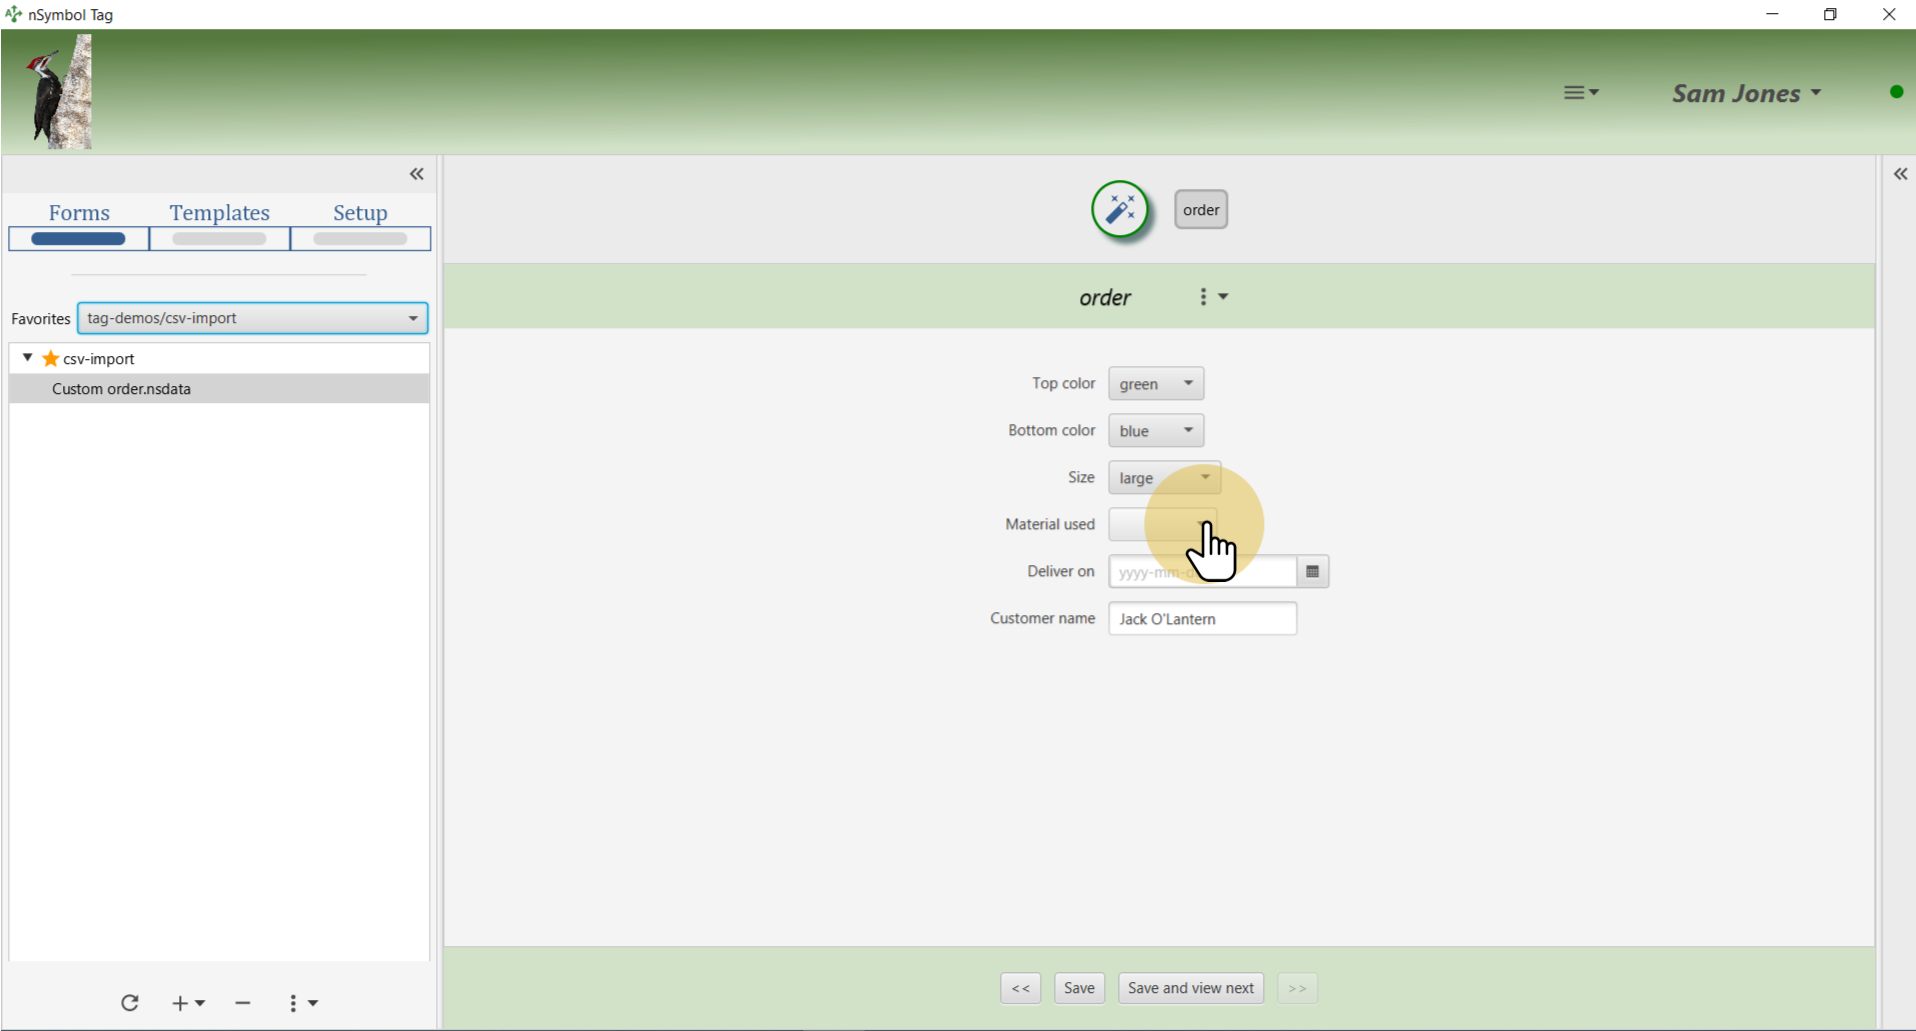
Click on the order tab to display data entry controls for this order.
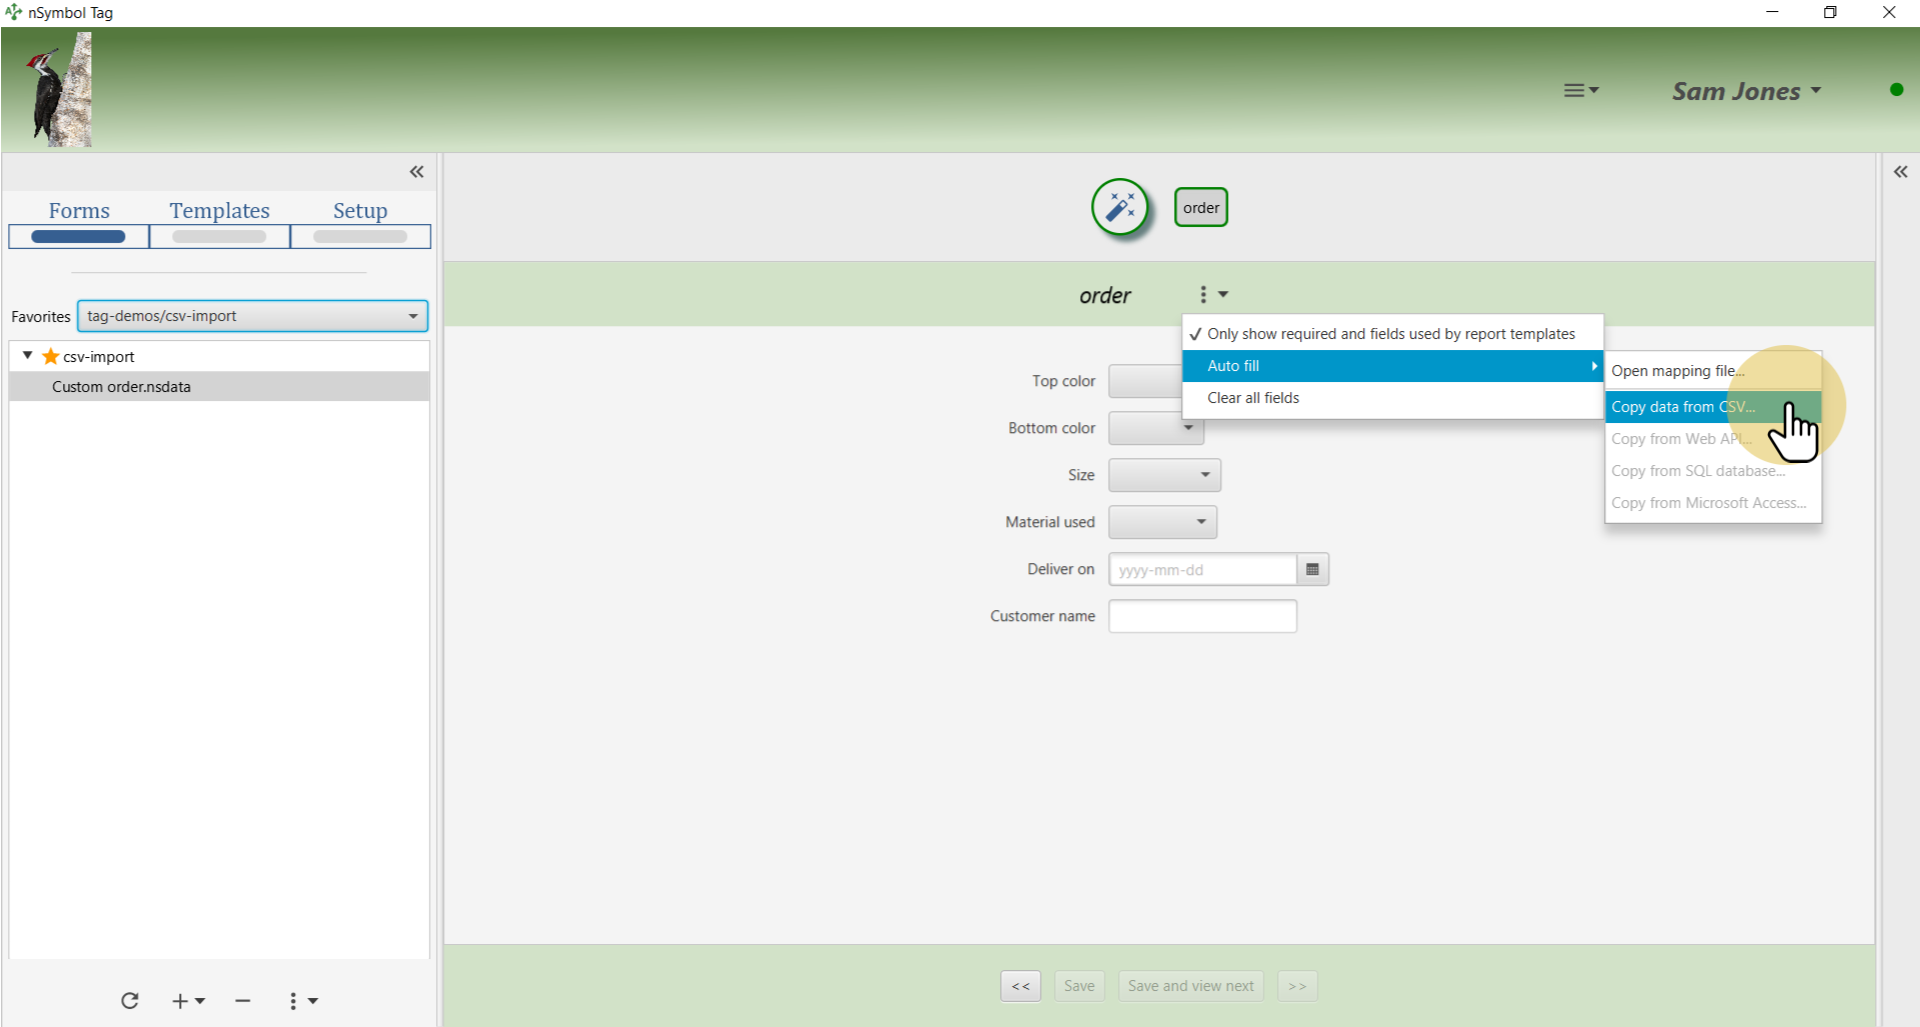
Use the Copy data from CSV... menu item under the more menu (3 vertical dots / Auto fill) to open a CSV import wizard.
Accept the default option to turn off the form filter. This ensures all mapped data is copied even if it's not currently used in the report. Click Next.

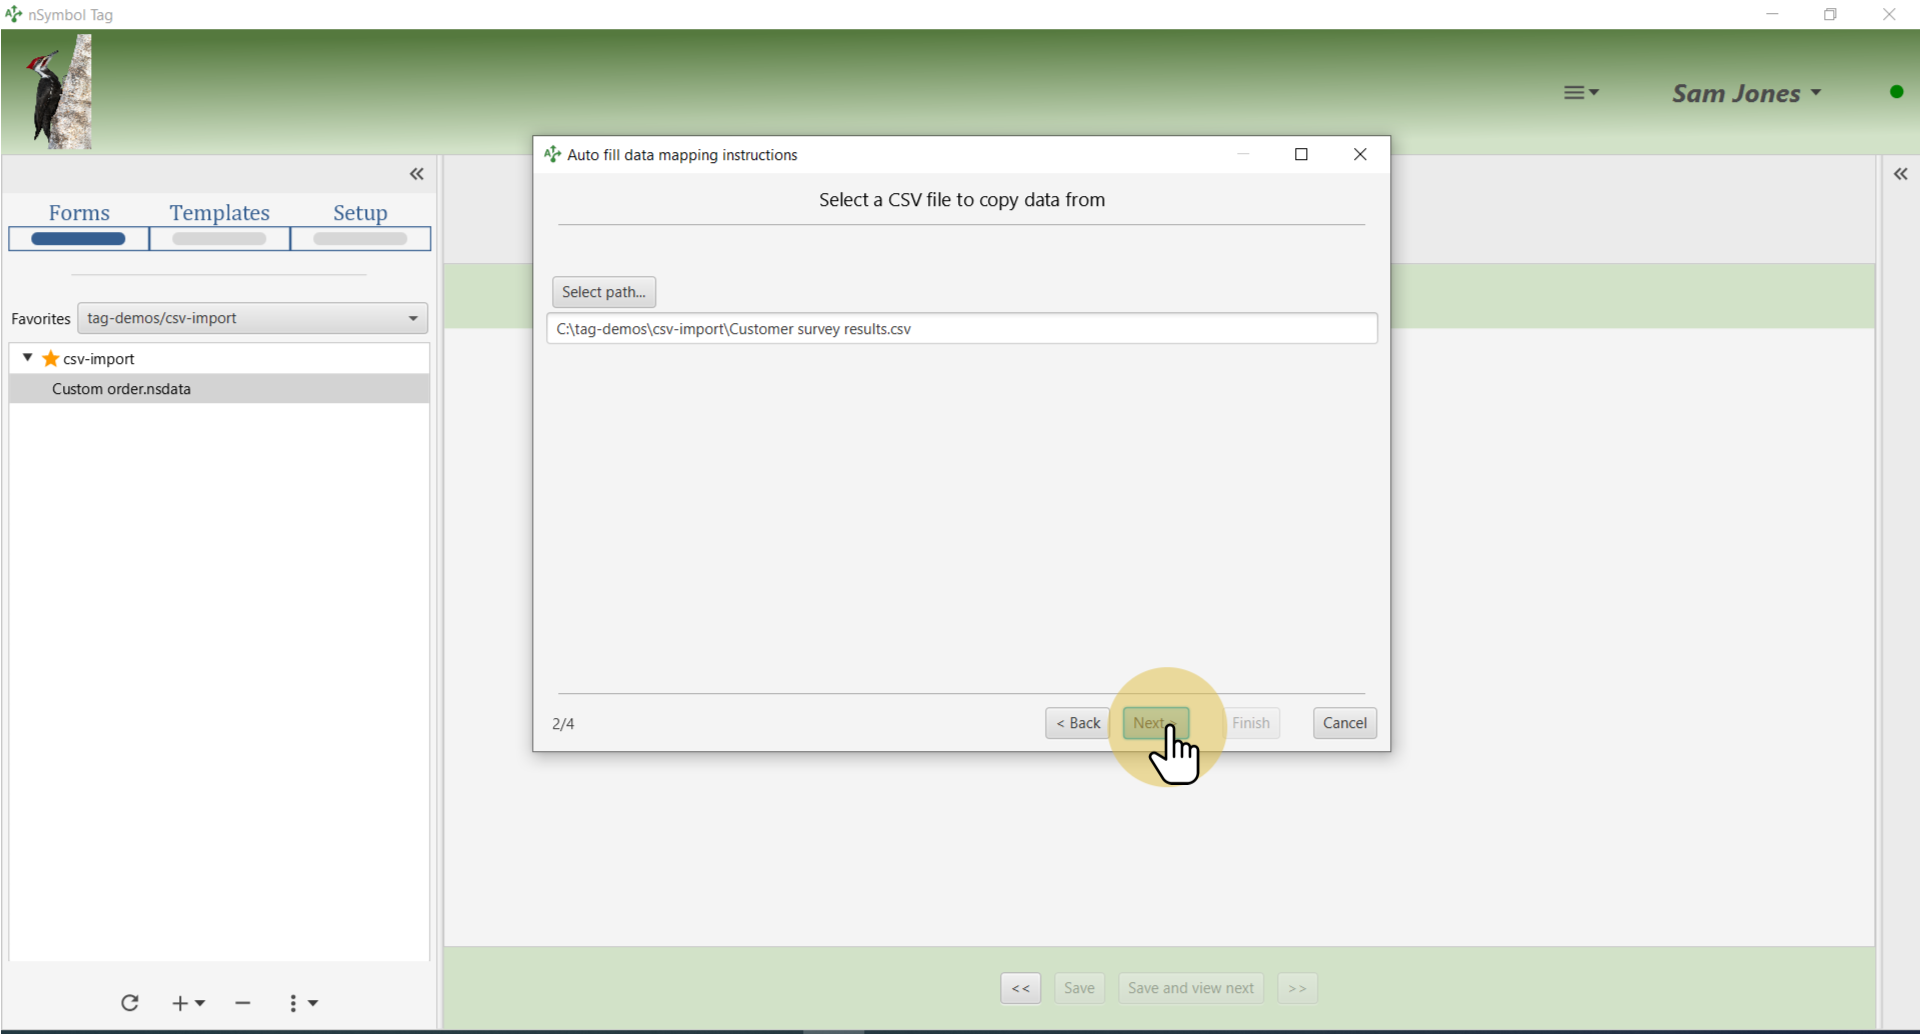
Select the "Customer survey results.csv" file to copy data from using the Select path... button. Click Next.
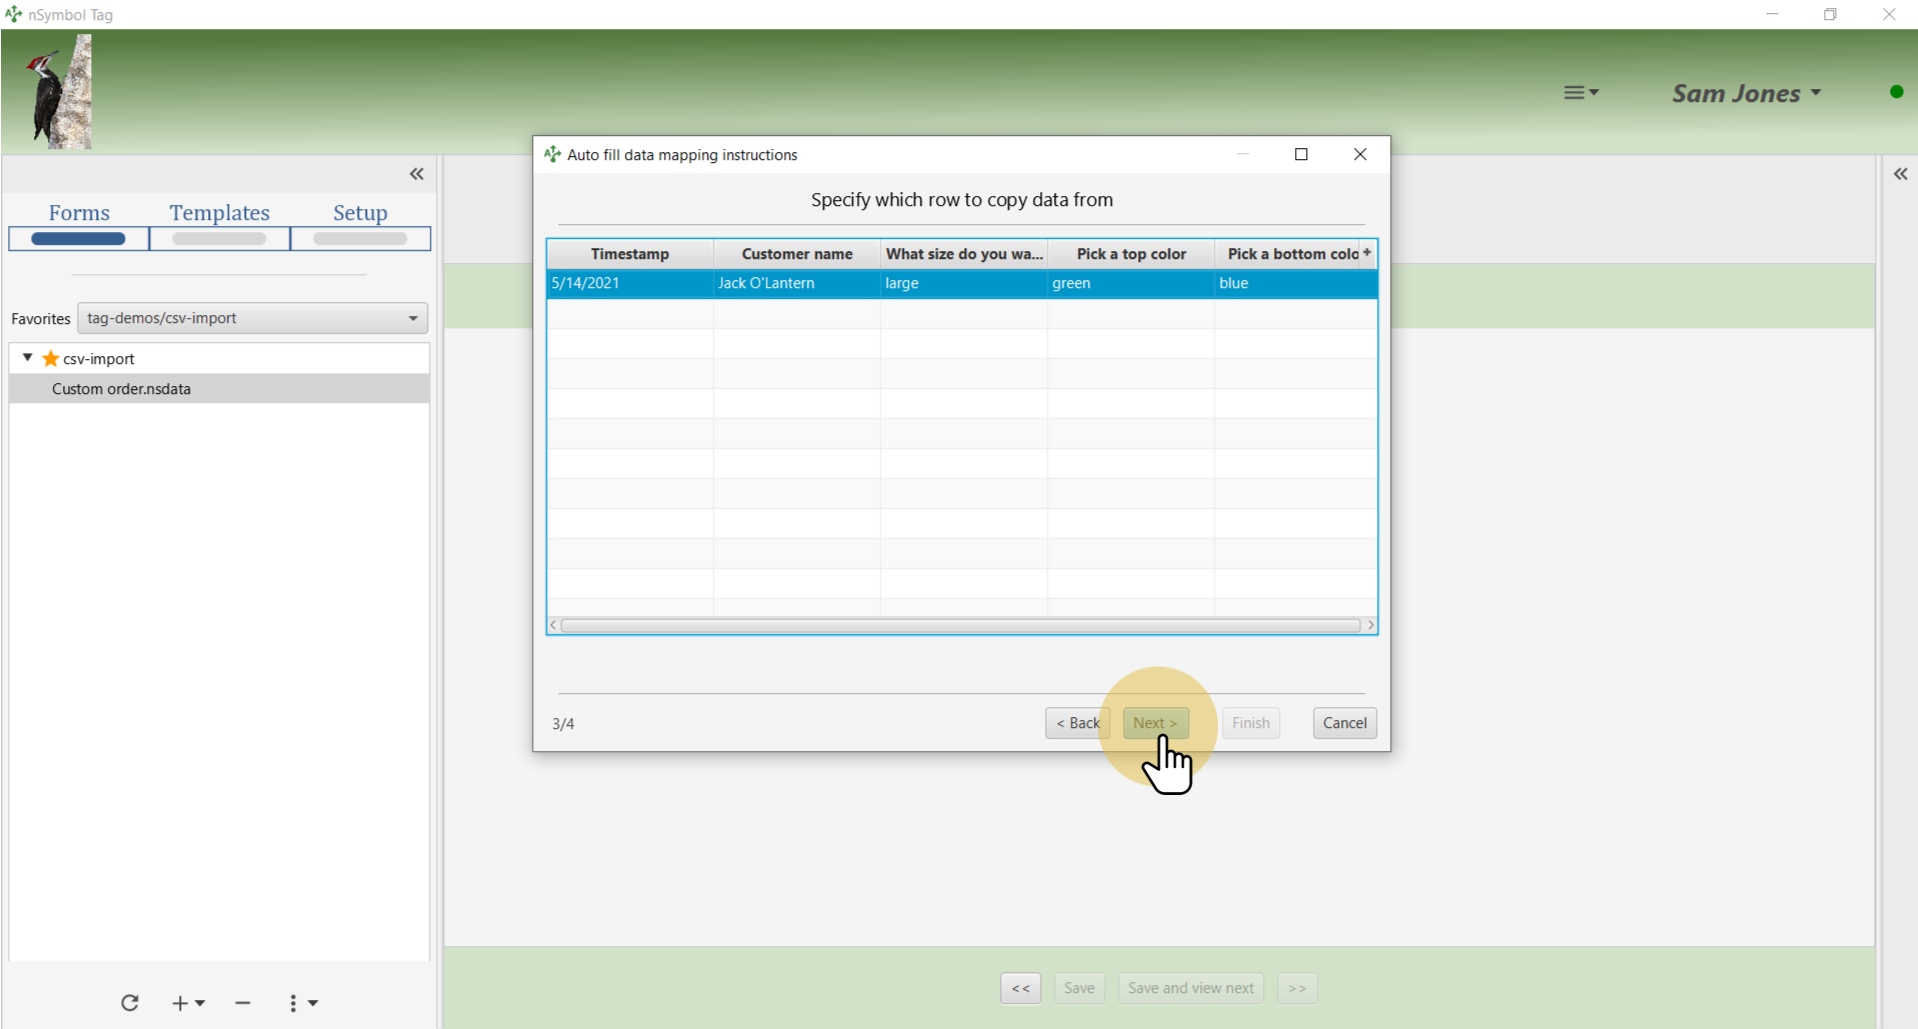
Select the first row to indicate which values will be copied into the form. Click Next.
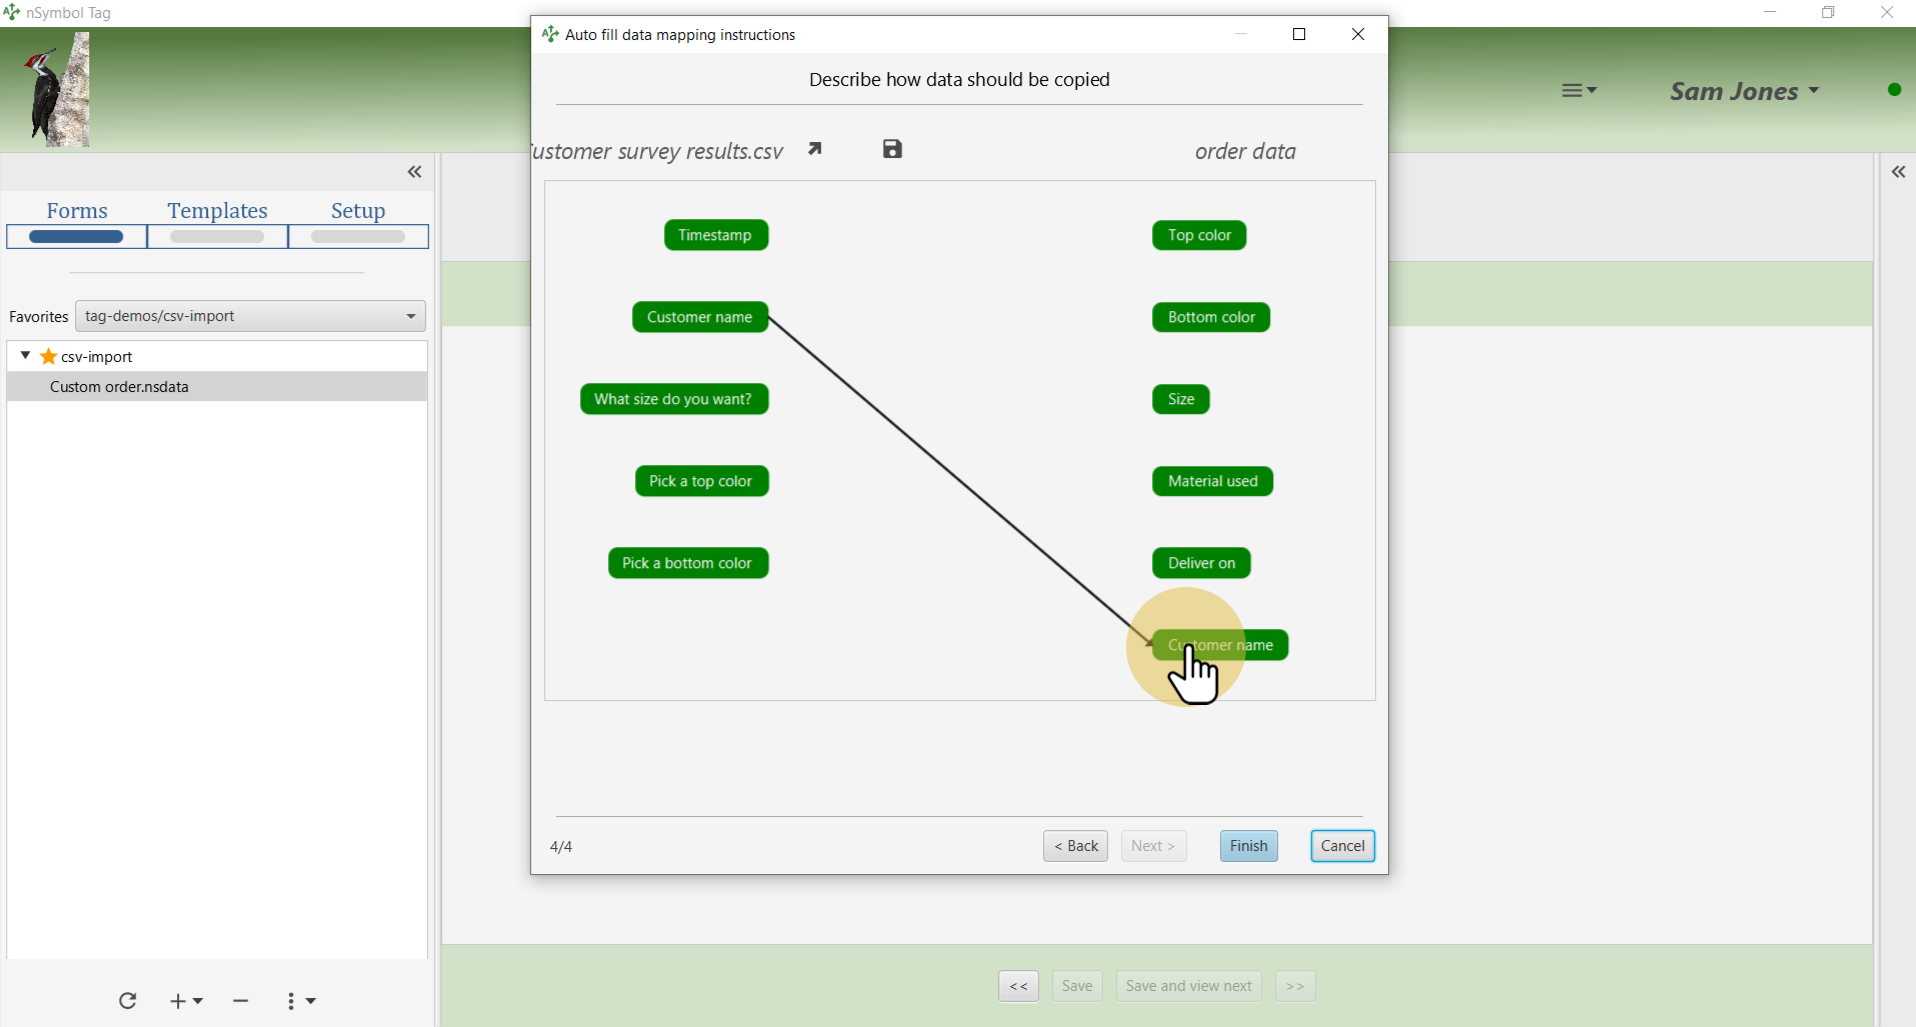
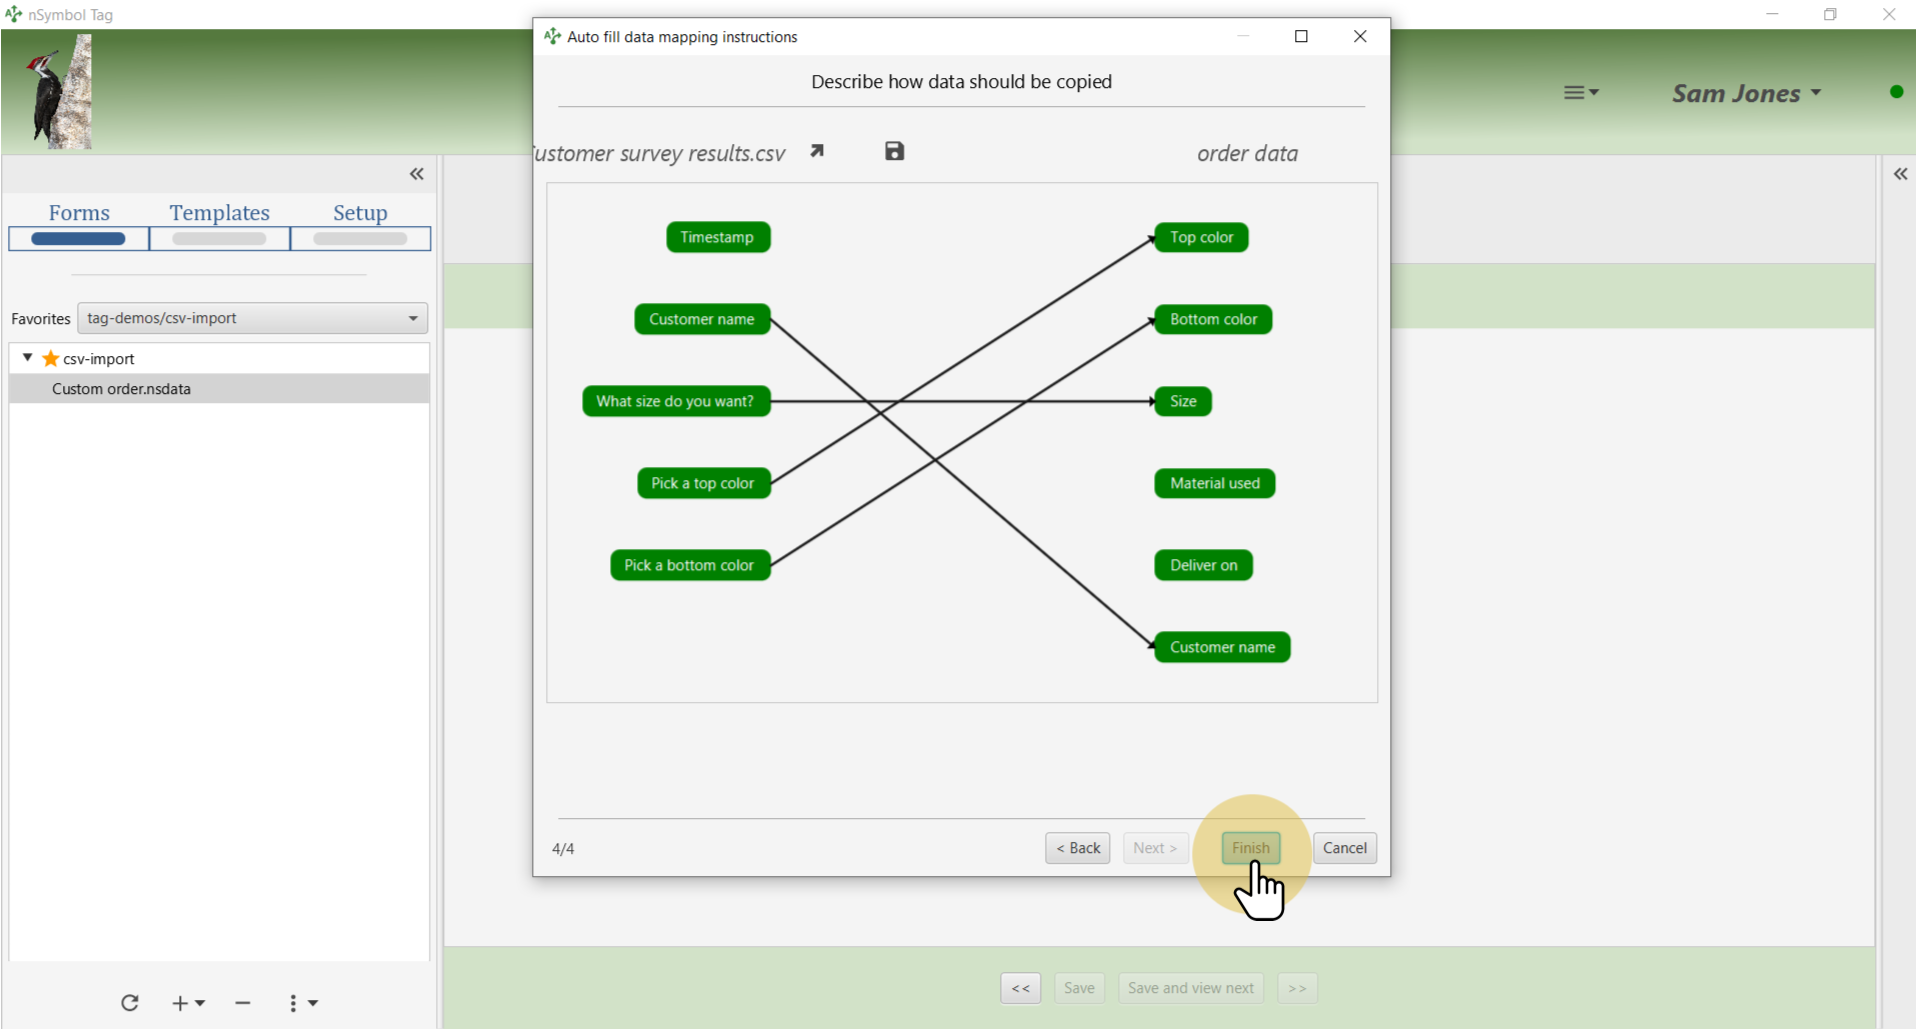
Click on a column name in the CSV and then on the corresponding field in the order data. A line will show this mapping and allow you to change or delete it. Repeat until all fields are mapped.
When all mappings are correct click the Finish button to copy data into the form.
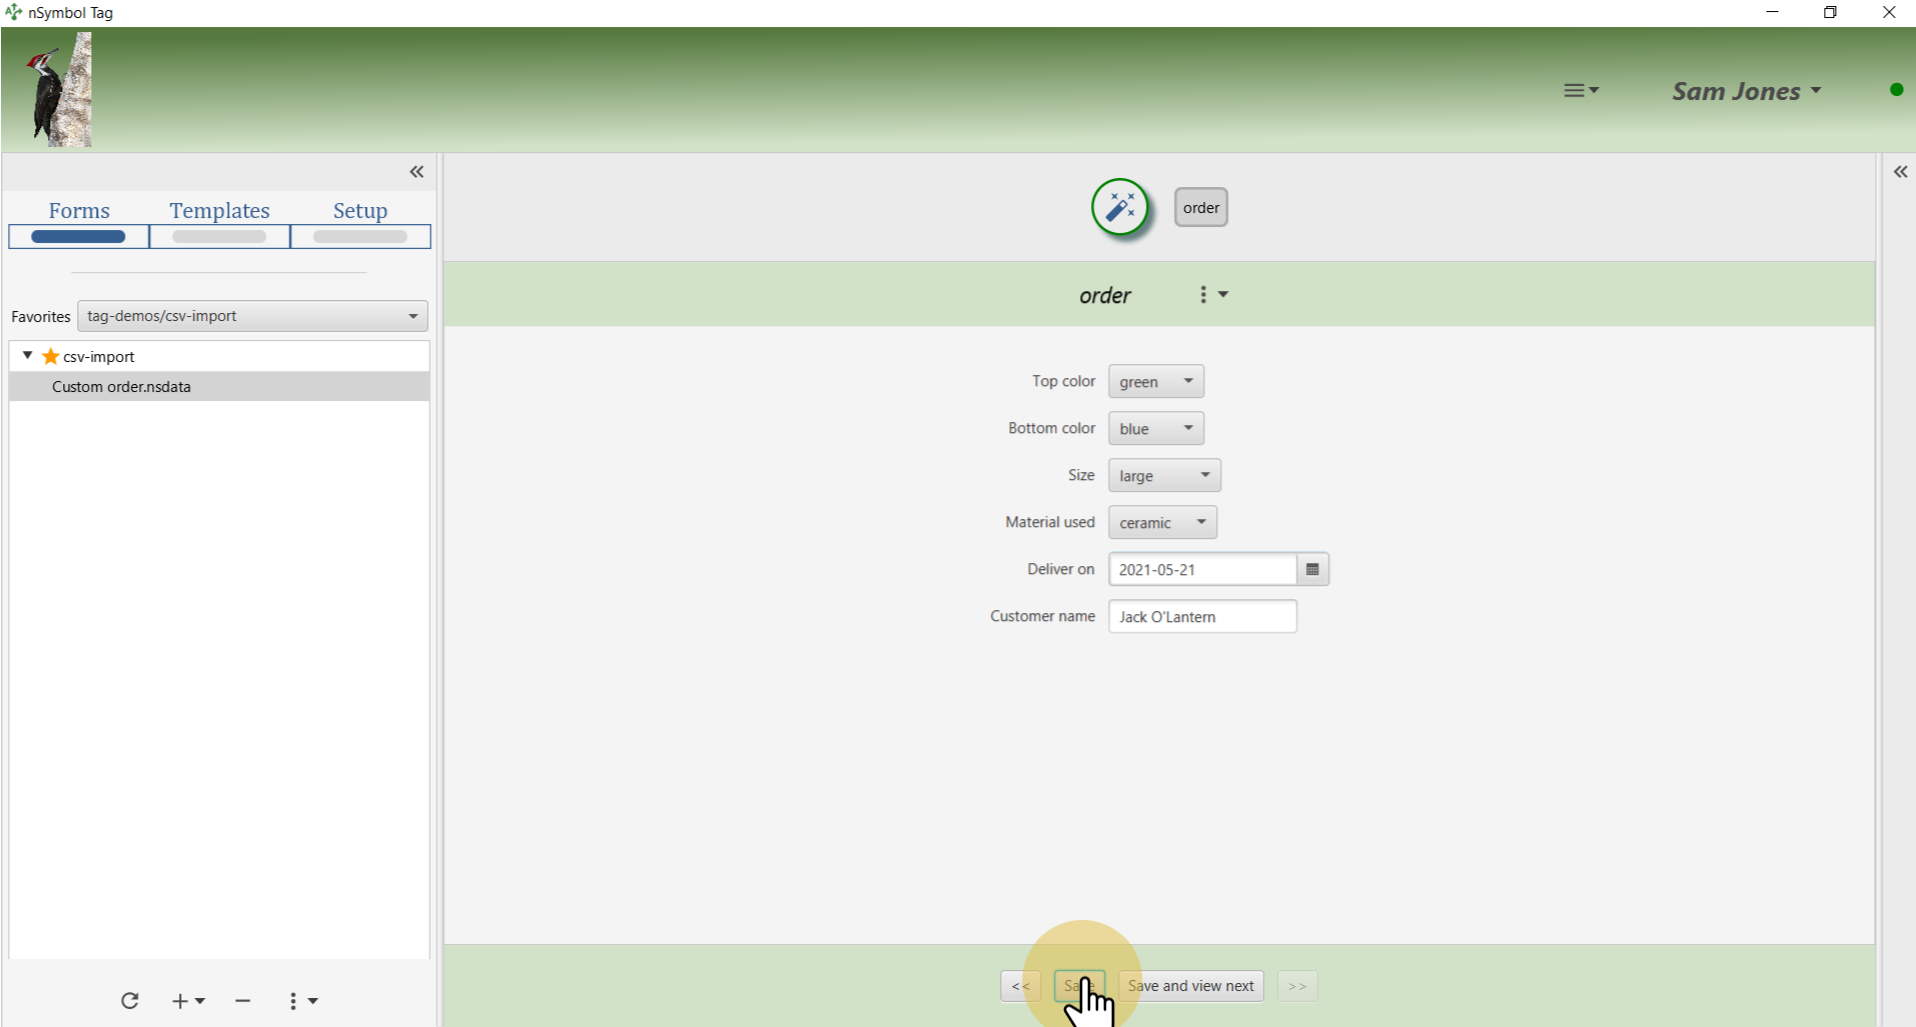
Four field values were copied from the CSV. Fill in the remaining two fields to complete the order.
Click the Save button to save the merged data to disk.
That's it for this guide. Now you can run the report, or use the data for other purposes (e.g., to help process the order).