After installation the Start screen will automatically display. If it gets closed, you can always open it again using the Apps menu.
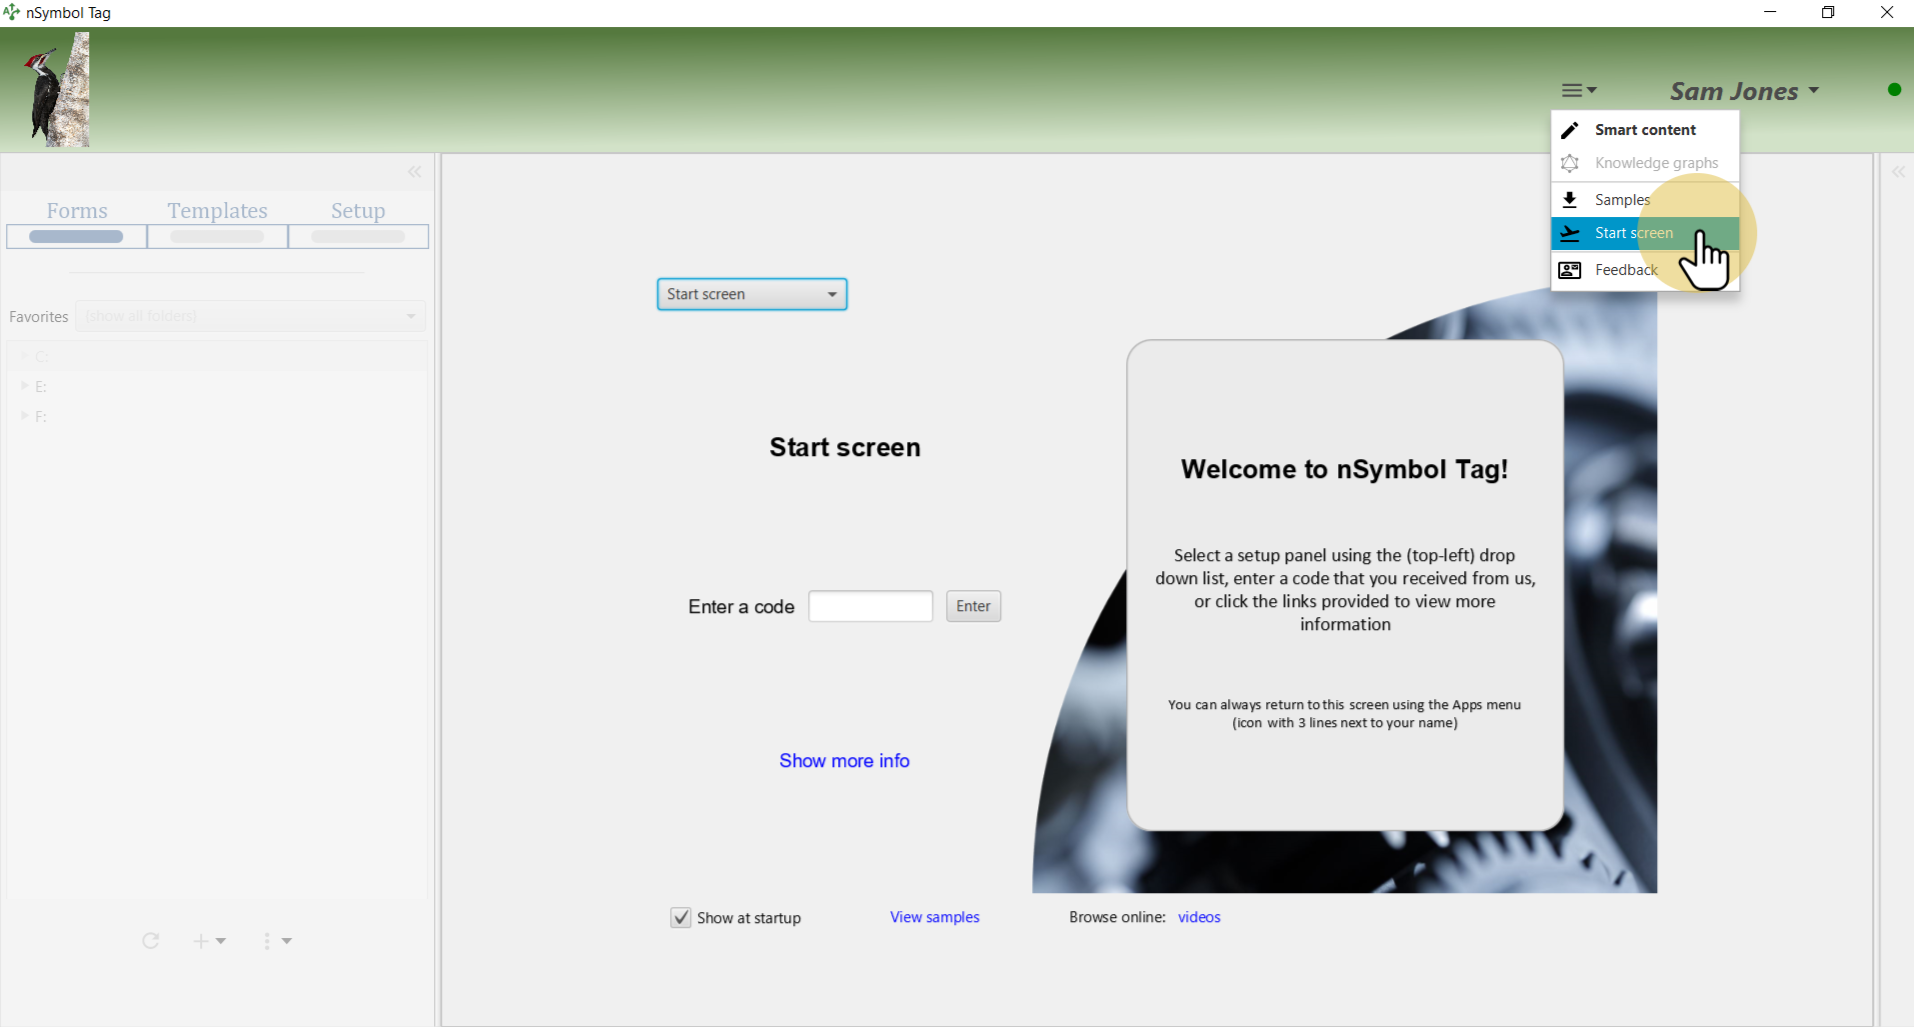
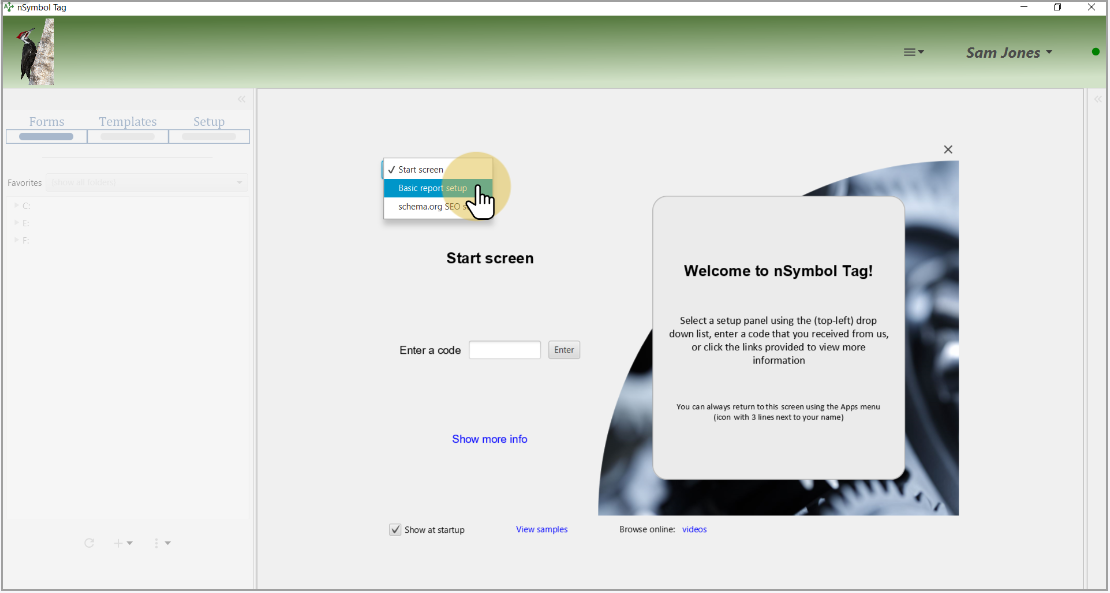
The Start screen lets you open all available setup panels. For this guide, select the Basic report setup panel.
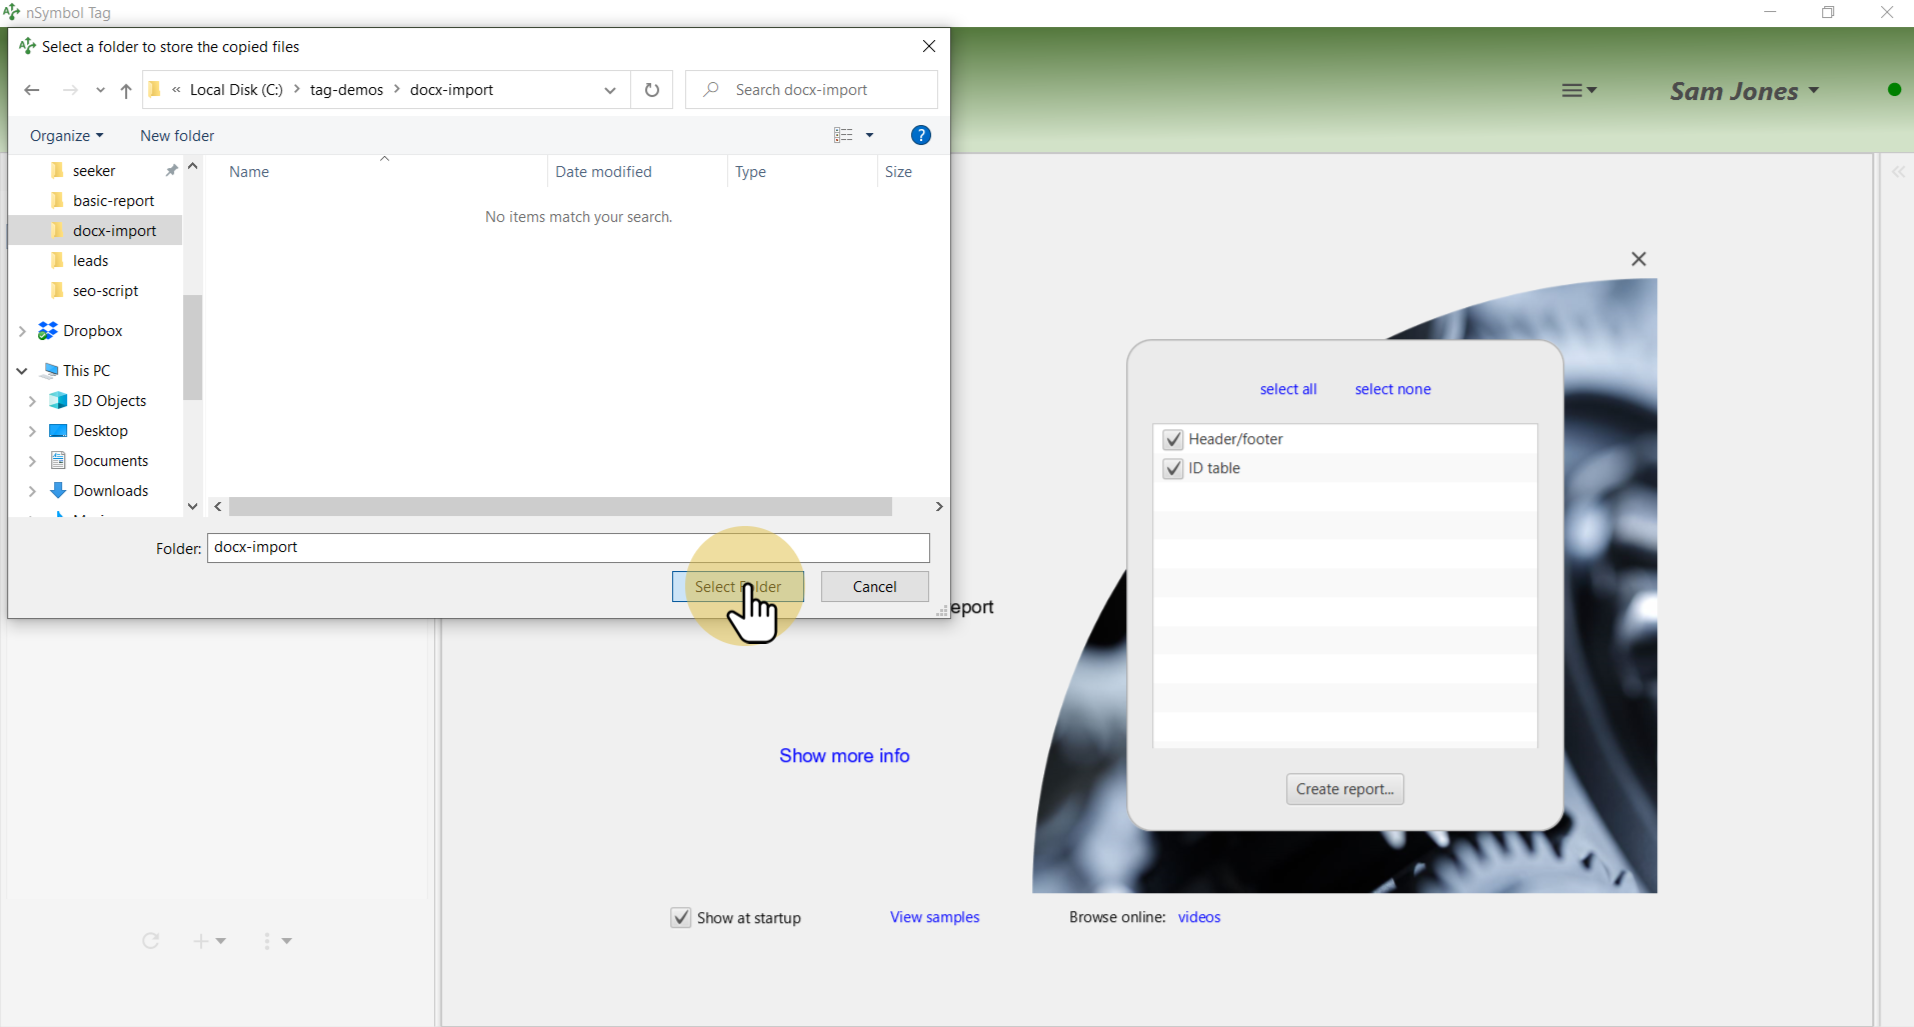
When a report is generated other files are copied as well. This guide will use two of those files and ignore the generated report itself. The needed files could also be copied using the Samples app.

Select a folder using the standard Windows or Mac file selection dialog.
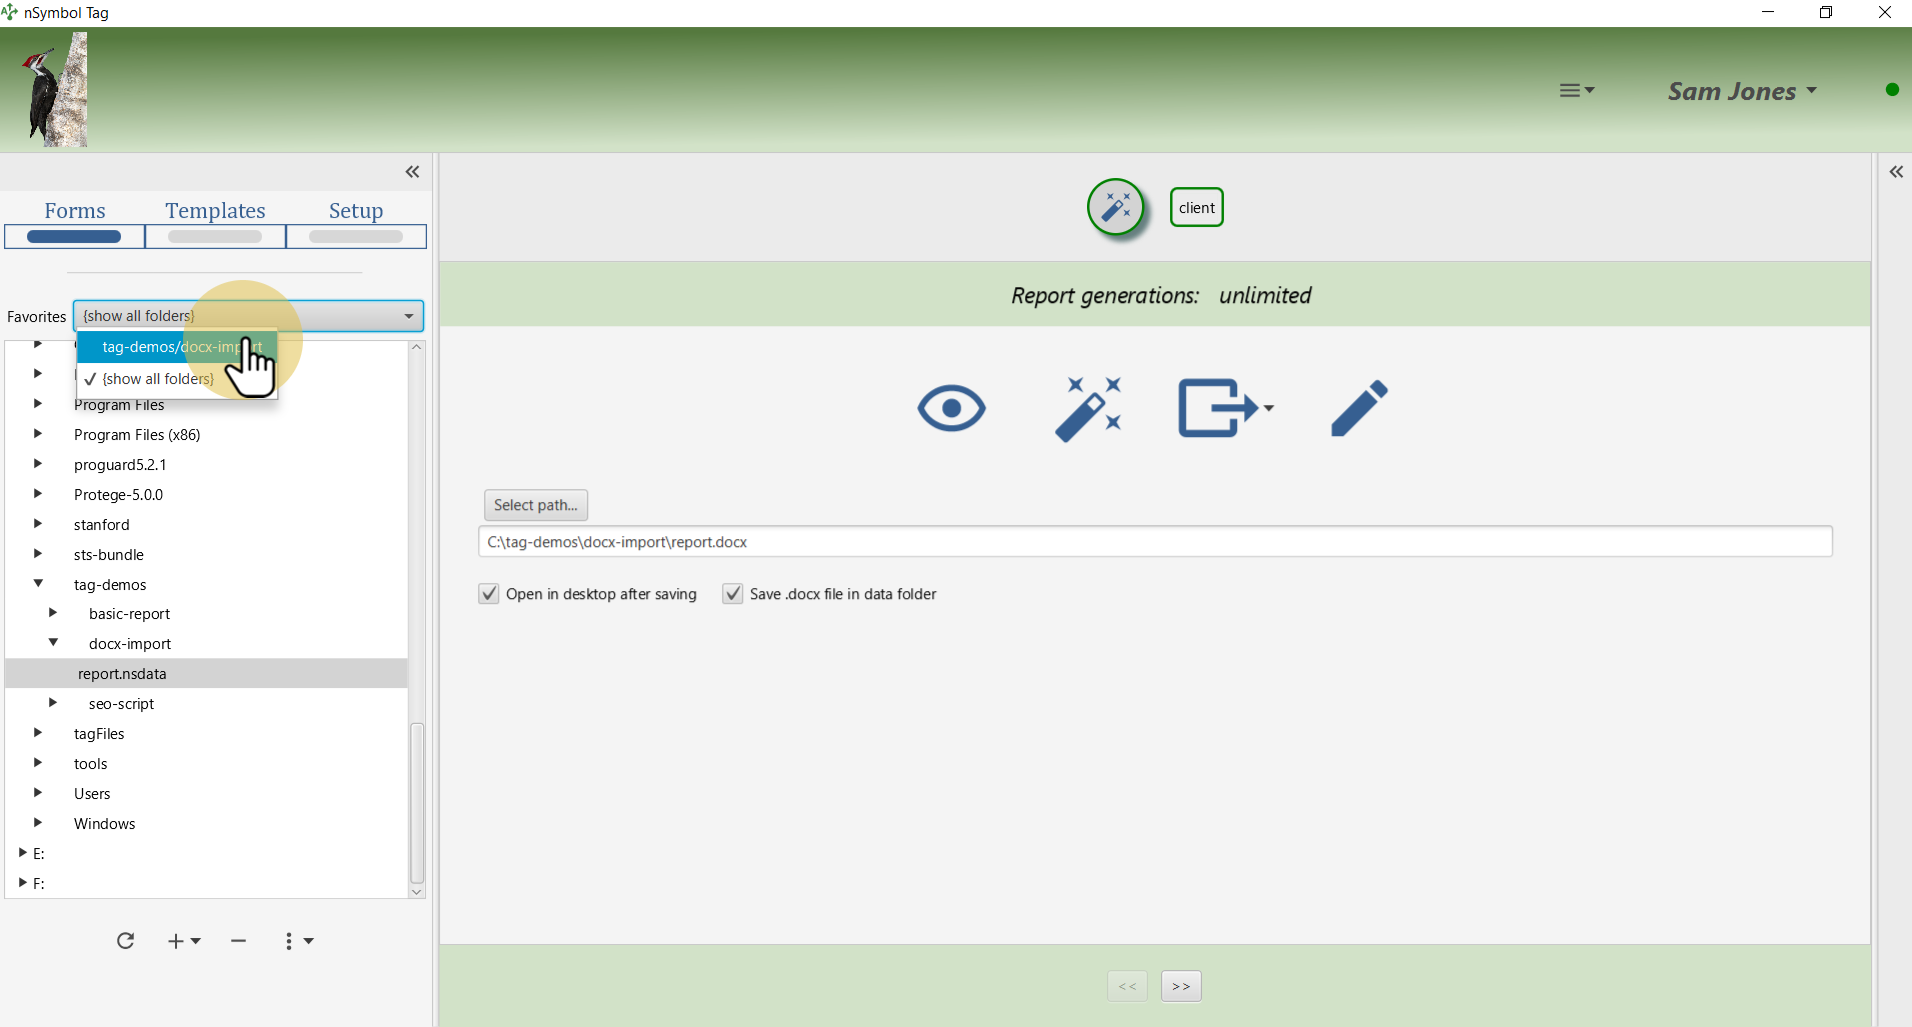
When the report is created, the folder you selected is also marked as a favorite if possible. Select this folder in the Favorites dropdown list to reduce screen clutter.
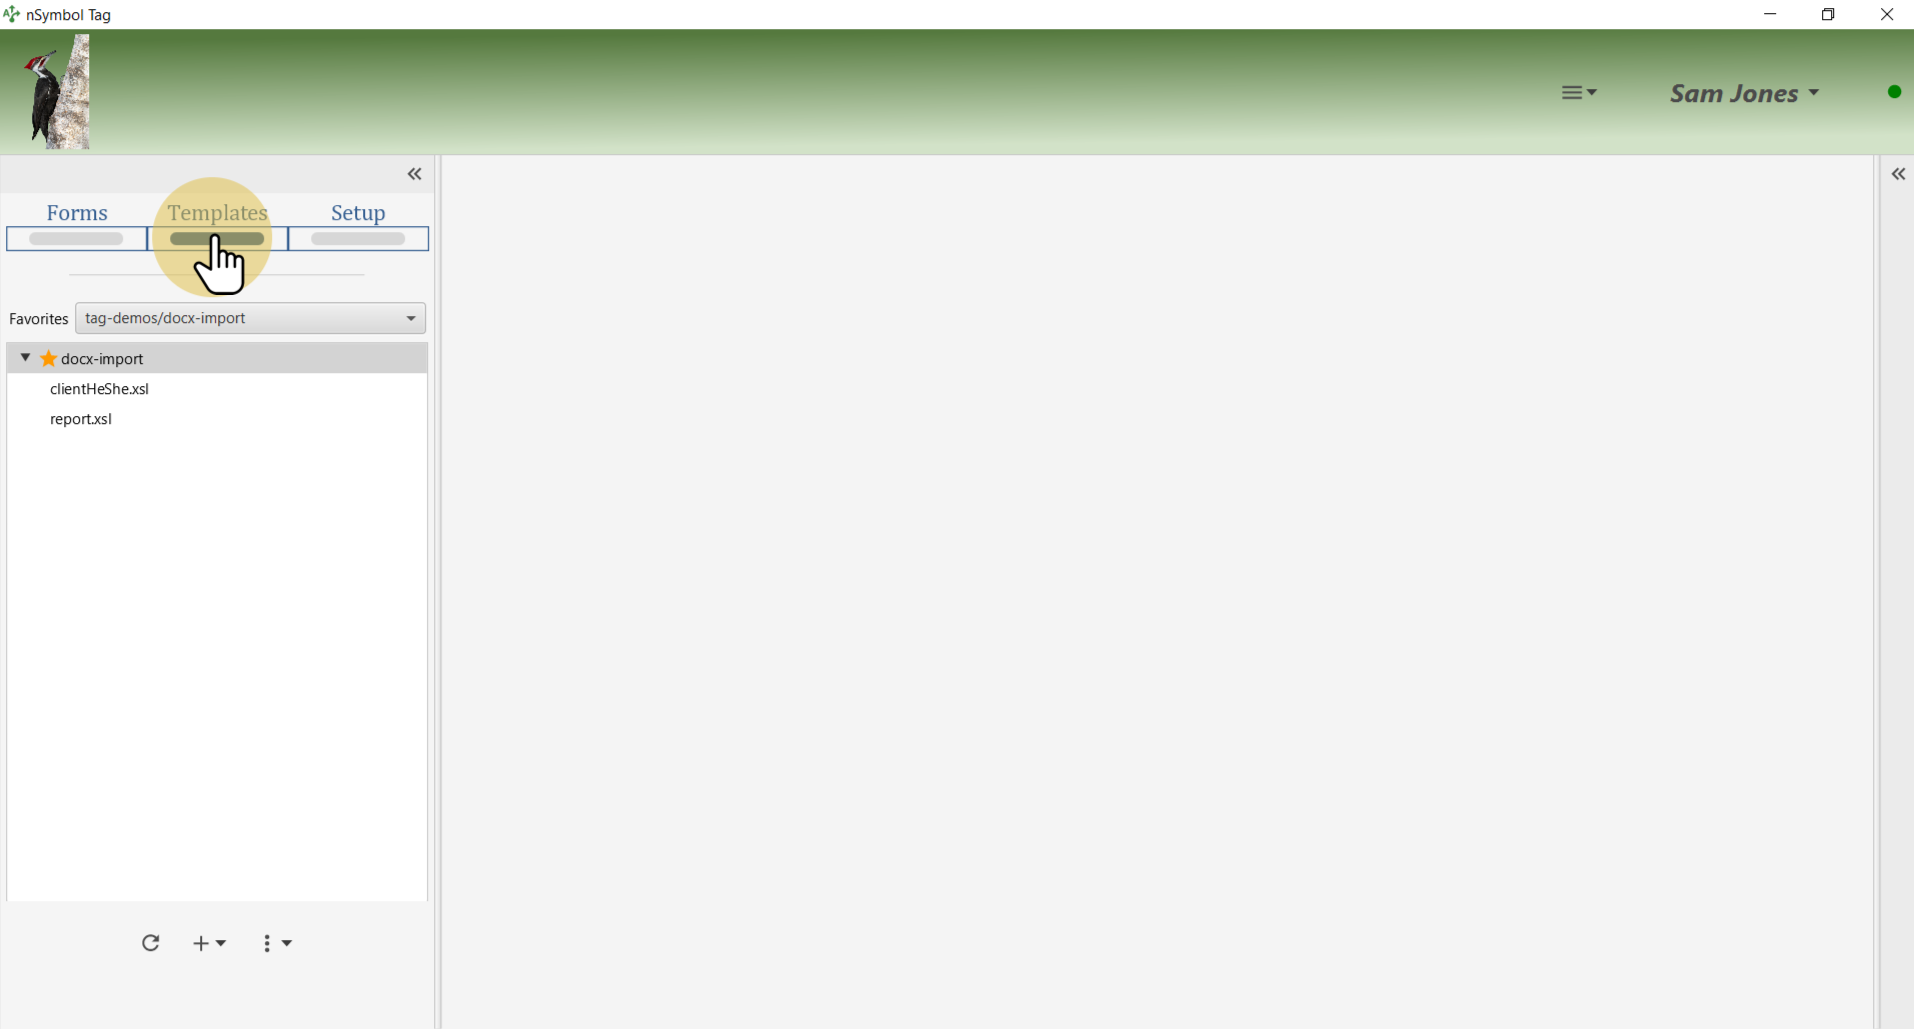
Go to the Templates screen where *.docx files can be imported.
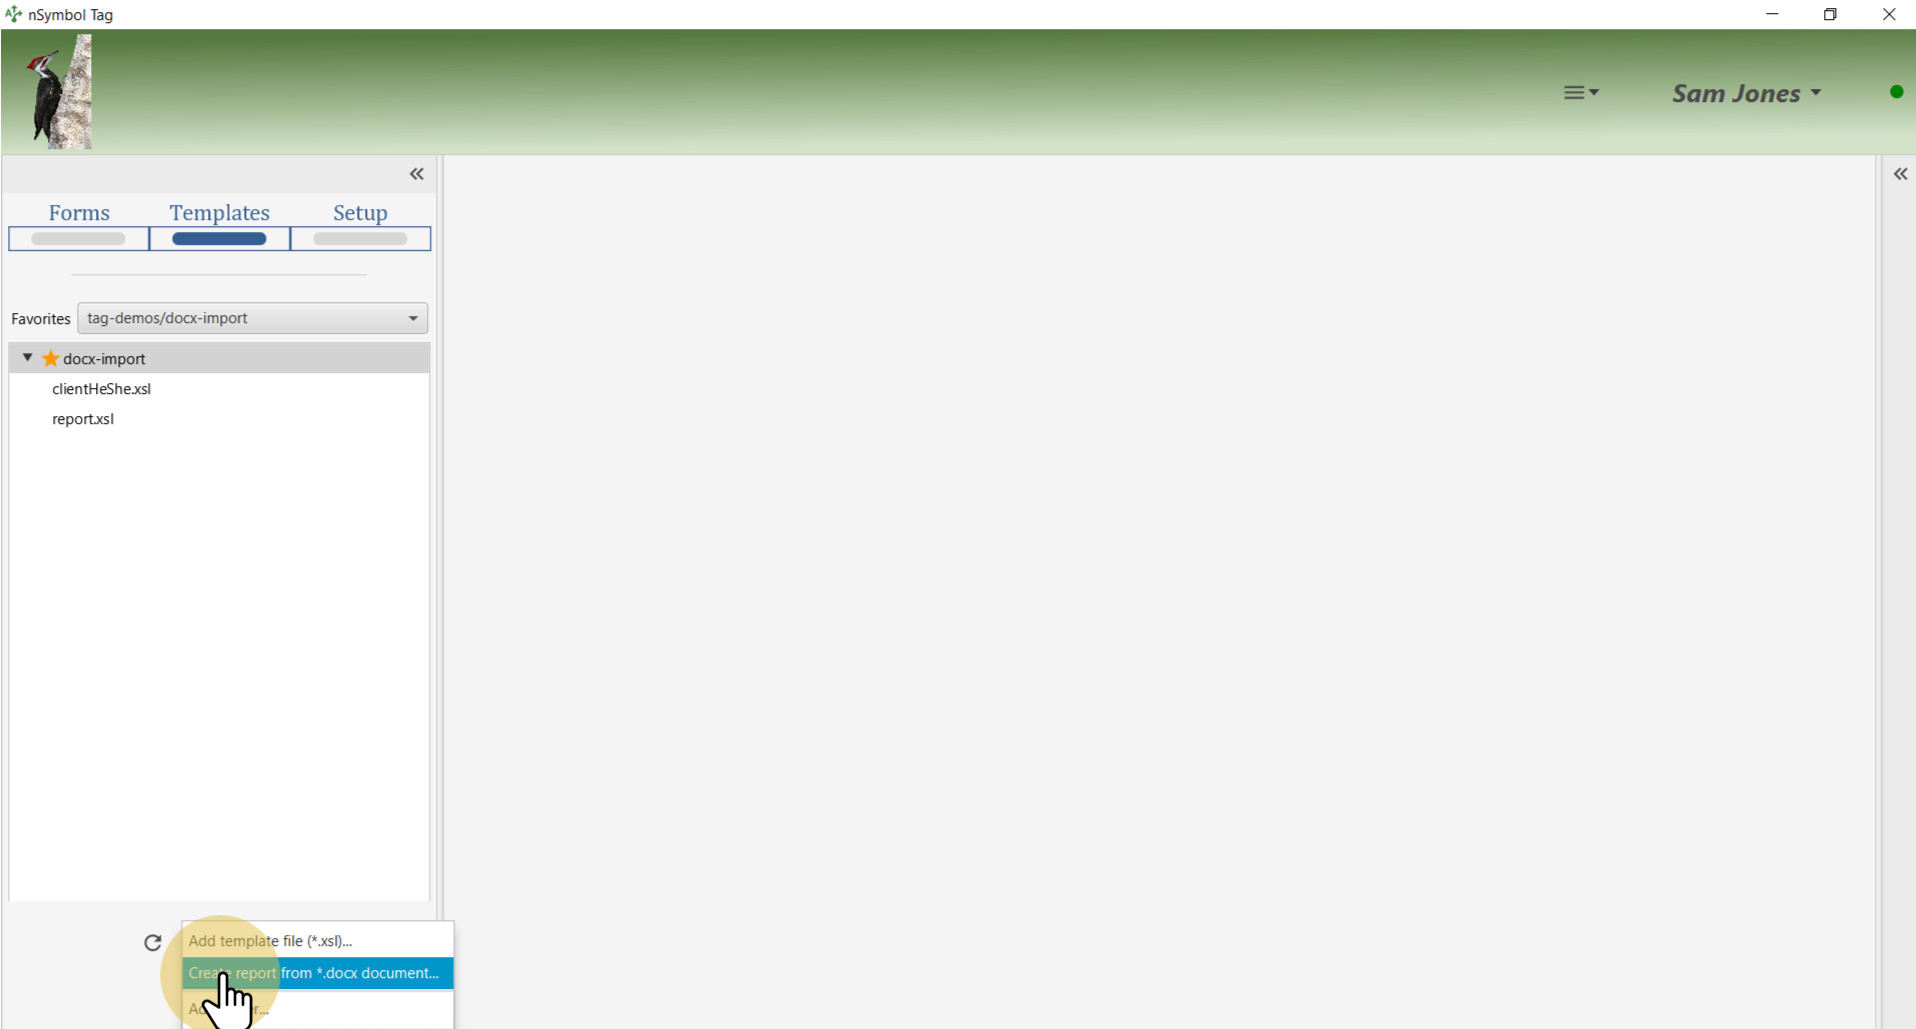
Use the Create report from *.docx document... menu item to open an import wizard.
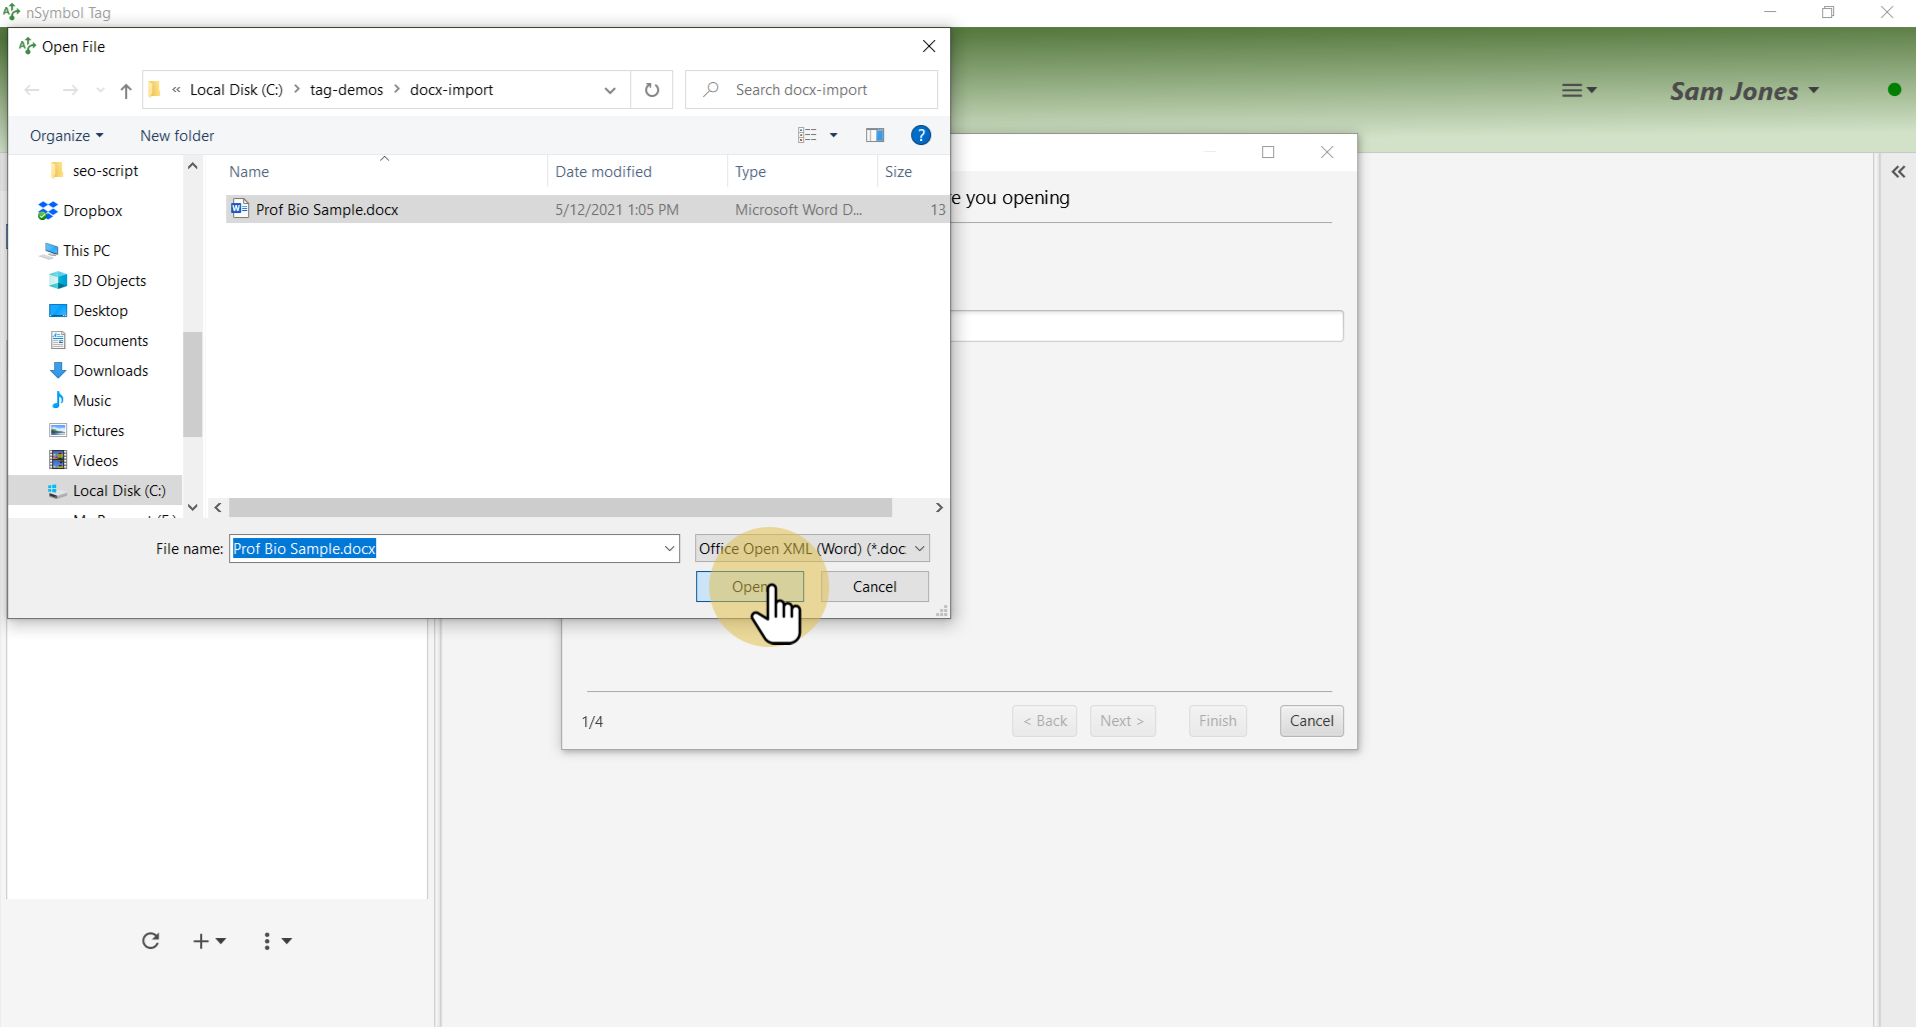
Select a *.docx file to import using the standard Windows or Mac file selection dialog.
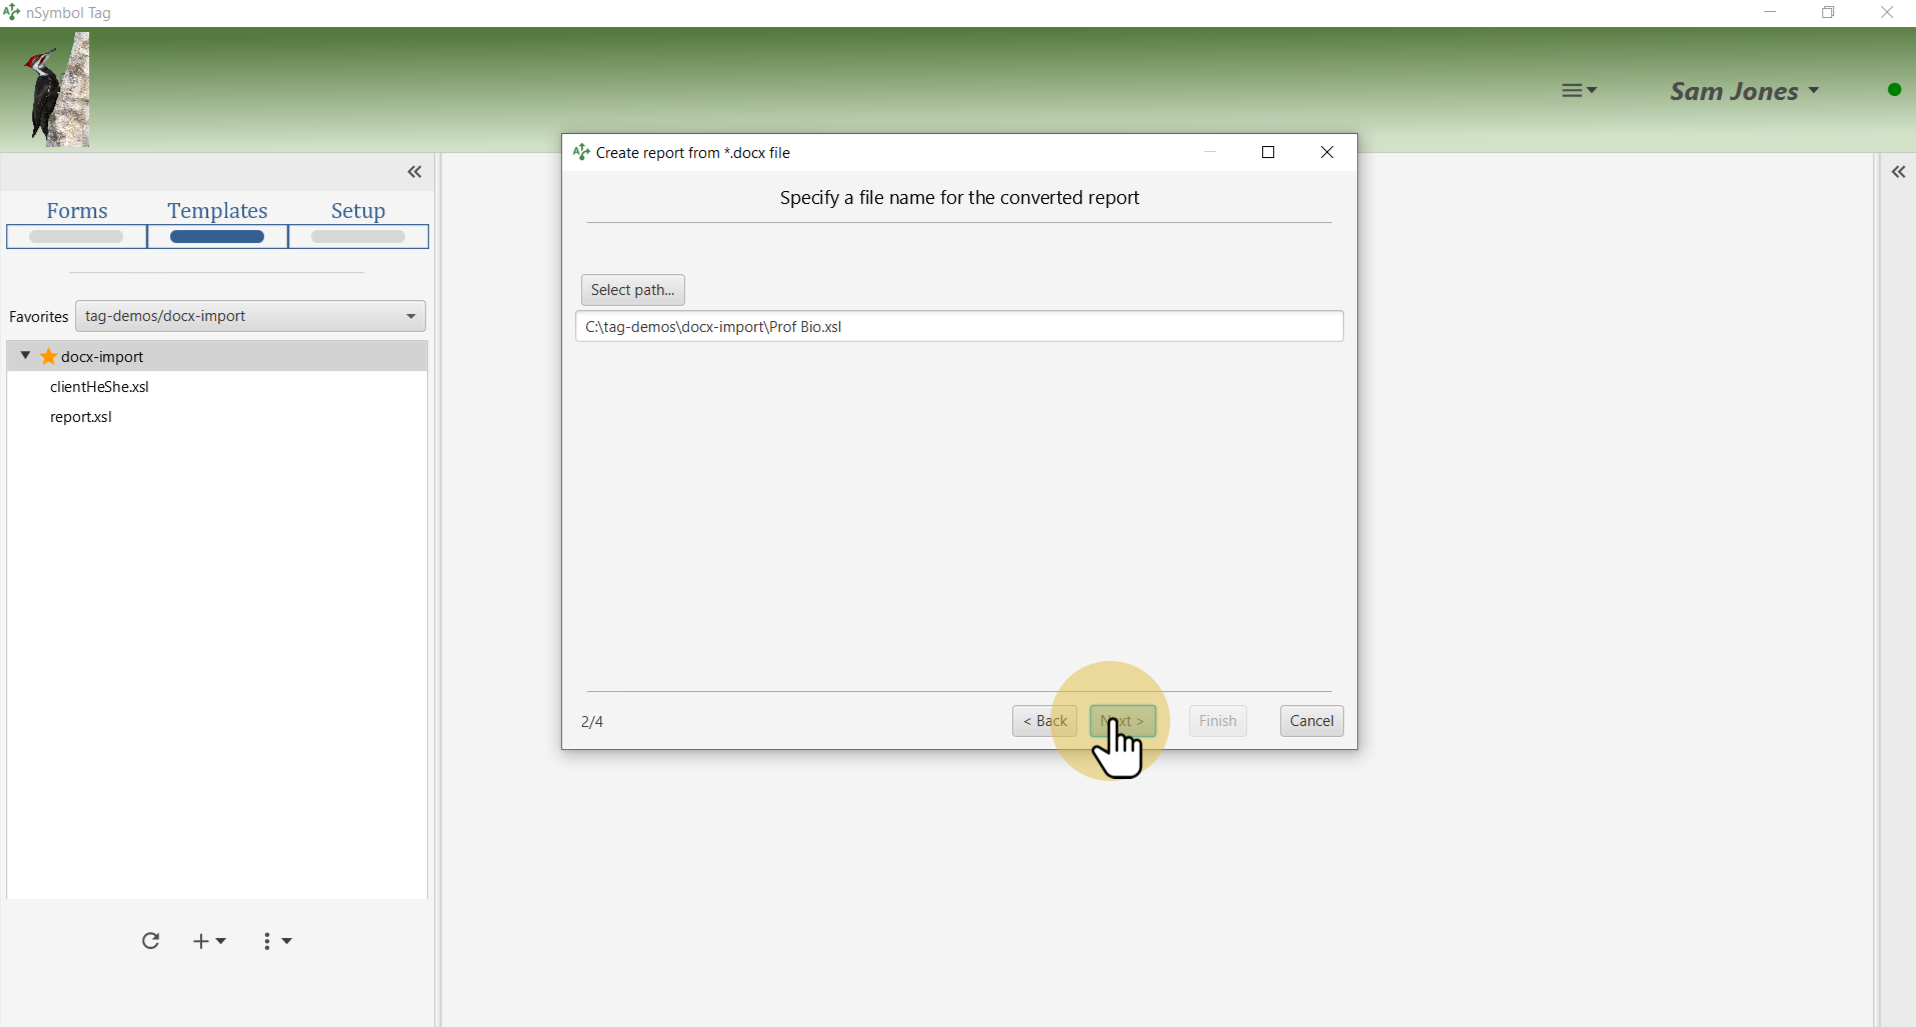
The contents of the *.docx file will be imported into the start template of a report (template file). Here the term "Sample" was removed from the file name.
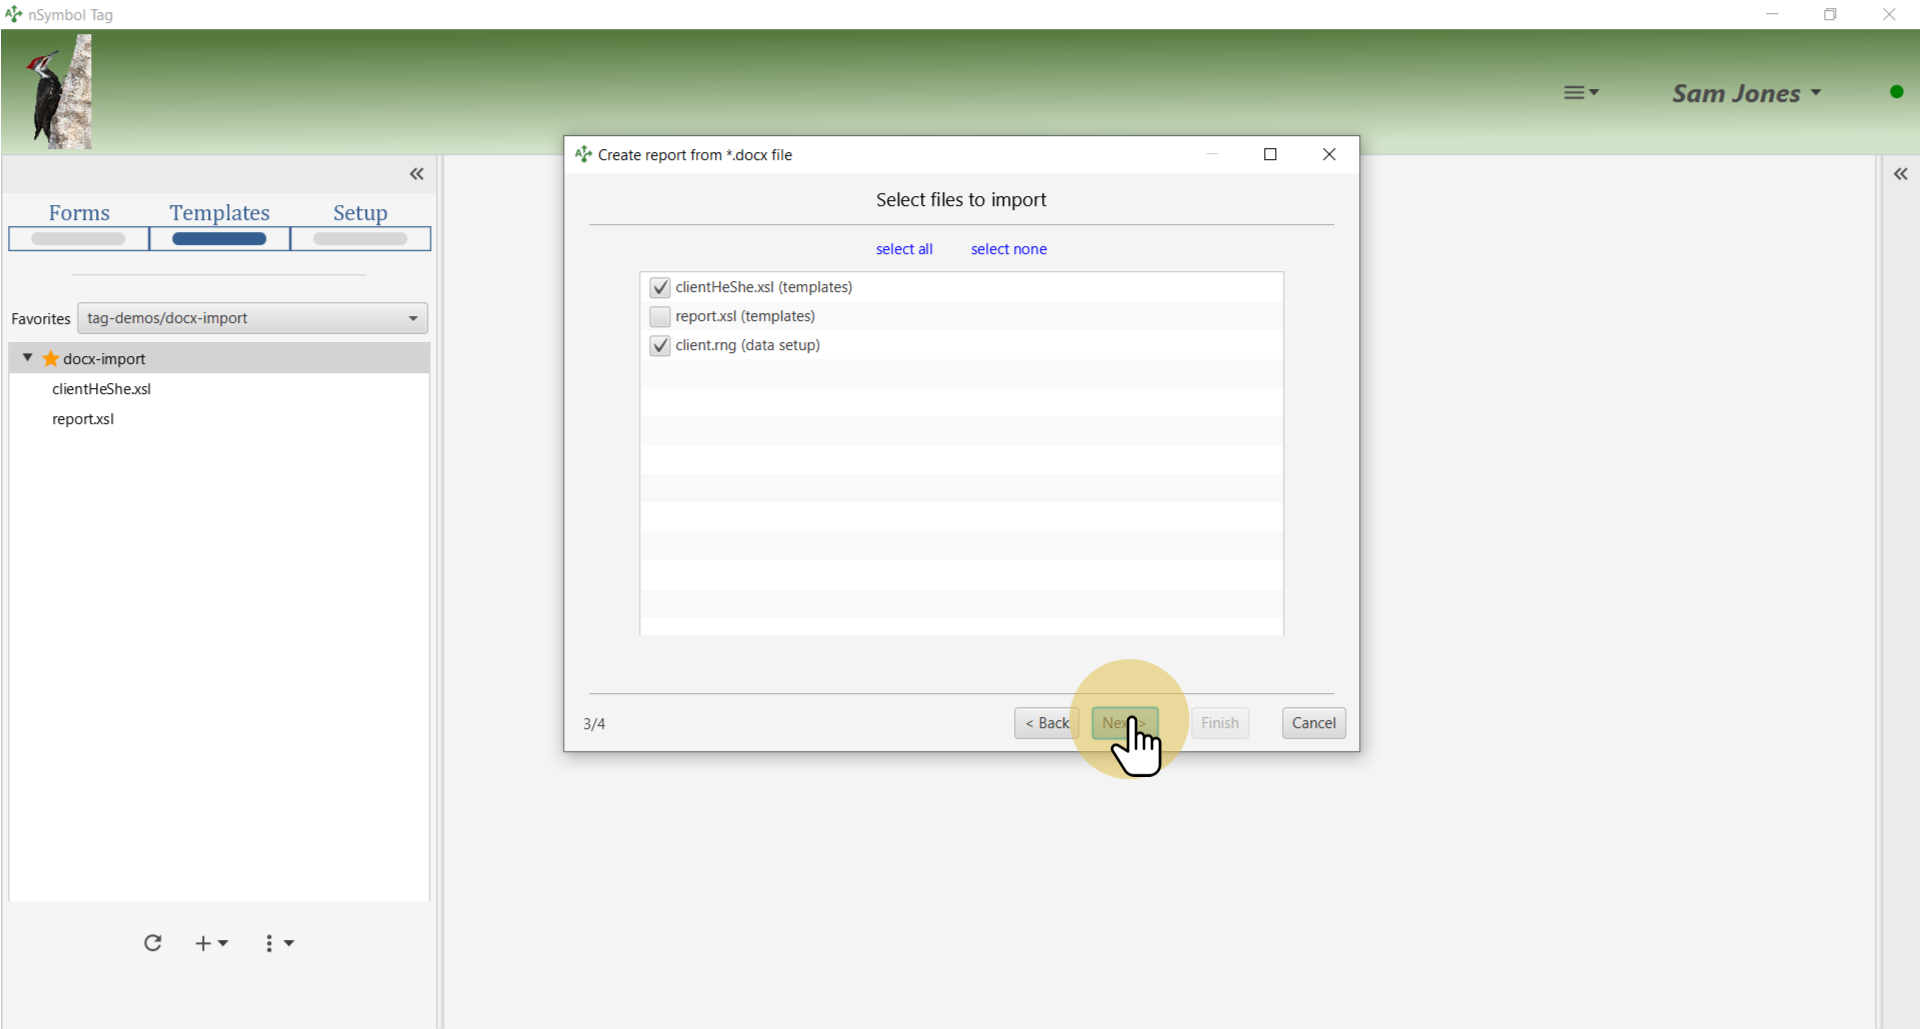
This step is where the copied files mentioned earlier get used. Import clientHeShe.xsl and client.rng while ignoring report.xsl (which can be deleted).
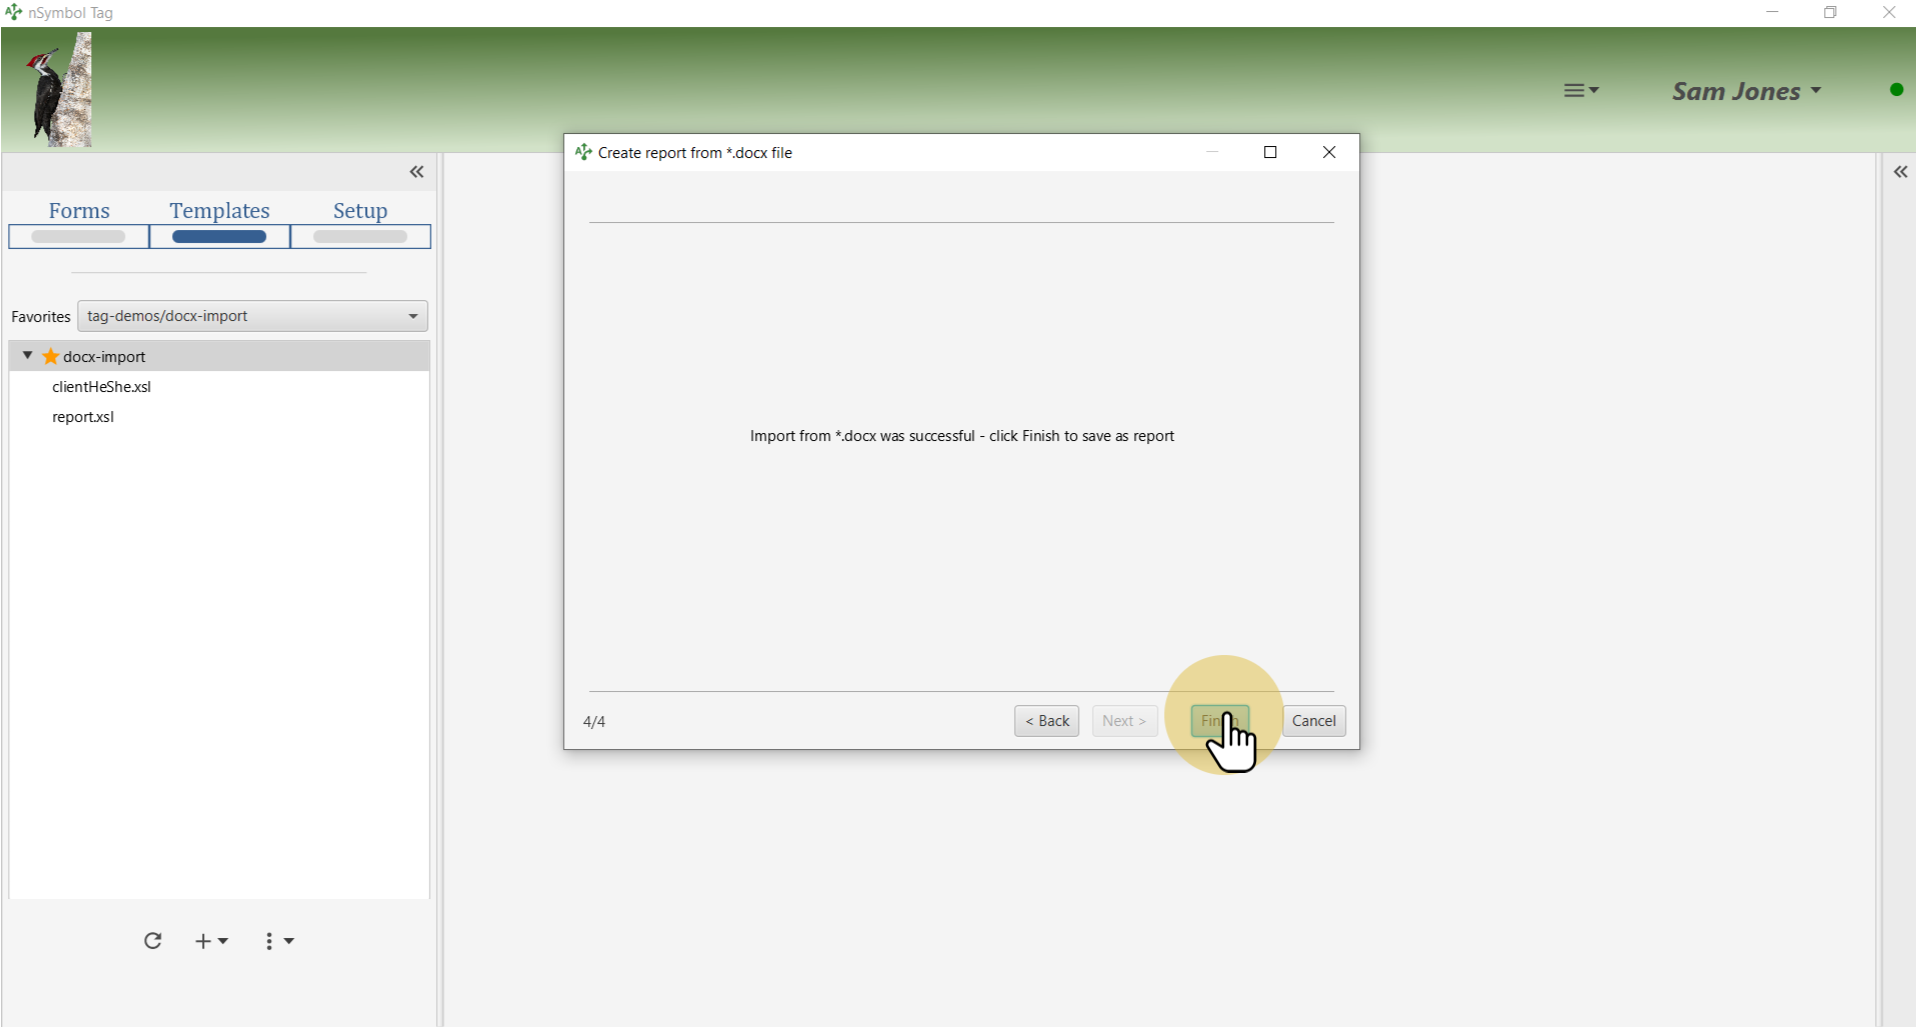
At this point you know that the import was successful. When the Finish button is clicked, the converted report will be saved to disk.
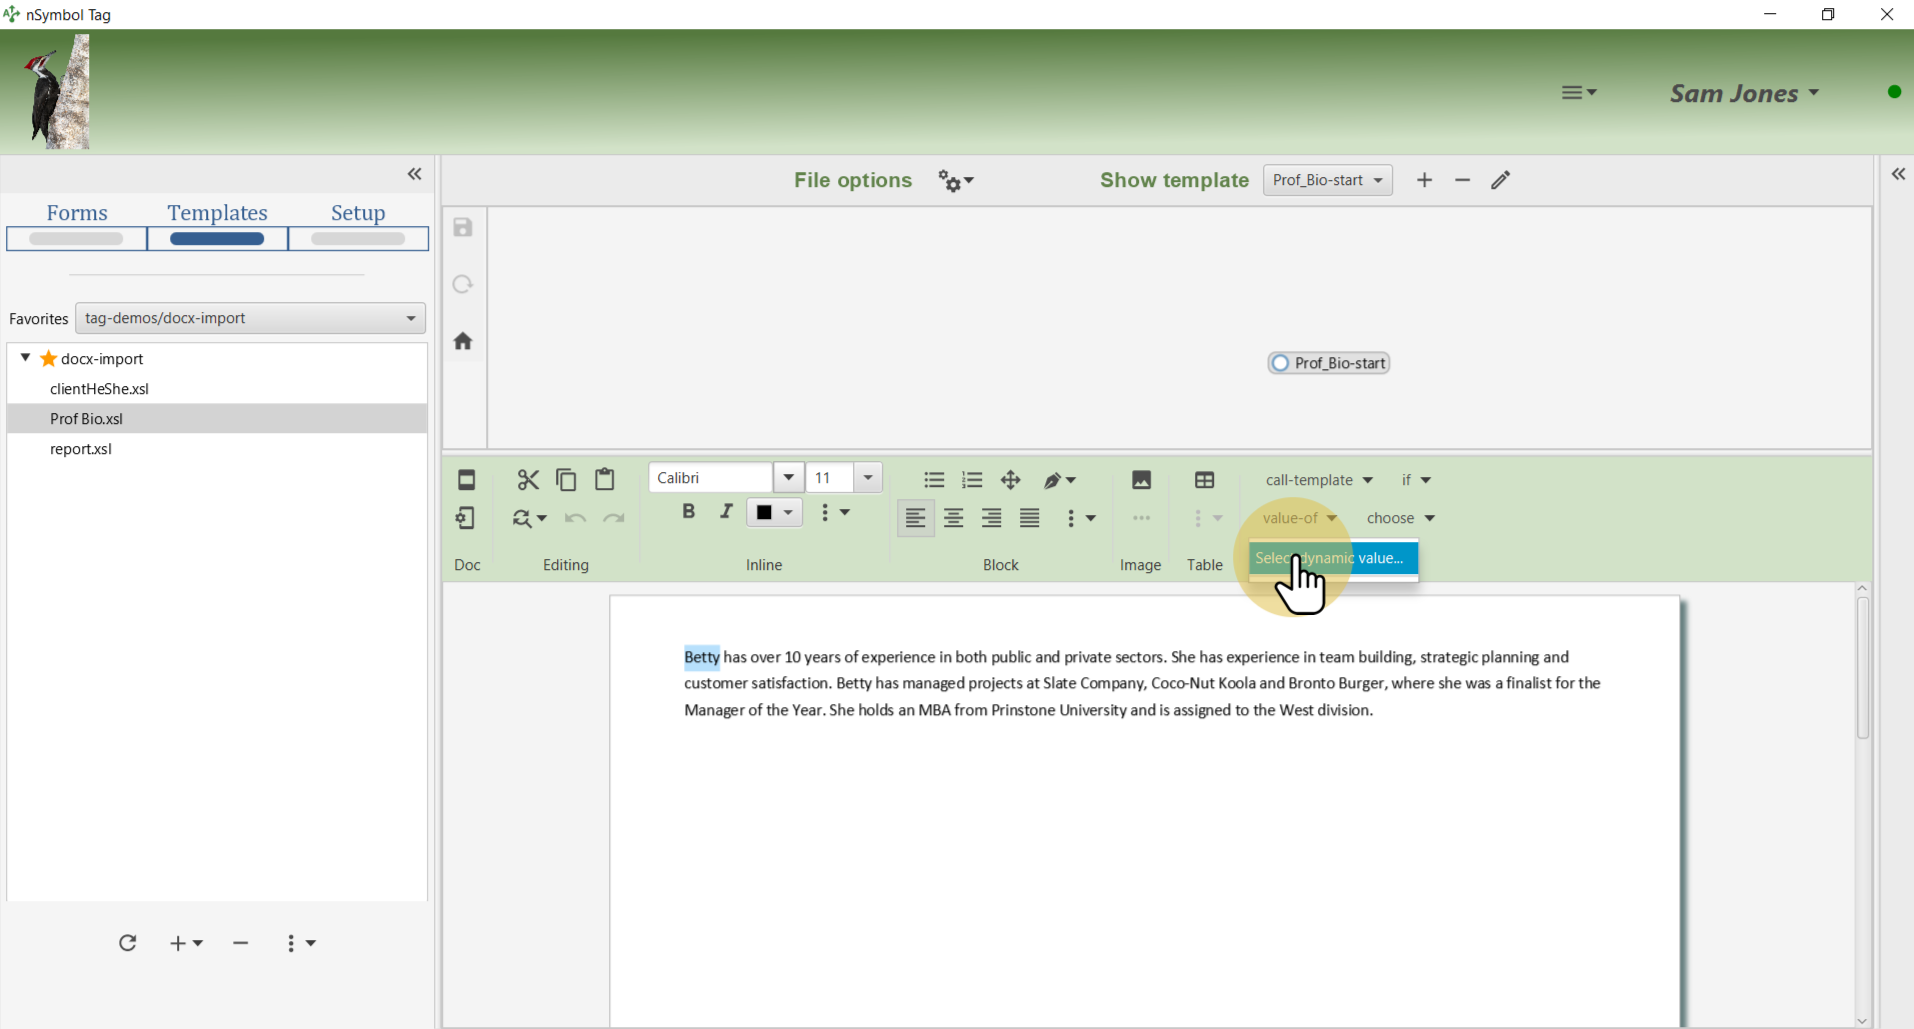
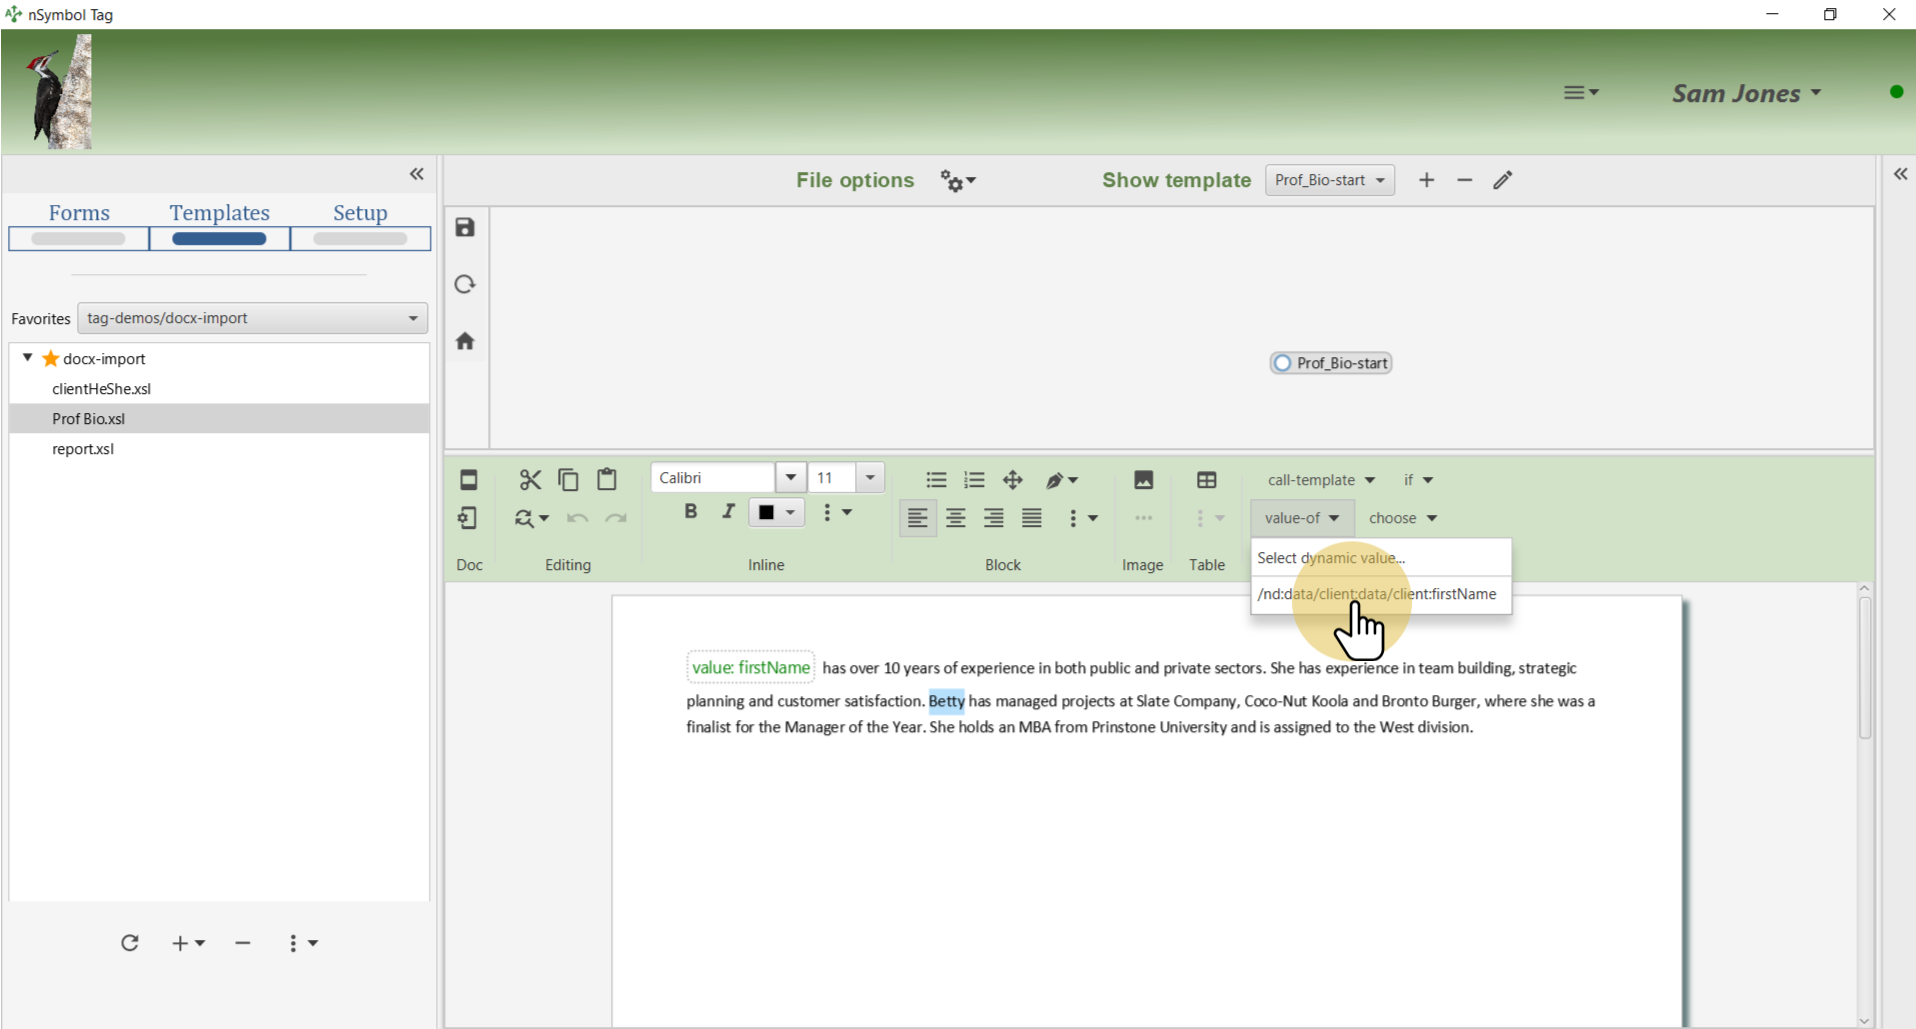
Select the first occurrence of "Betty". Use the Select dynamic value... menu item under the value-of menu to open the expression editor dialog.
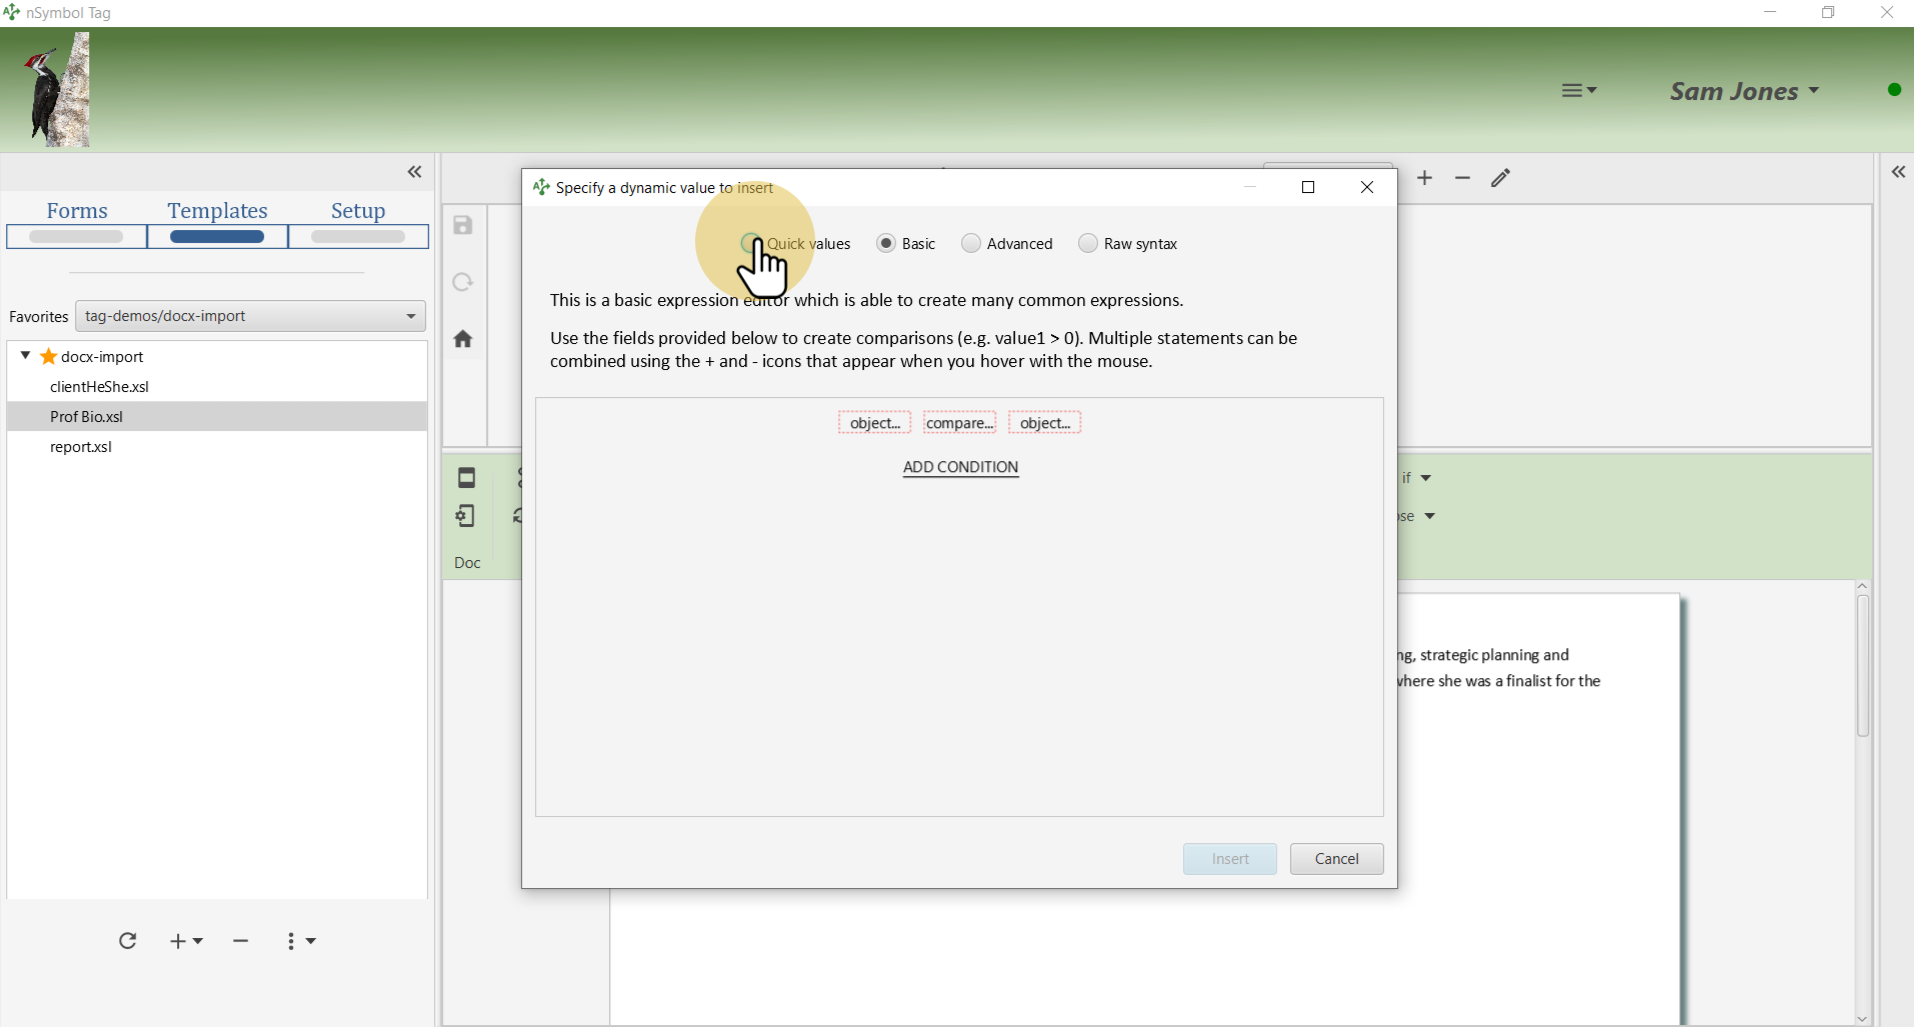
Select the Quick values panel which lists current data fields in a tree.
Expand the Source data tree, select the "First name" branch and click the Insert button.

Select the next occurrence of "Betty" and open the value-of menu. Now there is a shortcut for the firstName field which you can use with a single click.
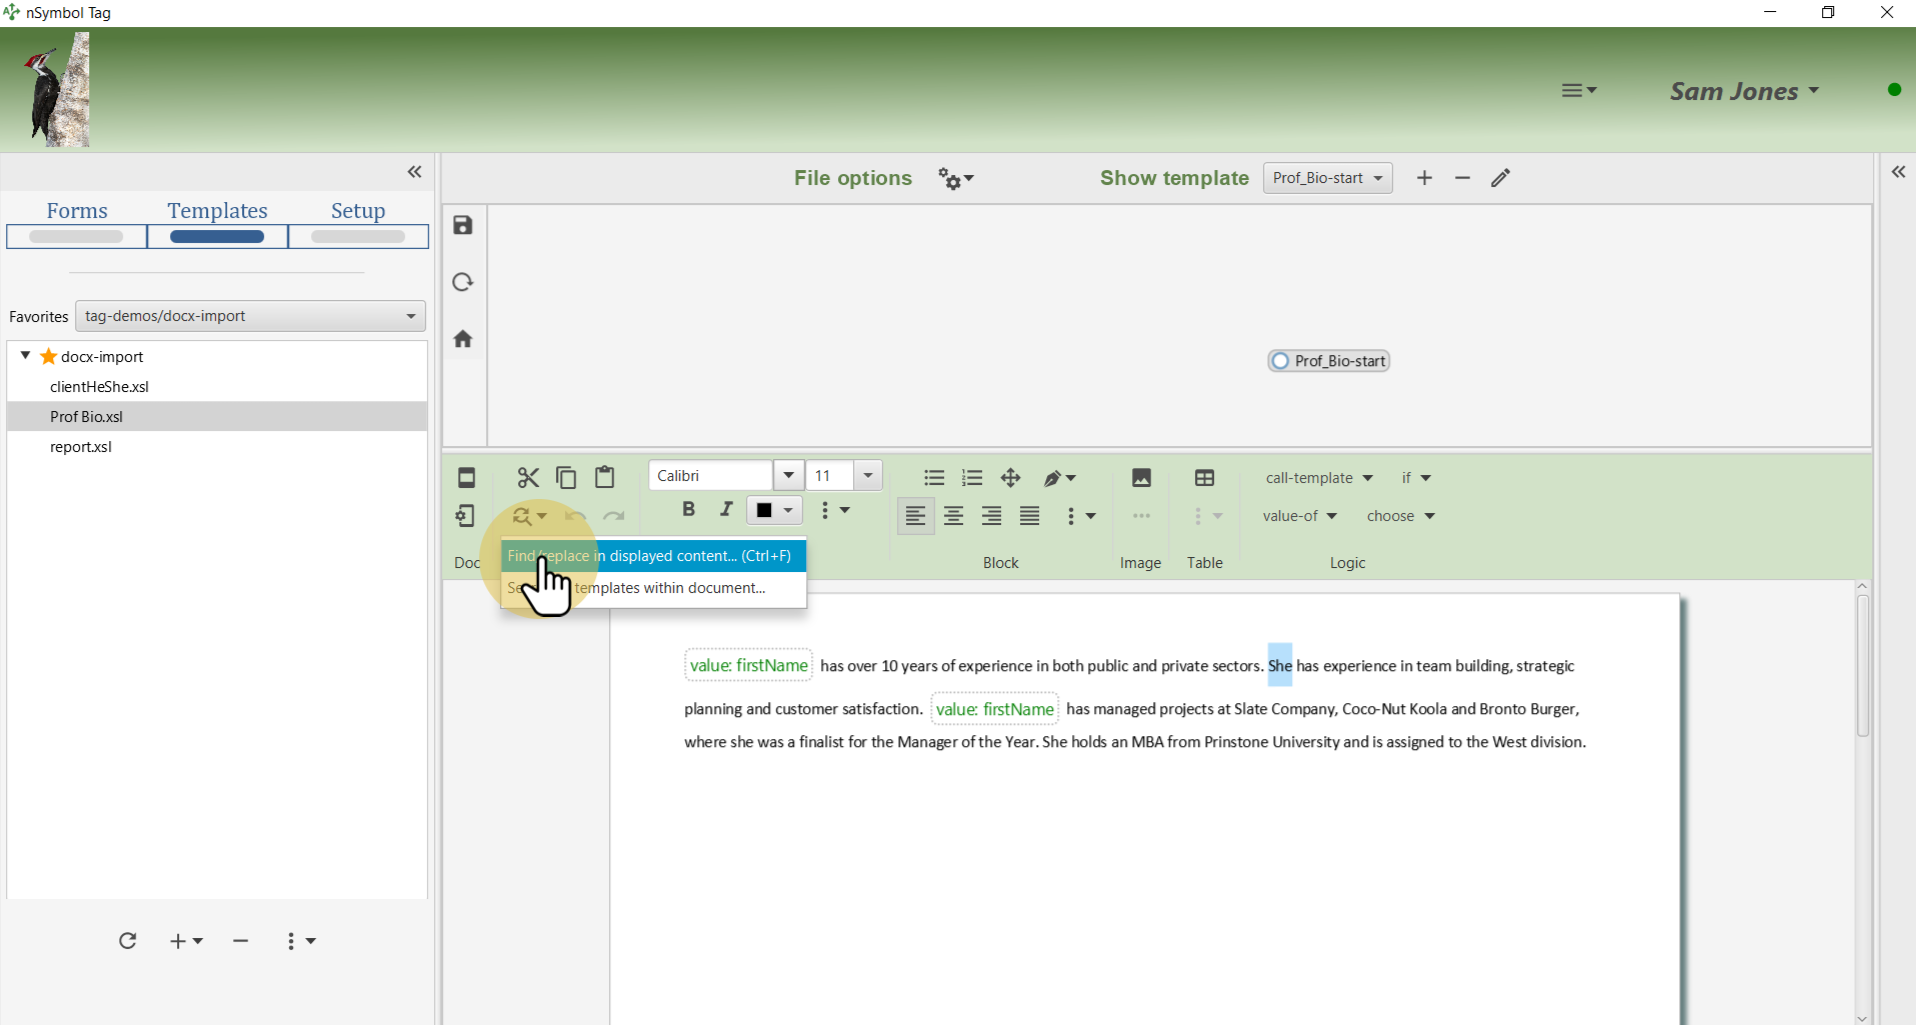
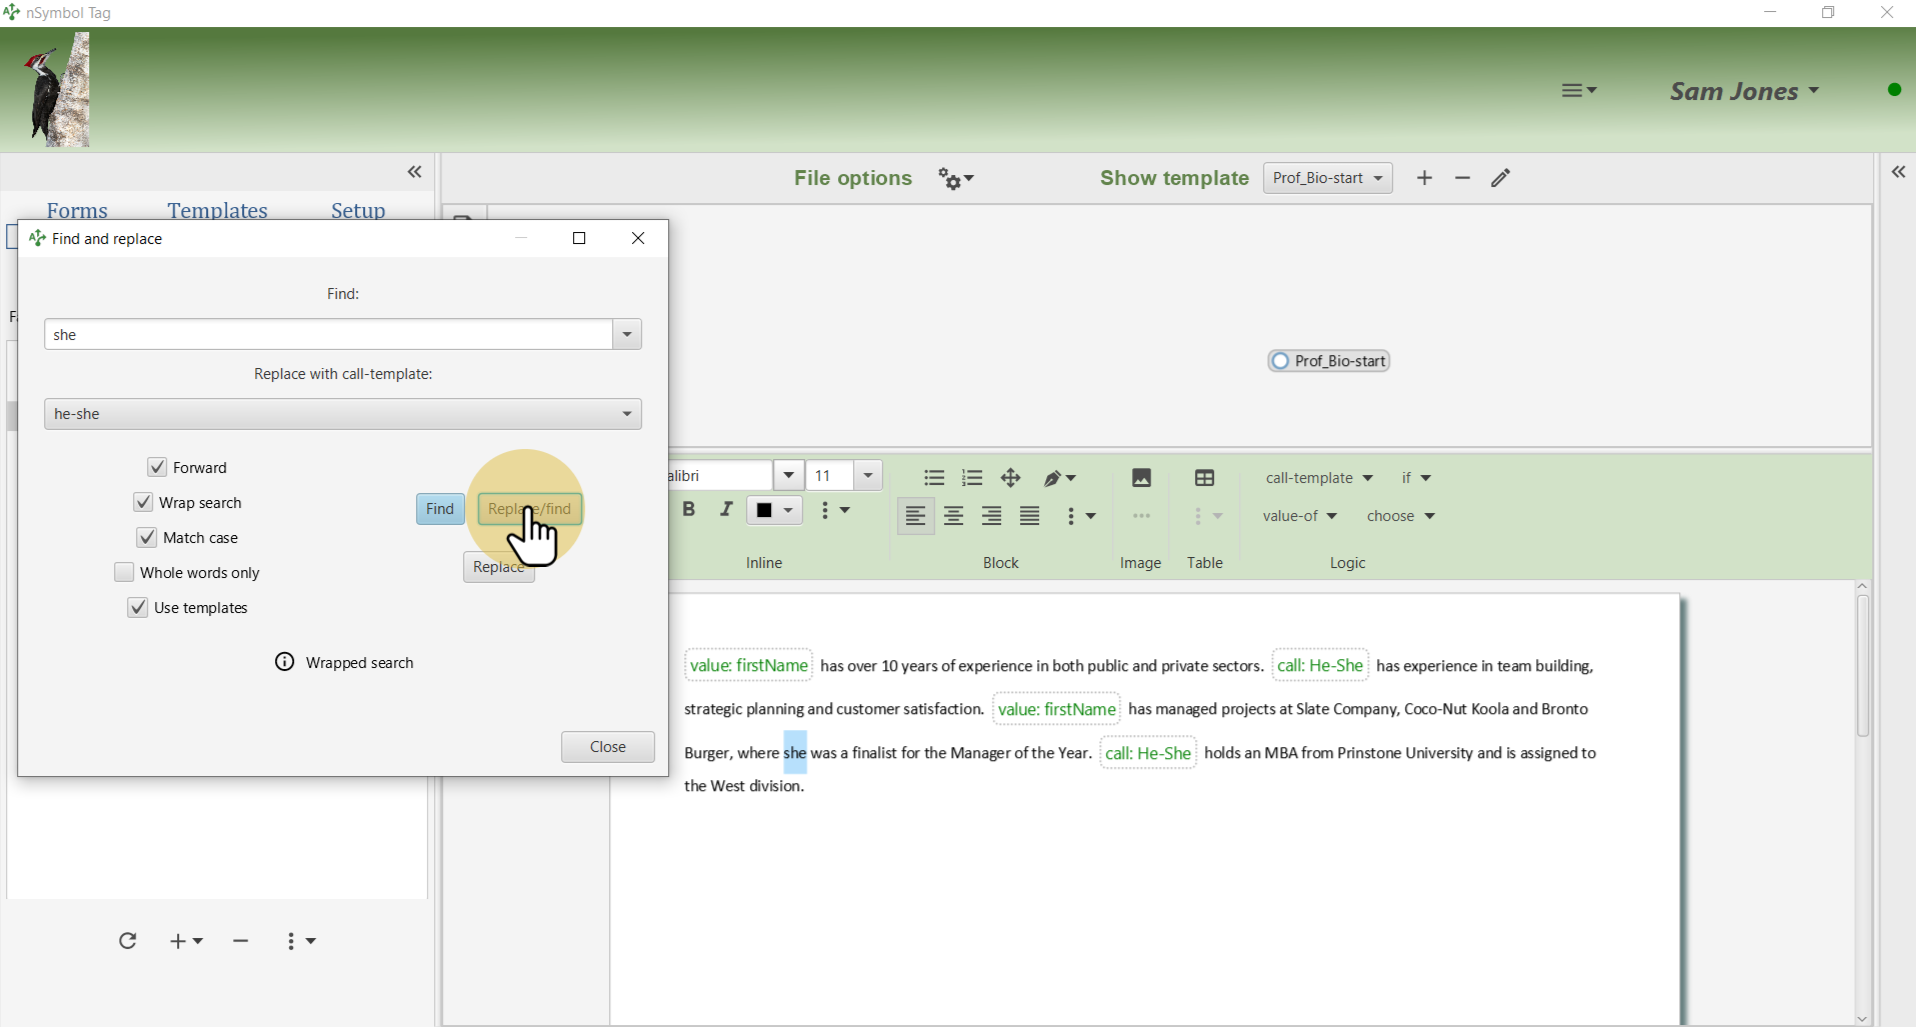
Select "She" and open the find/replace dialog using the Find/replace in displayed content... menu item under the find/replace tool.
Select the Use templates checkbox and choose the He-She template from the dropdown list.
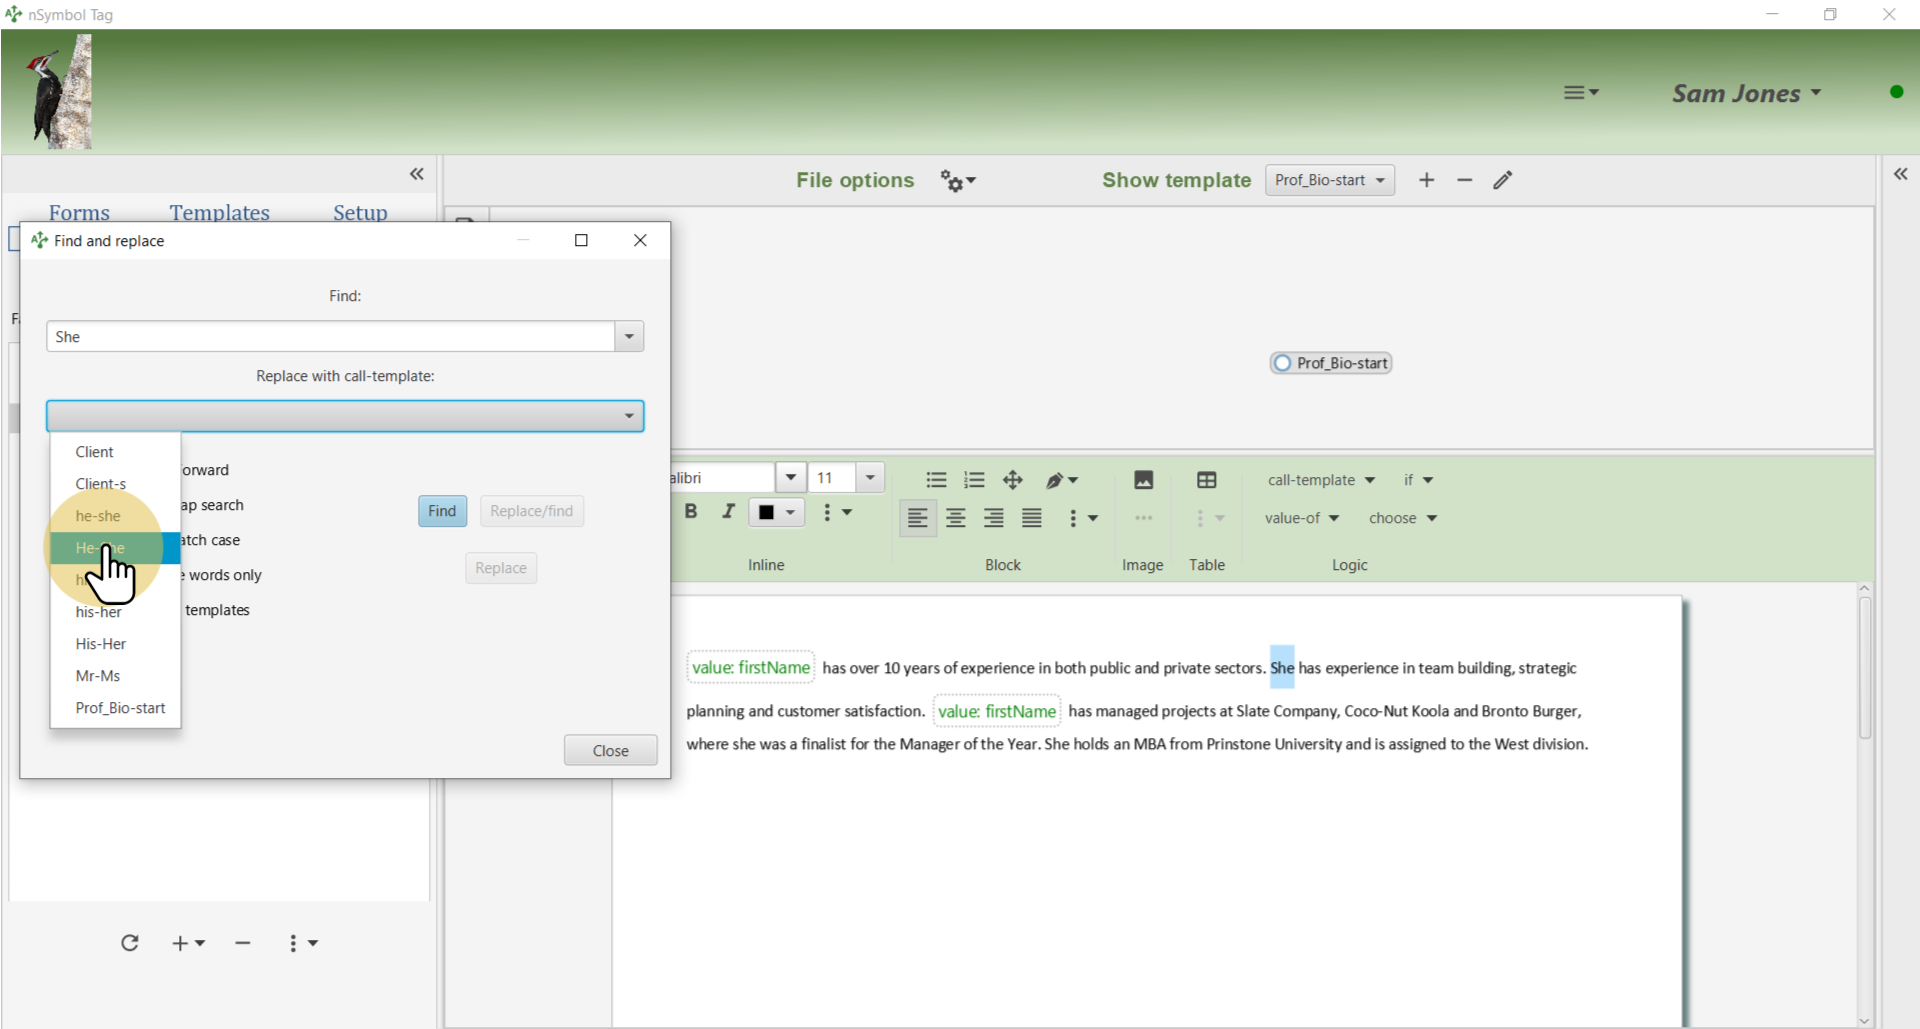
Click the Replace/find button to insert a call-template instruction and find the next occurrence of "She".

By default Match case is false, and therefore the next "she" is selected. This is incorrect because the lowercase he-she should be used instead. Select the Match case checkbox and also the Whole words only checkbox (which often comes in handy). Continue with finding and replacing until done.
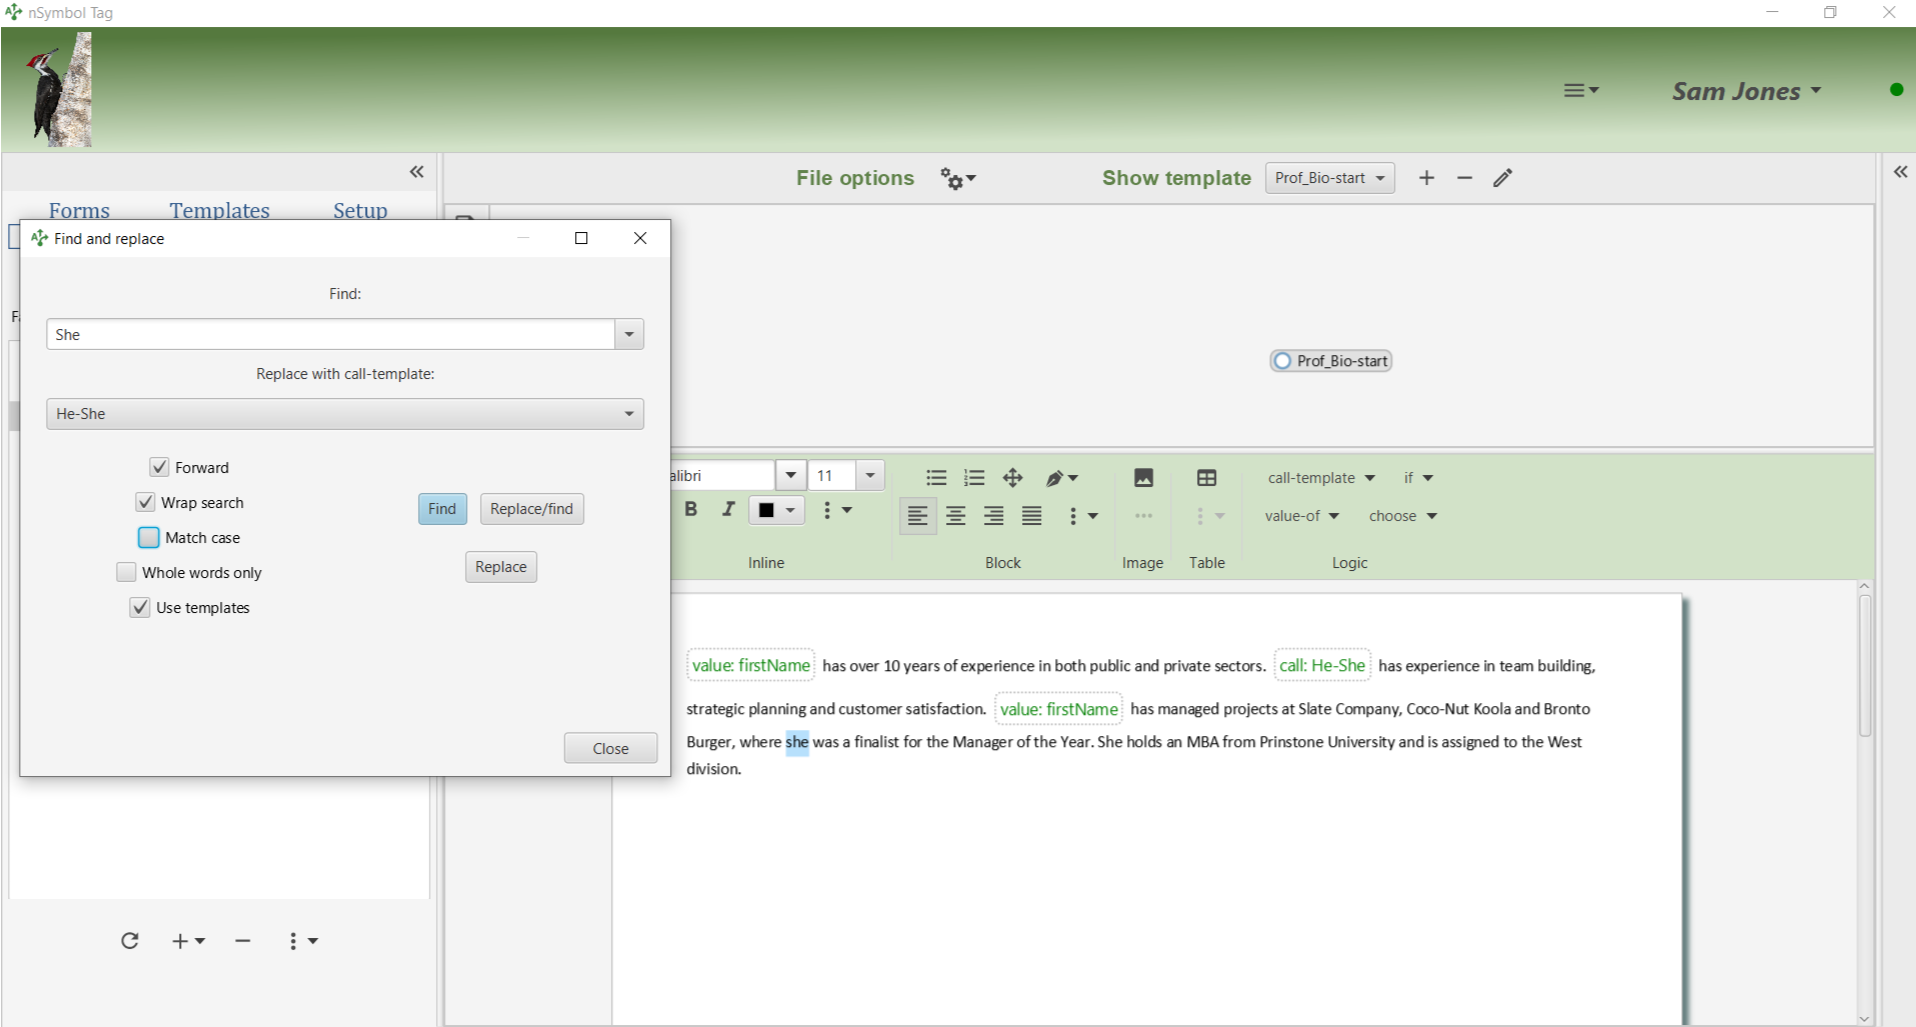
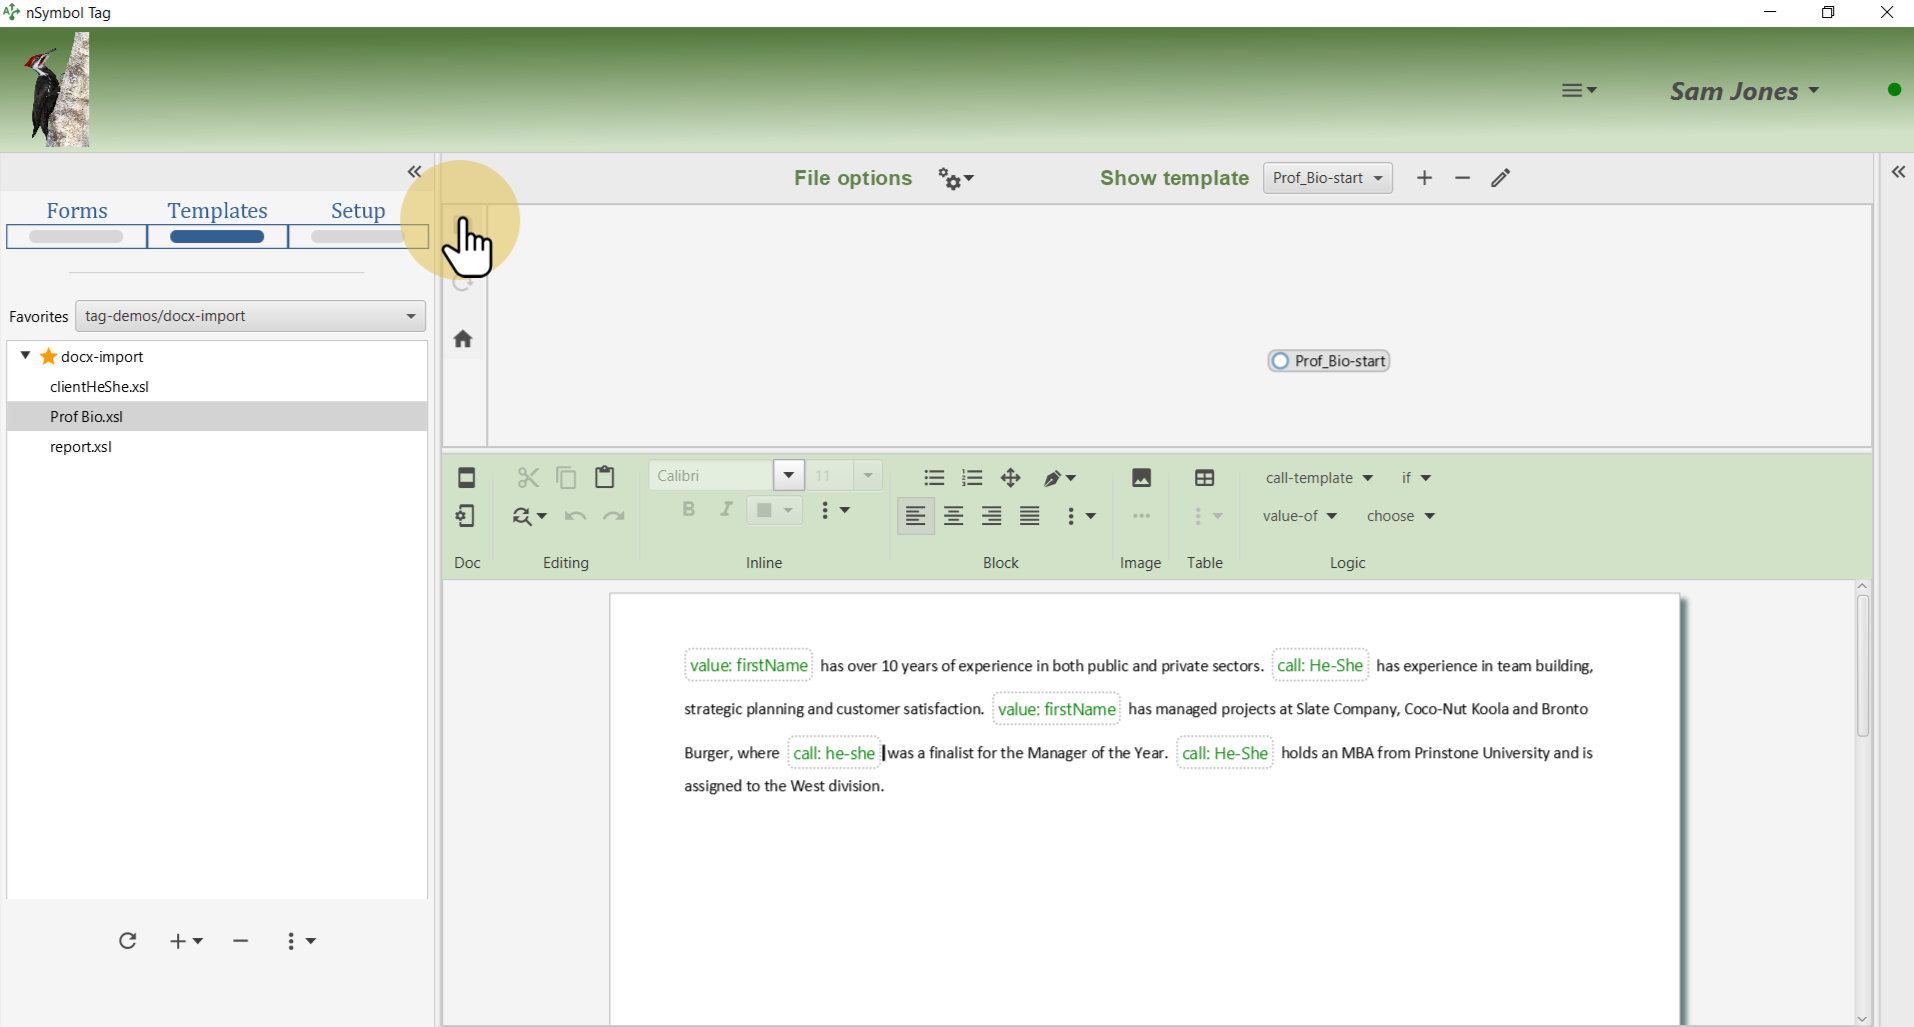
Repeat the last step replacing all occurrences of "she" with a he-she call-template.
Save the document after making all changes. Notice the logic bubbles that have replaced hard-coded names and pronouns.
Note that this is not yet a realistic example because skills and experience are still static. Depending upon your goals, these could be made dynamic using templates or dynamic lists which are beyond the scope of this guide.
That's it for this guide. You can now add more fields to the data setup files, edit content, or enter data to generate draft documents.